How to buy a domain name on Amazon Route 53 for my Serverless API
When you deploy your Serverless application with API Gateway, AWS auto-generates an URL for you with a default AWS domain. In an upcoming post we’ll be looking at how to manage custom domains for your Serverless API.
You’ll recall that the auto-generated API Gateway endpoints have the following format:
https://xxxxxxxxxx.execute-api.REGION.amazonaws.com/STAGE/
In this post we’ll look at how you can purchase your own domain name hosted on Amazon Route 53. And in the next post we’ll look at how to update your Serverless app to use your new custom domain so that your API Gateway endpoints look like this:
https://my-serverless-app.com/
Amazon Route 53 is a highly available and scalable cloud Domain Name System (DNS) web service. However, you can use it to buy and manage domains as well.
Let’s look at how to do that.
Purchase a domain using Route 53
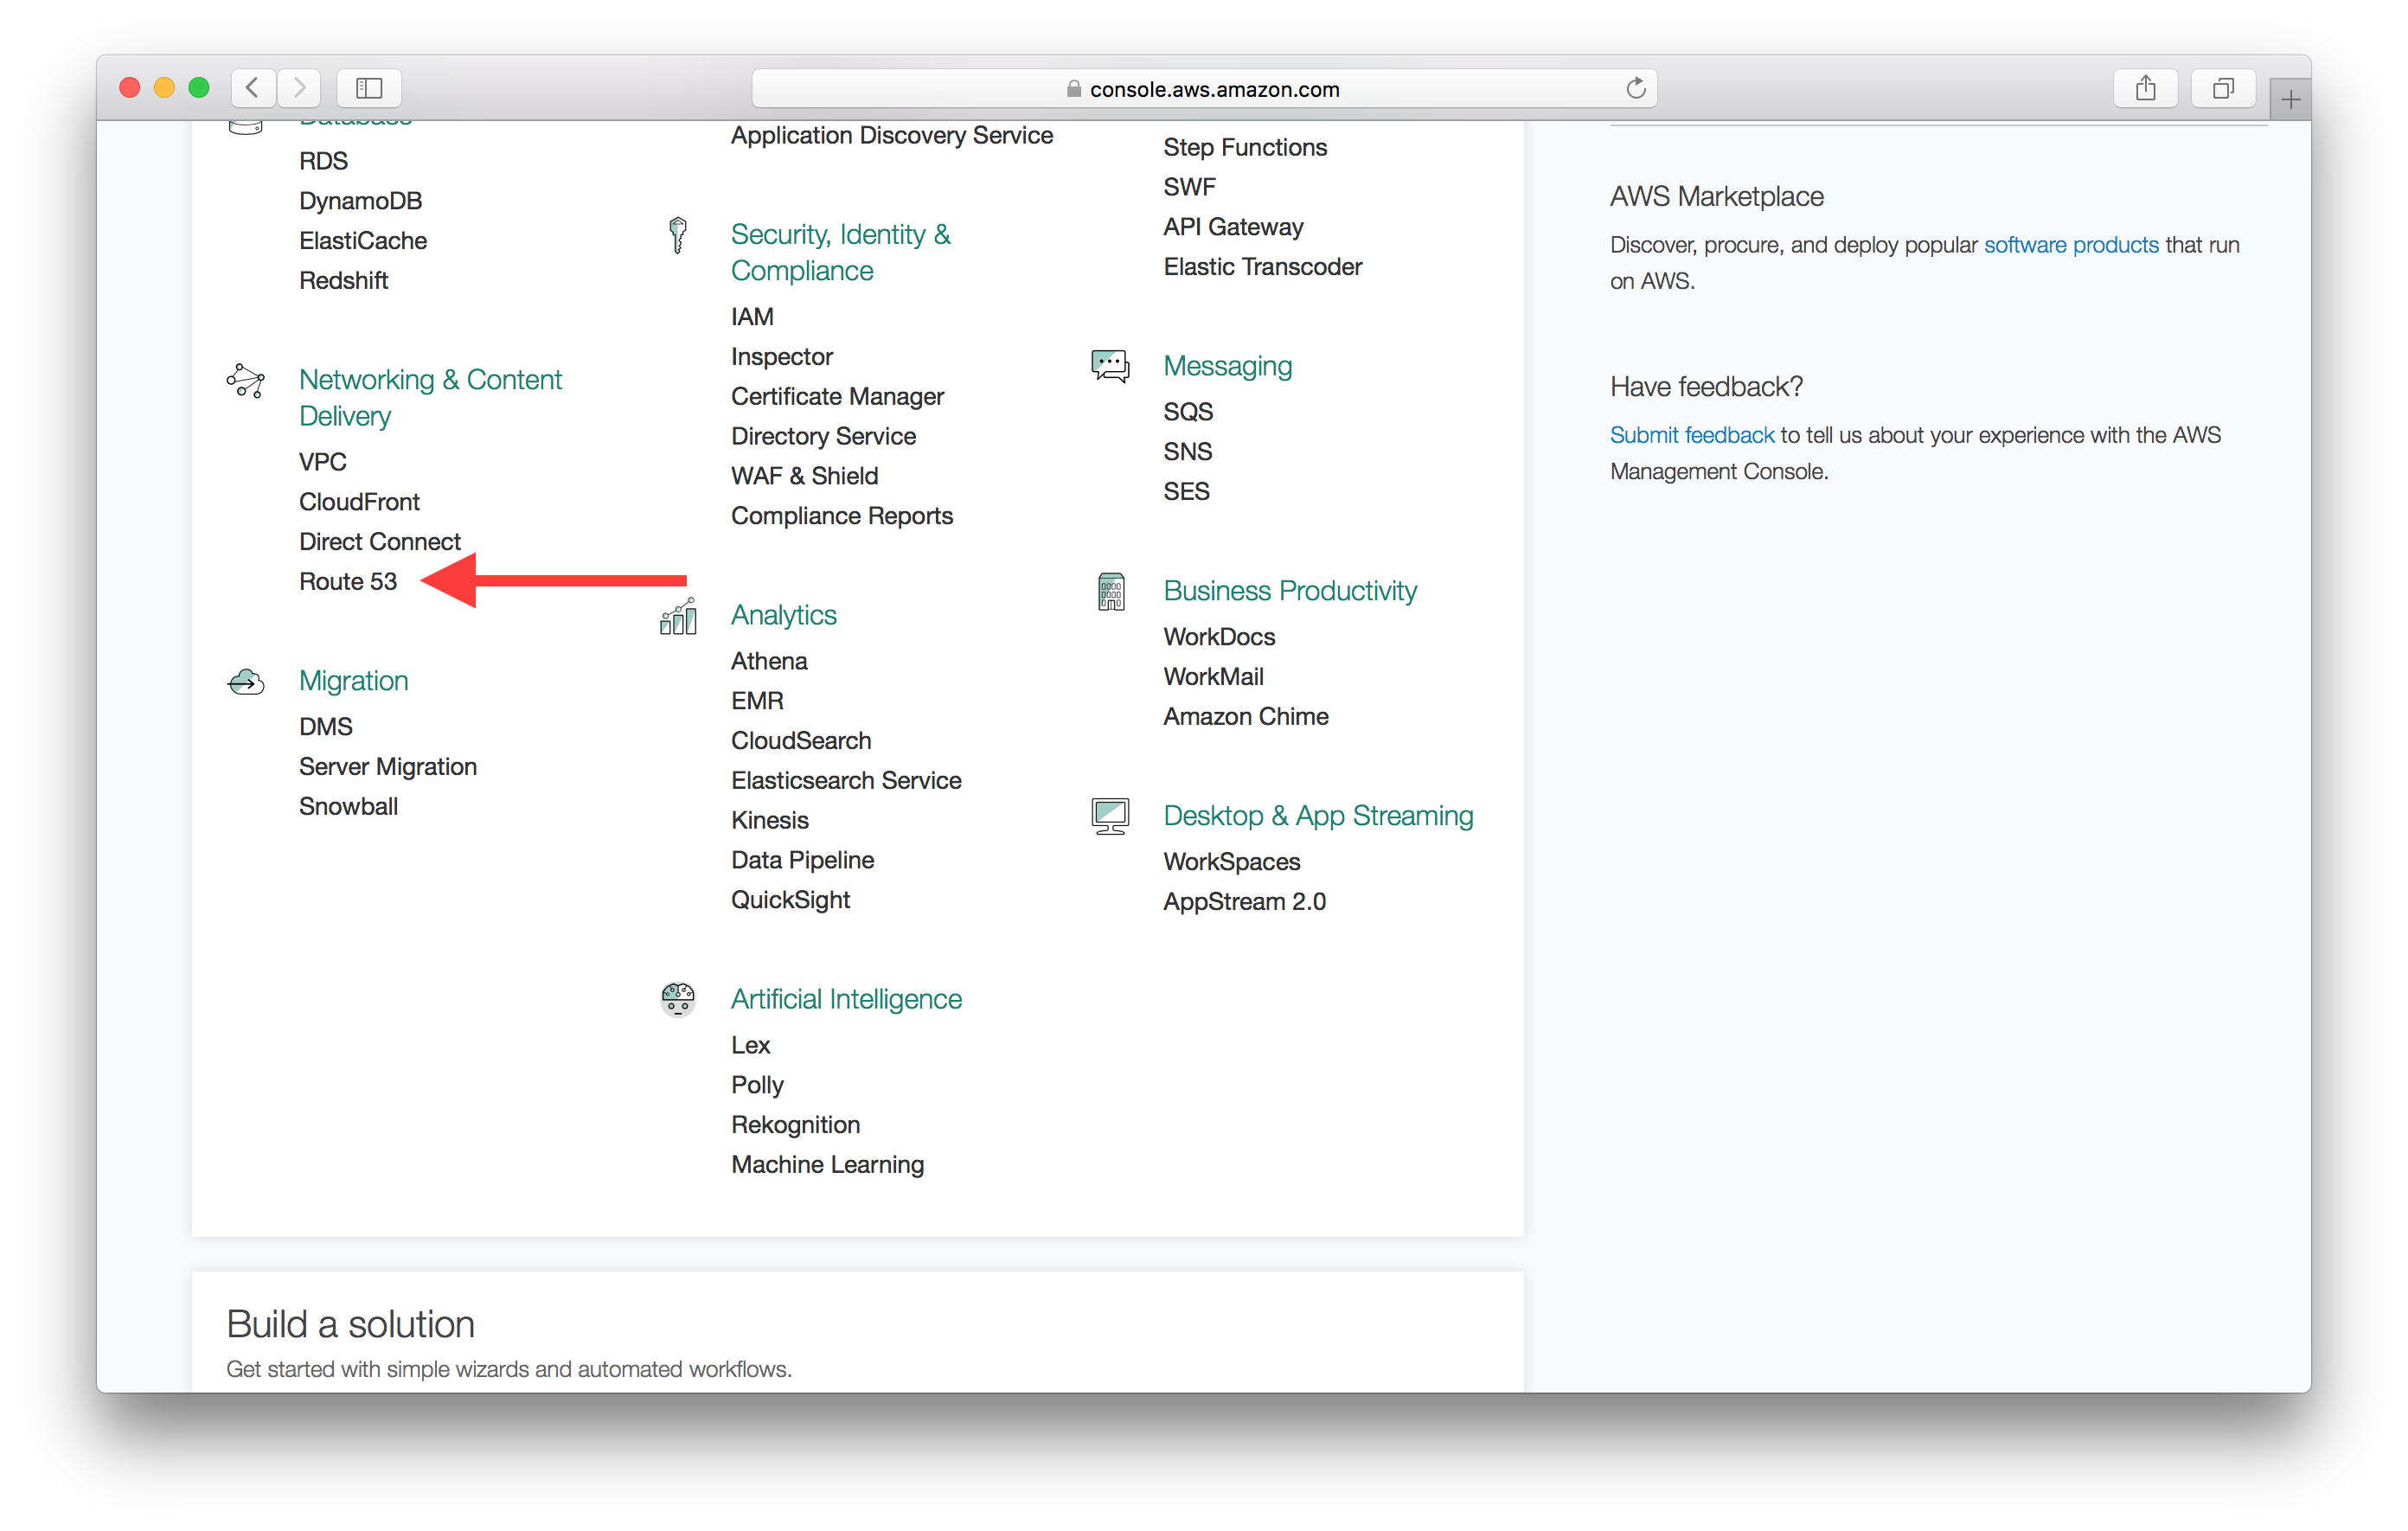
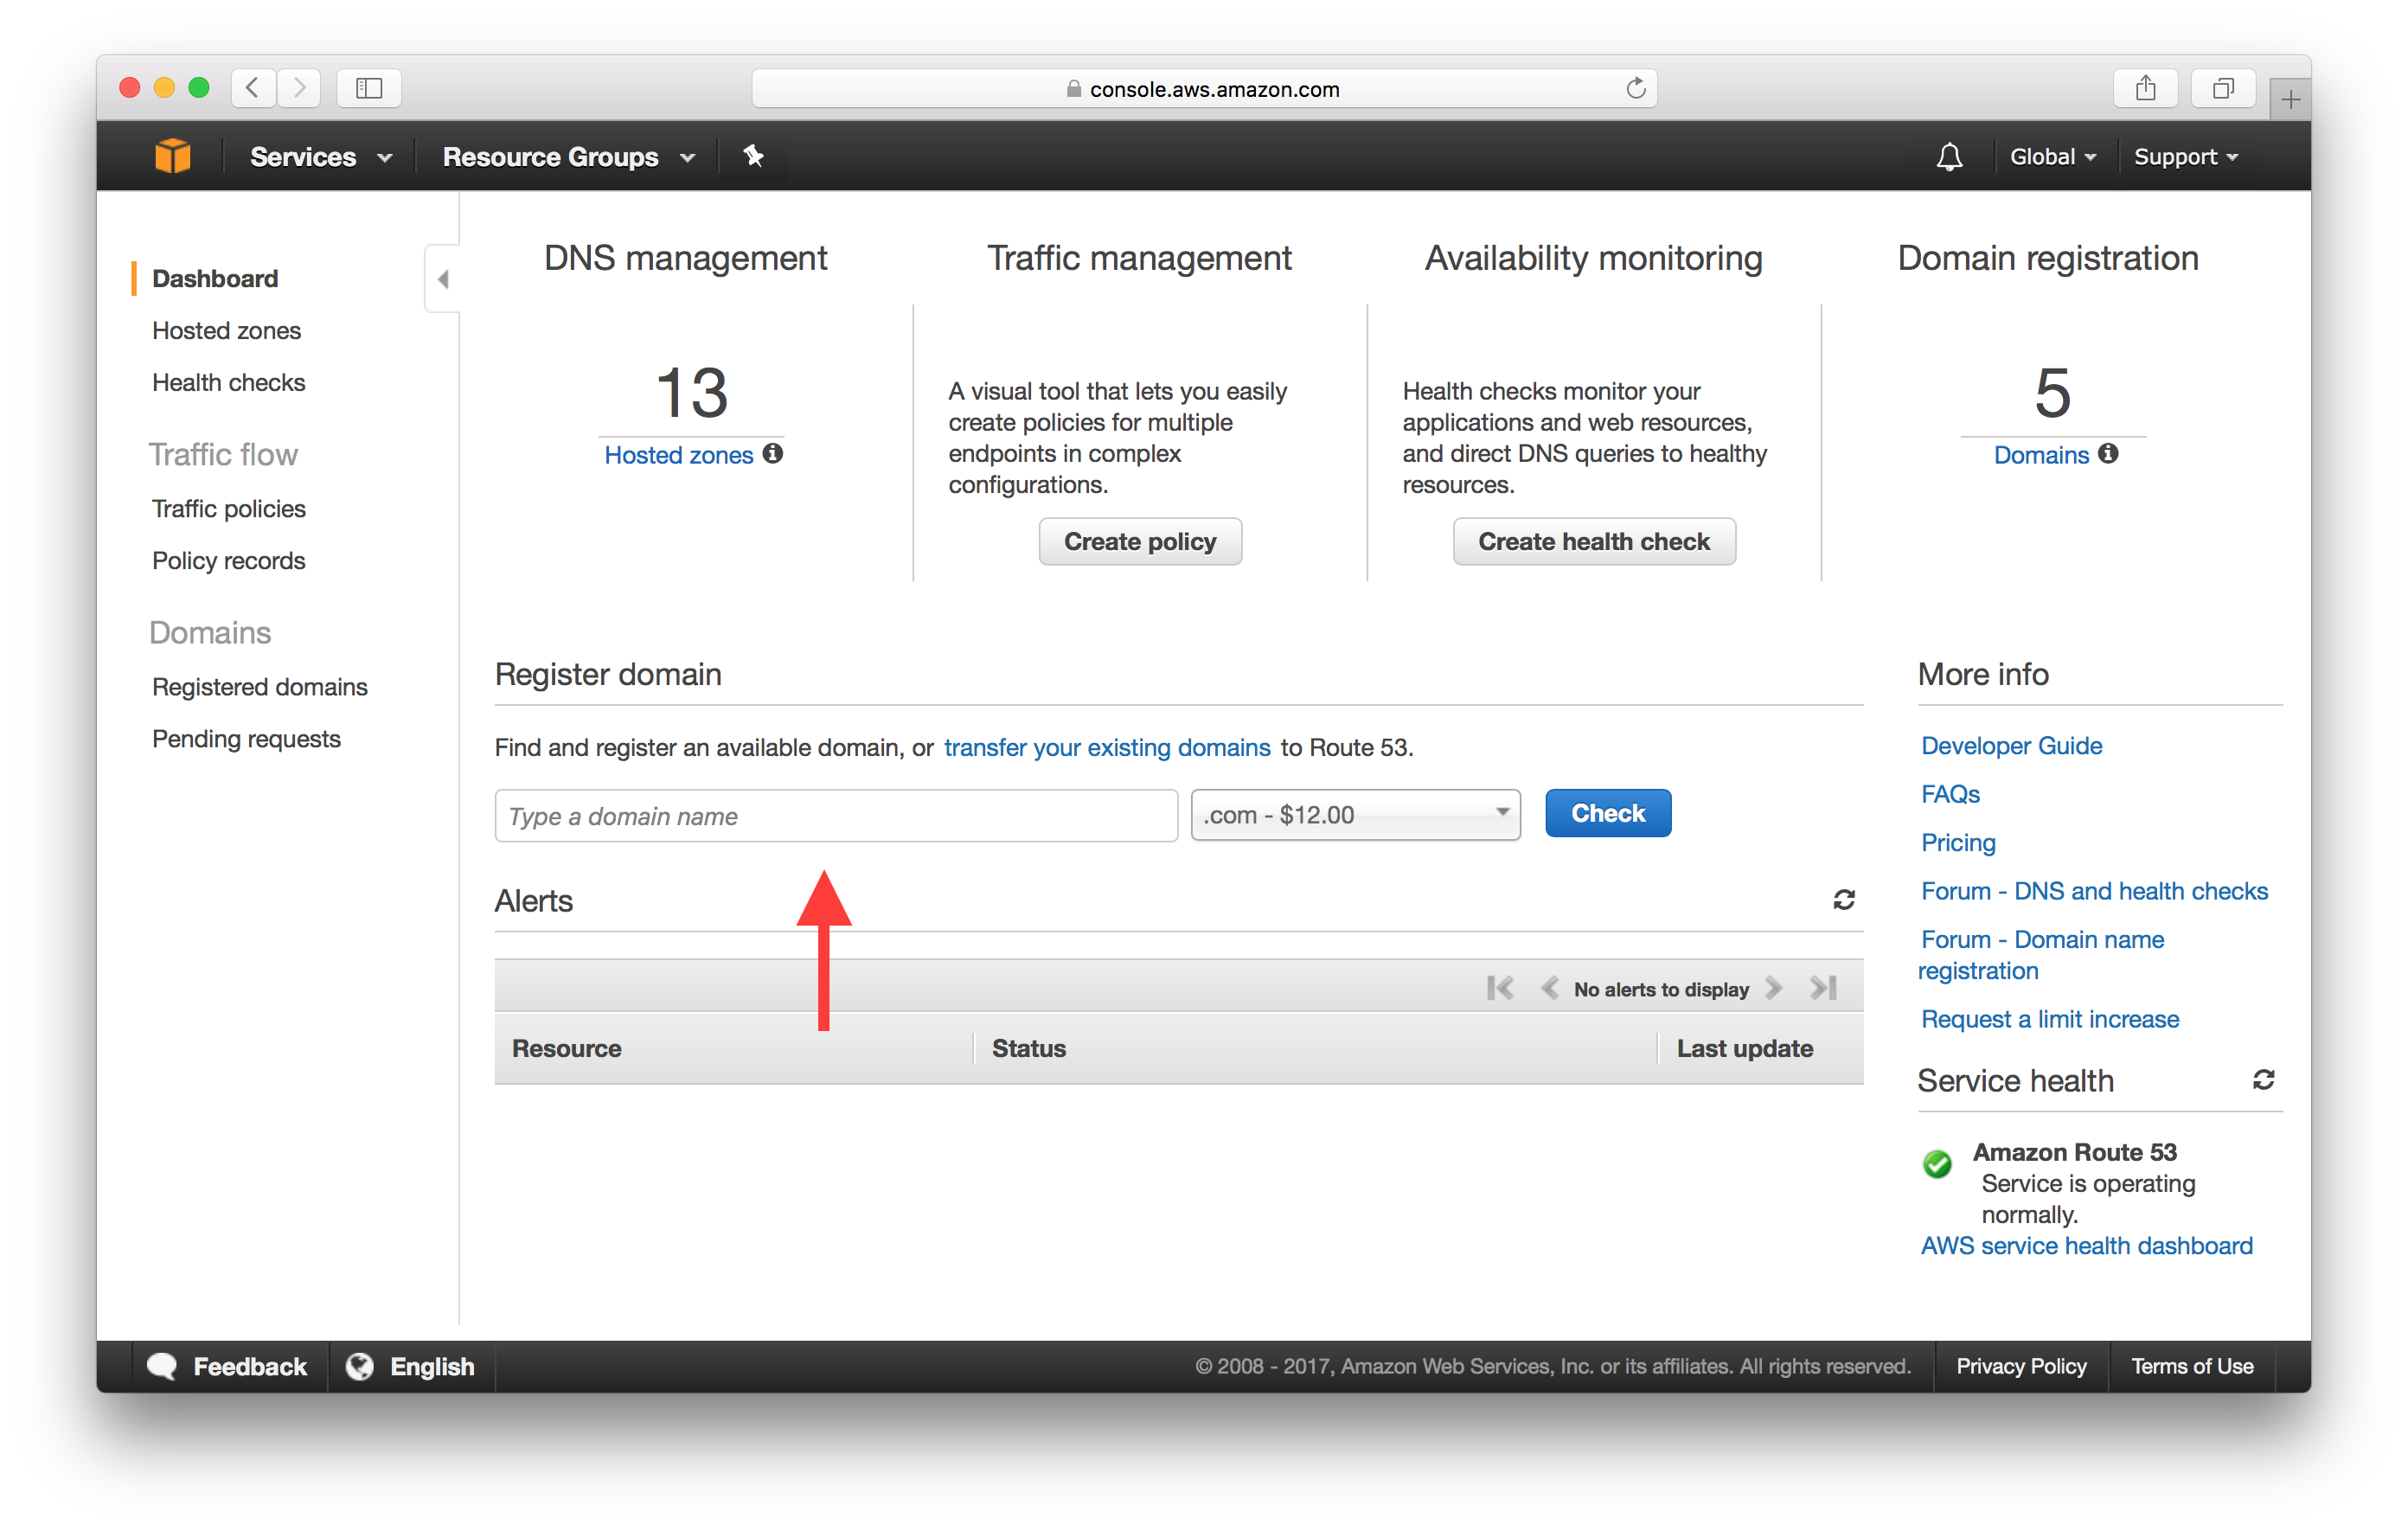
You can purchase a domain right from the AWS Console by heading to the Route 53 section in the list of services.
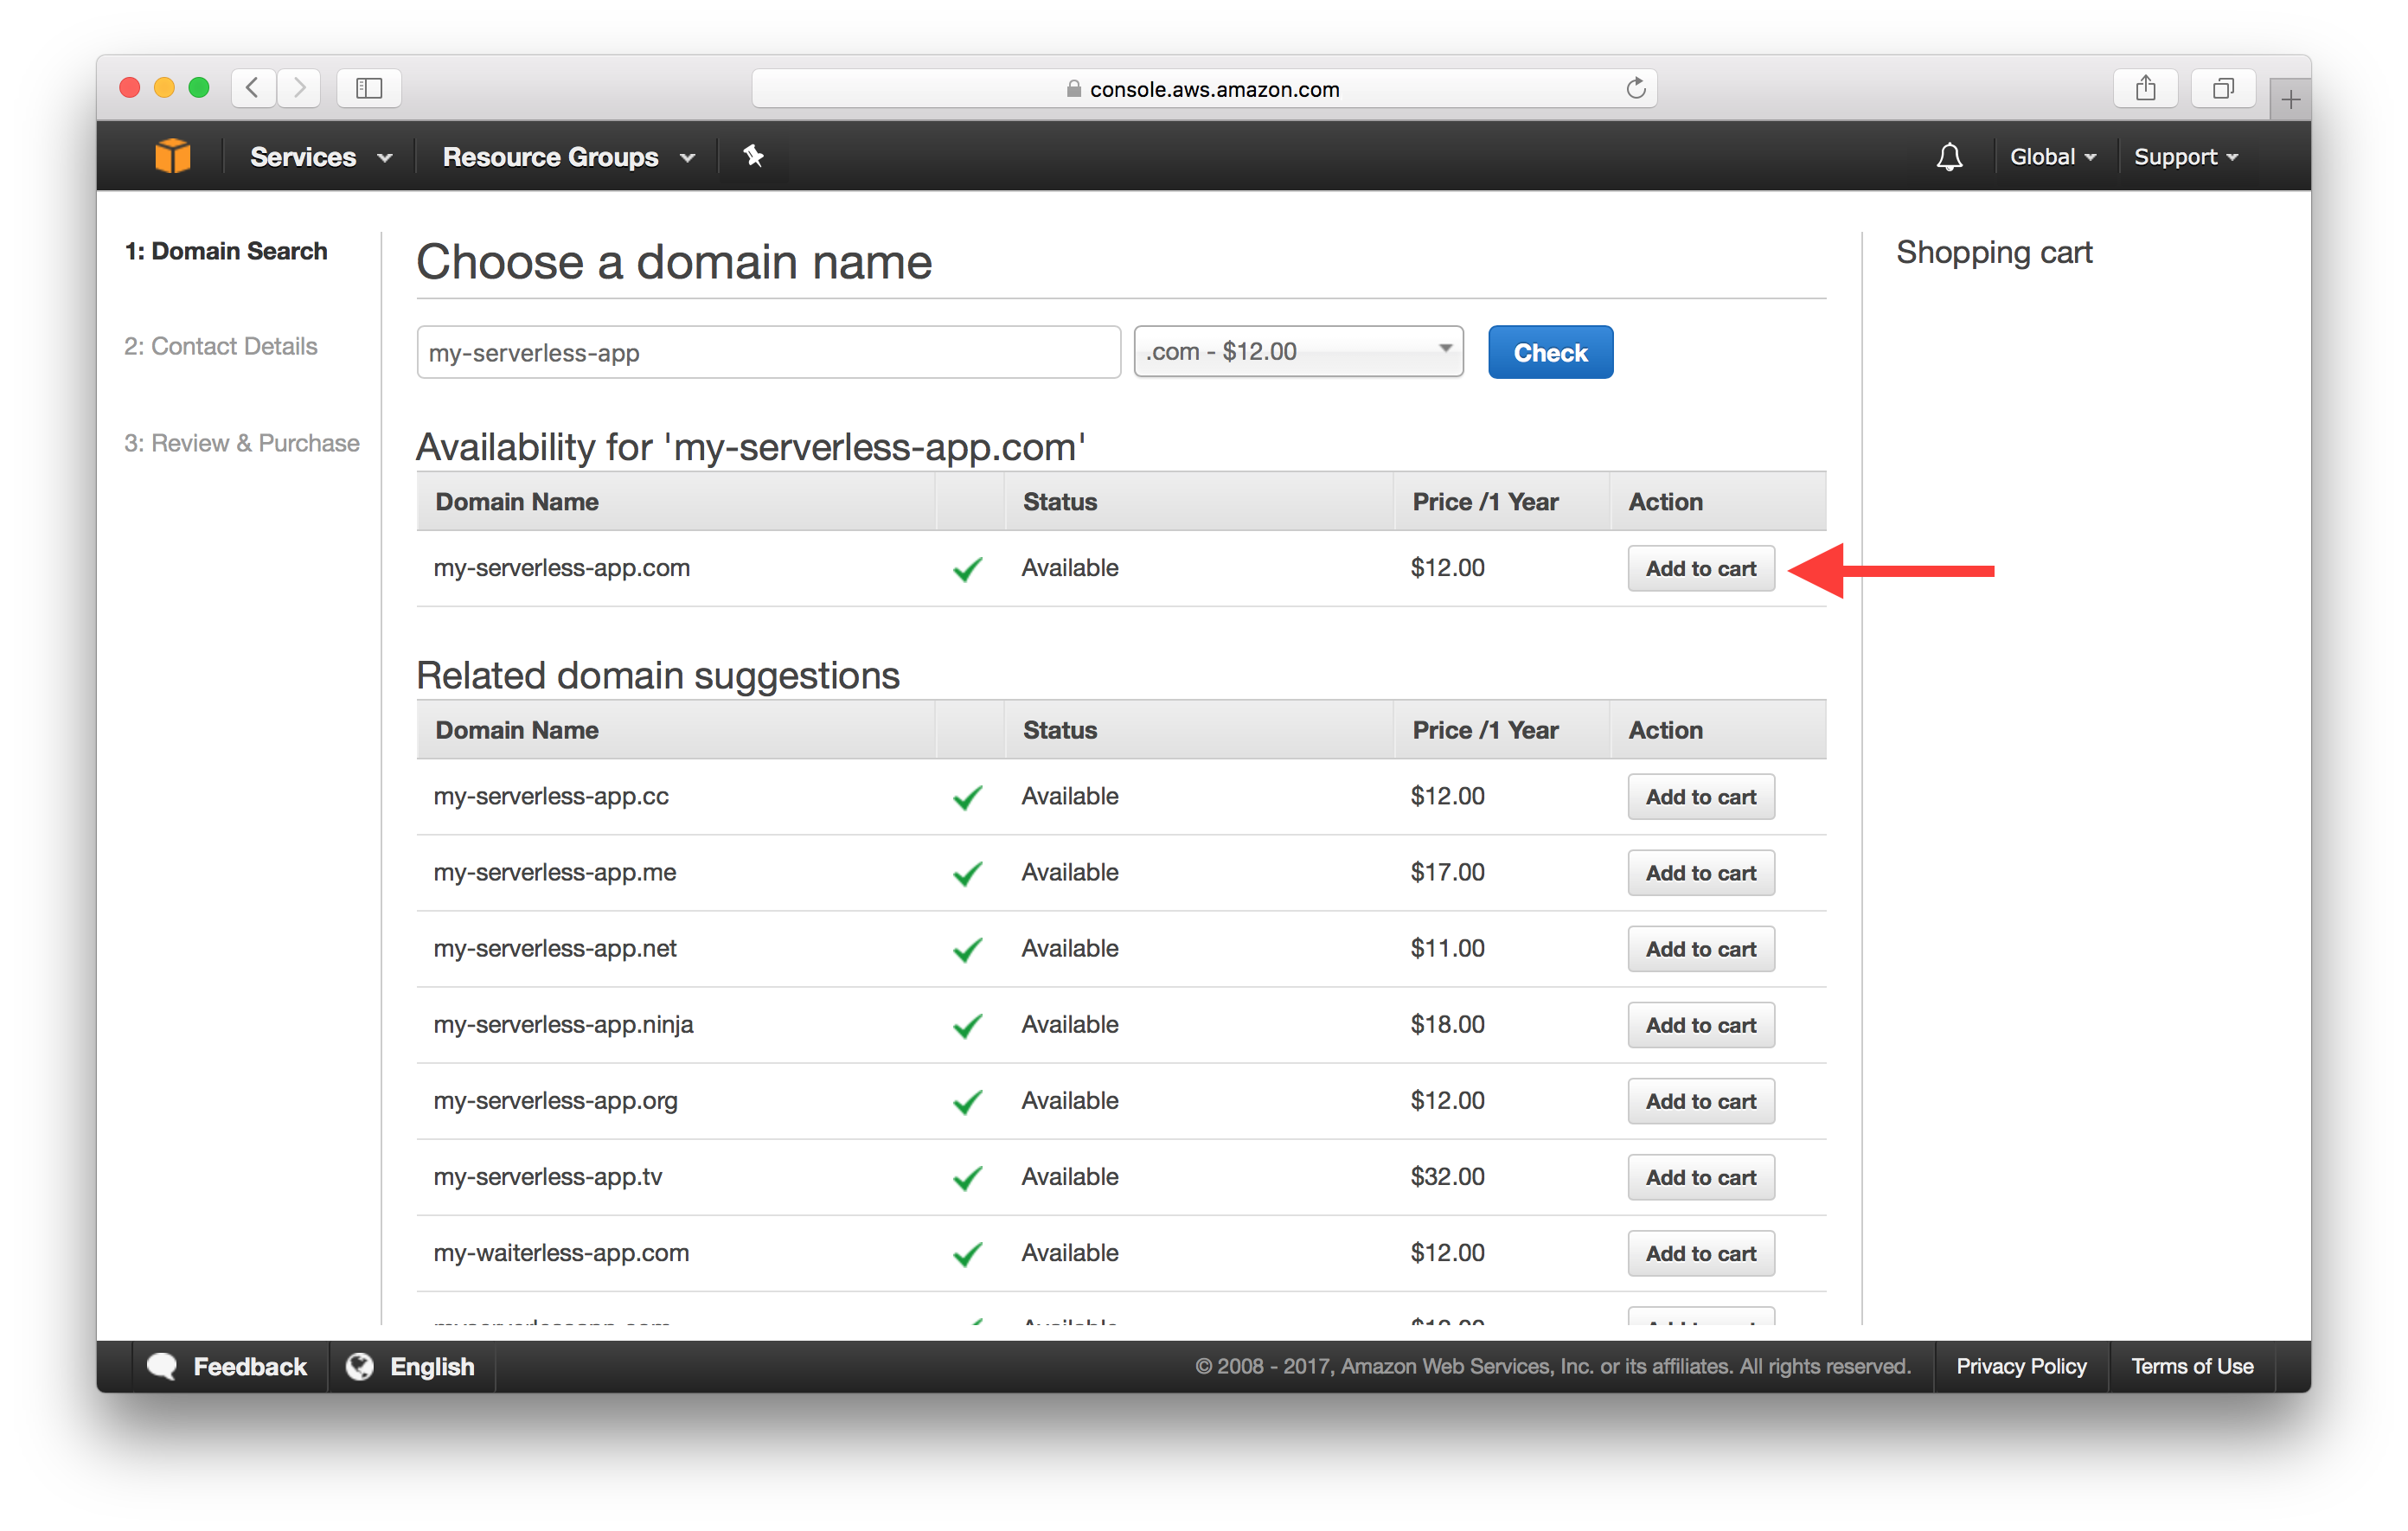
Type in your domain in the Register domain section and click Check.
After checking its availability, click Add to cart.
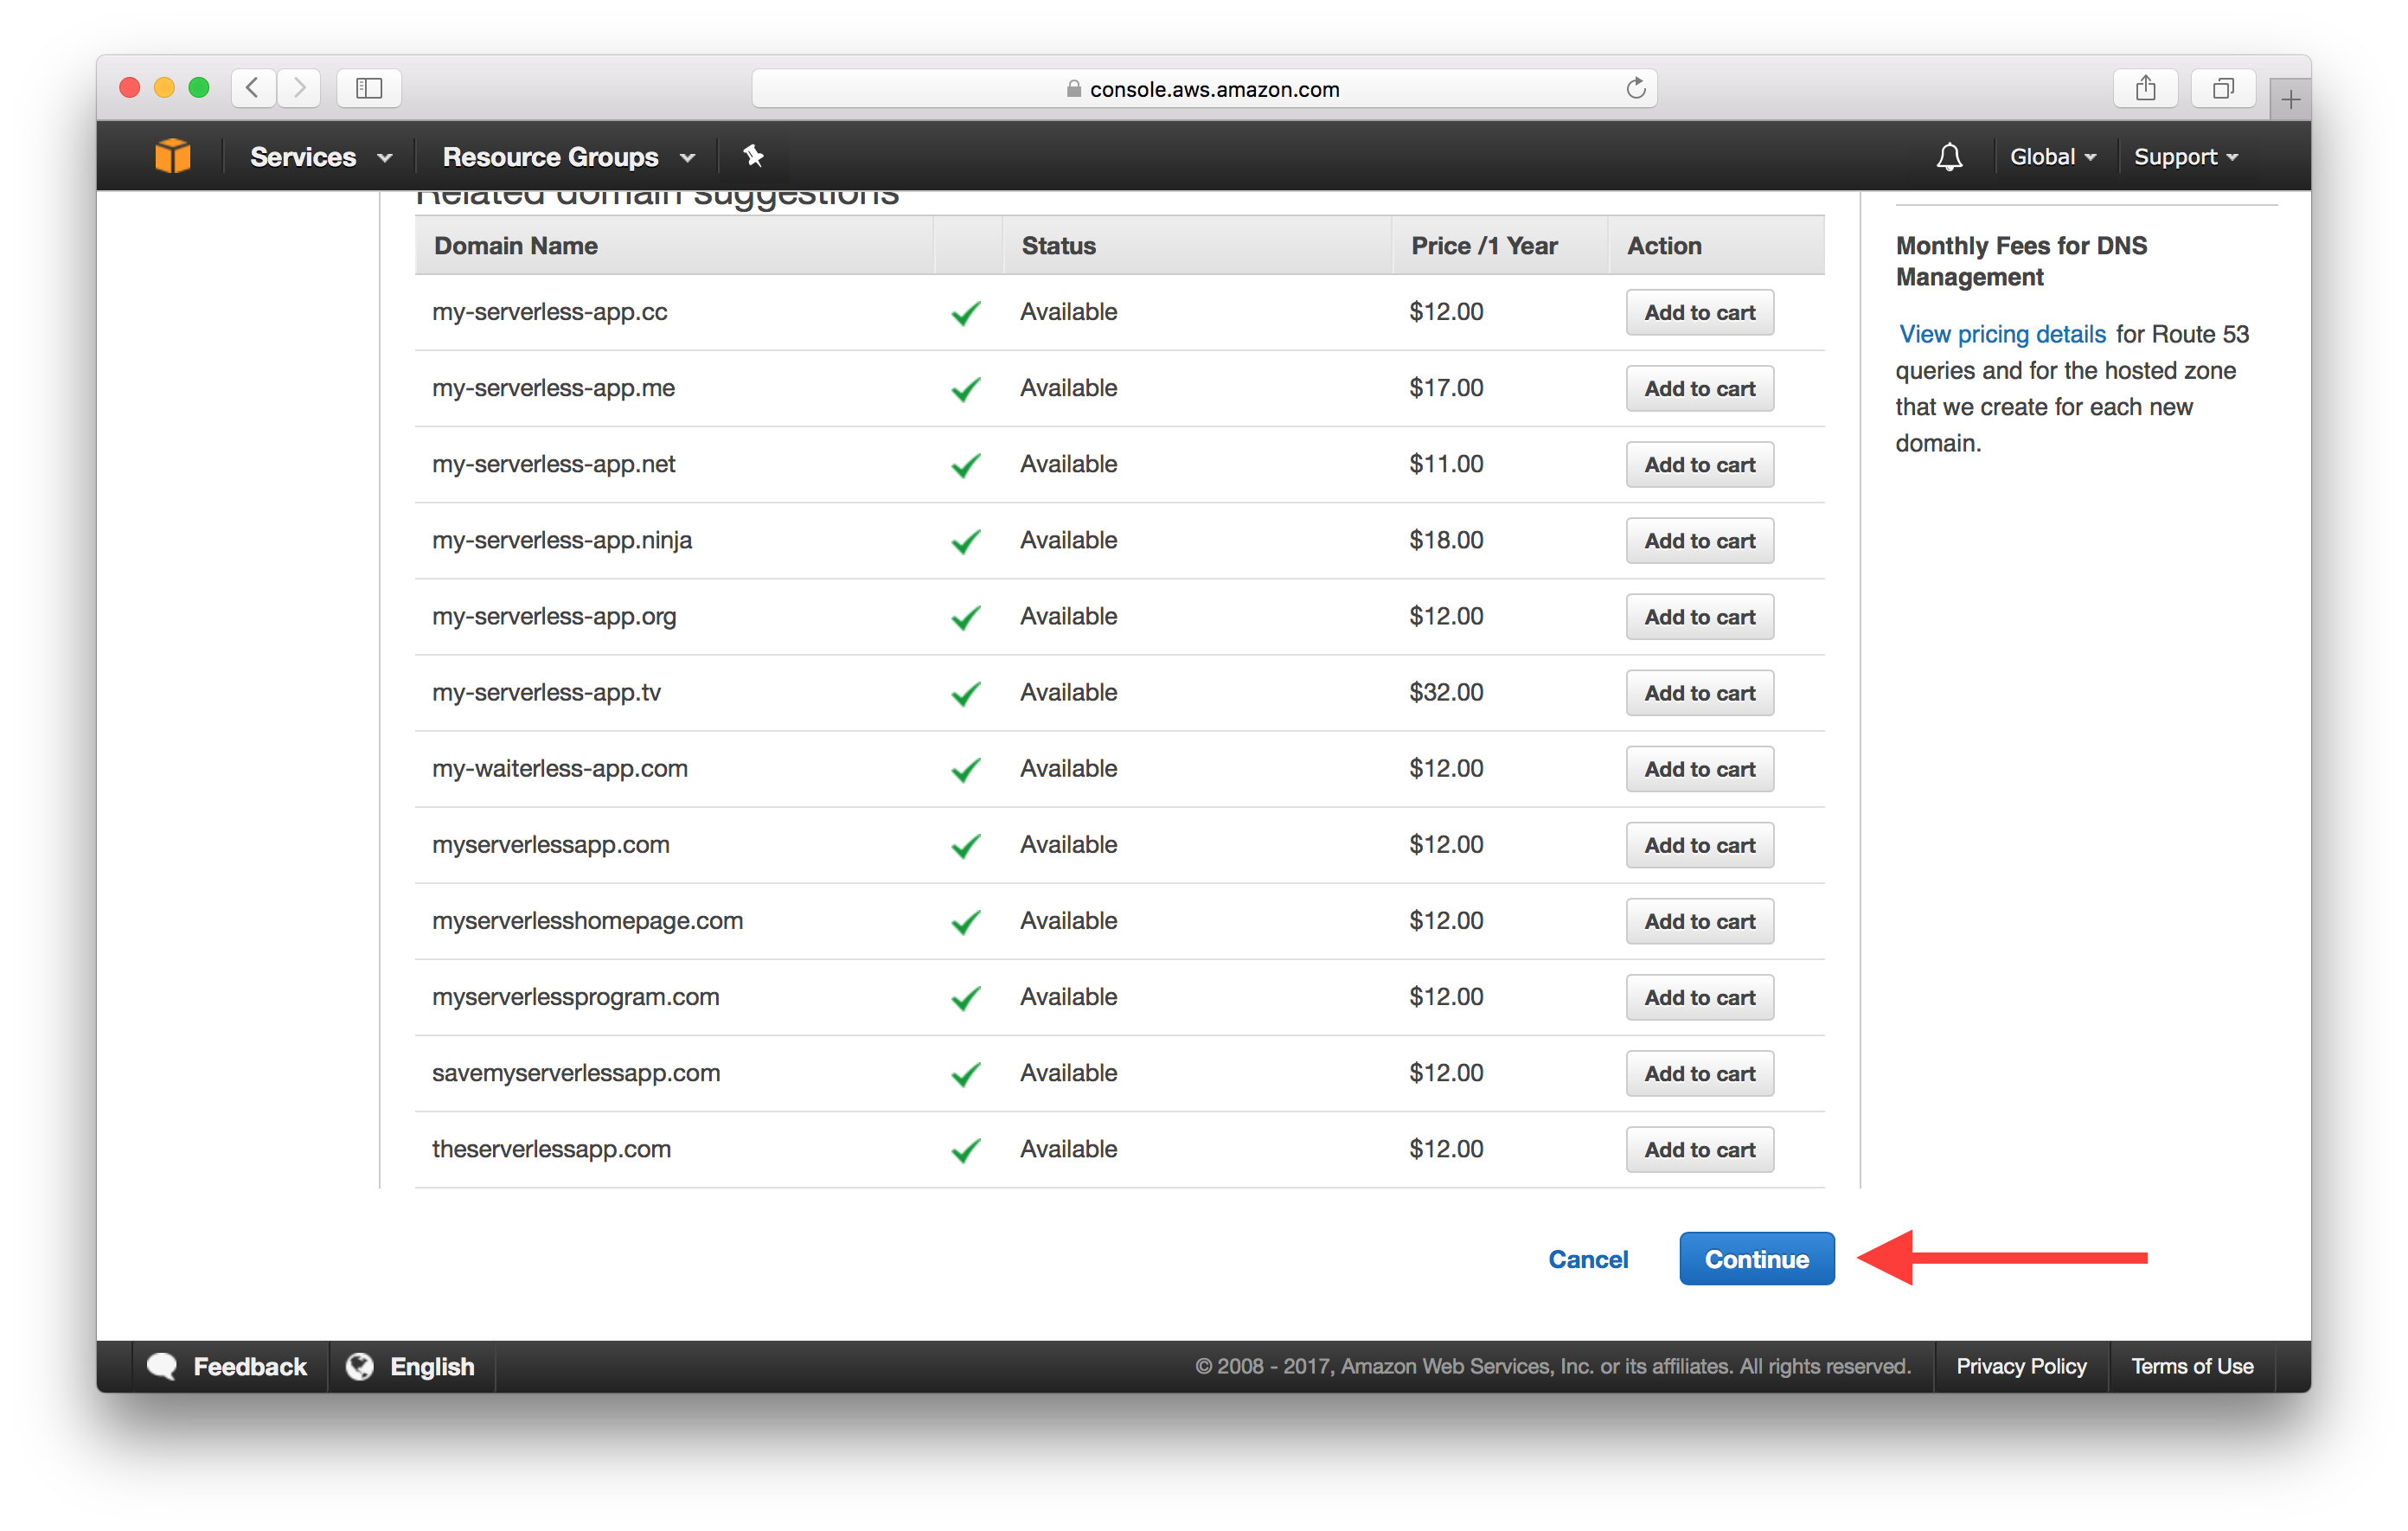
And hit Continue at the bottom of the page.
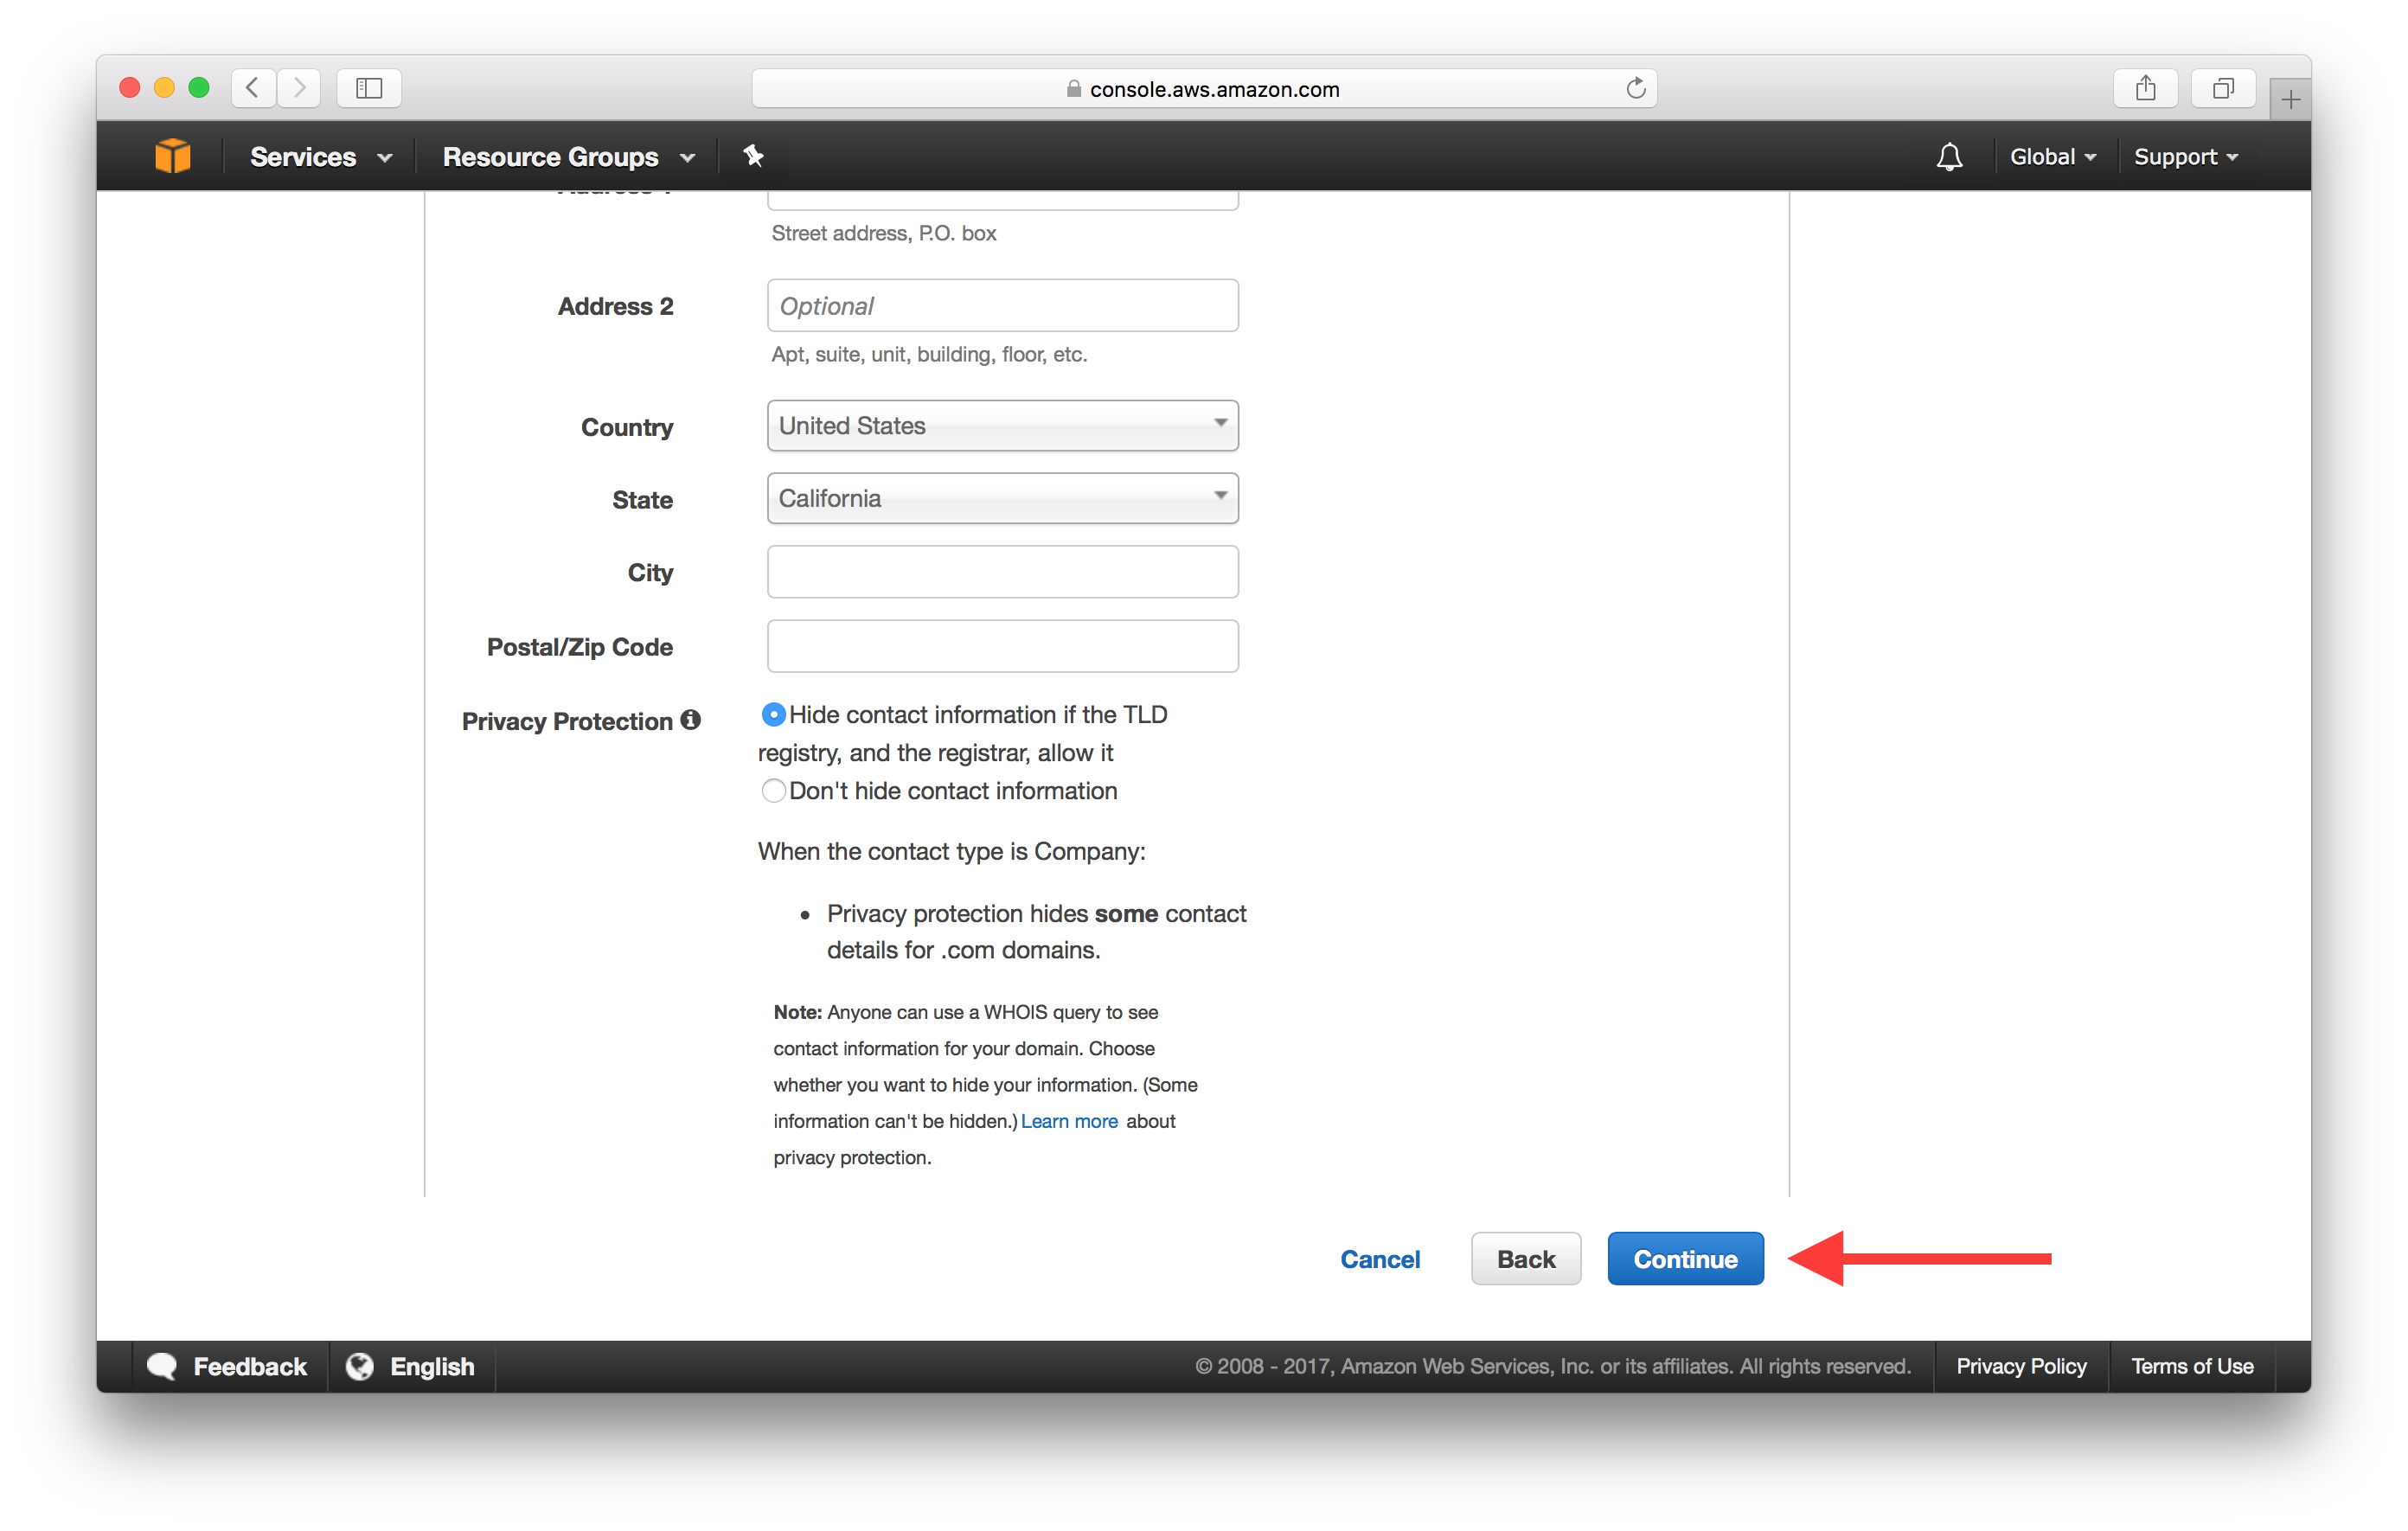
Fill in your contact details and hit Continue once again.
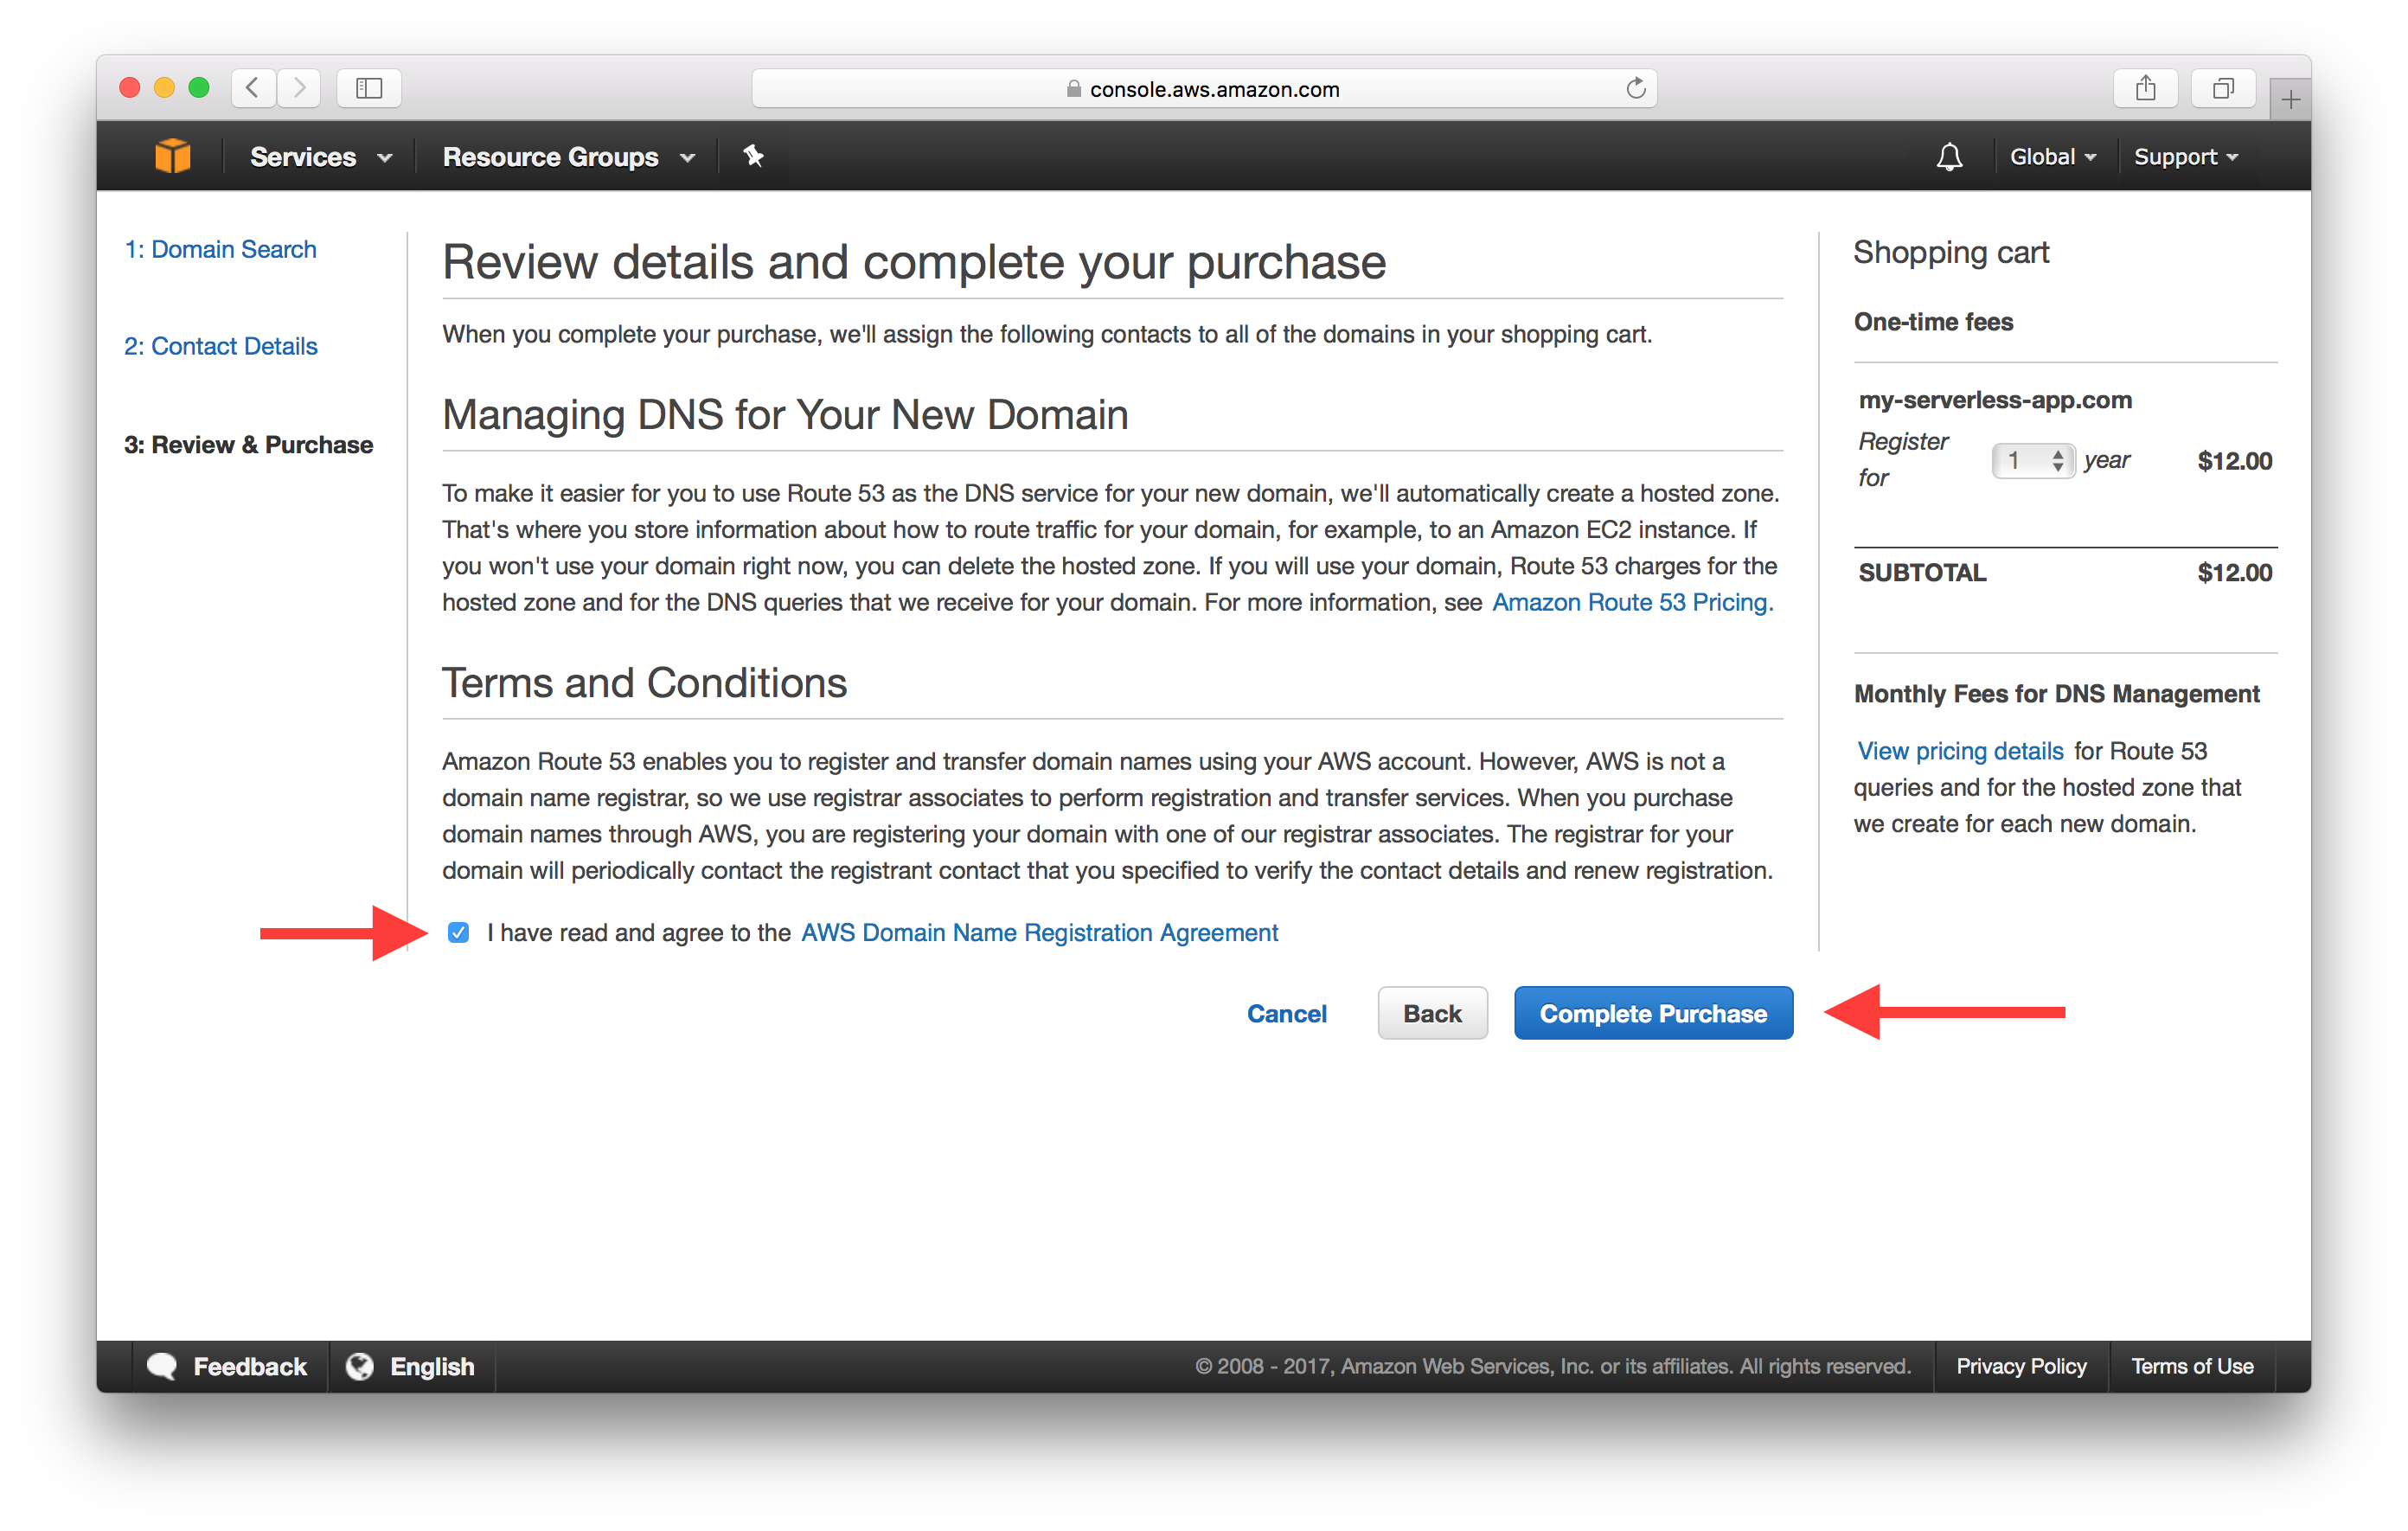
Finally, review your details and confirm the purchase by hitting Complete Purchase.
And that’s it! In the next post, we’ll look at how to configure your app to use the new domain.
Do your Serverless deployments take too long? Incremental deploys in Seed can speed it up 100x!
Learn More