How to set up a custom domain name for API Gateway in your Serverless app
In this post we’ll look at how to set up a custom domain name for API Gateway in your Serverless app. We are going to be using the serverless-domain-manager plugin and the AWS Certificate Manager to configure our domain.
Just a quick note before we get started, Seed will do this automatically for you without having to configure an SSL certificate or installing any plugins. You can read more about it in our docs here.
Let’s start by taking a quick look at why it’s a good idea to configure custom domains (apart from having the API domain match our website domain).
When you deploy your Serverless application with API Gateway, the API endpoint created by API Gateway looks something like this:
https://xxxxxxxxxx.execute-api.REGION.amazonaws.com/STAGE/
xxxxxxxxxx is the API ID generated by API Gateway for the new endpoint. For example if you run serverless deploy --stage dev --region us-east-1, you will get an API endpoint that looks like:
https://xxxxxxxxxx.execute-api.us-east-1.amazonaws.com/dev/
The ID is managed by API Gateway and is unique to your API project. If you remove and redeploy your app, you’ll get a new ID, meaning a new API endpoint. There’ll be no way to get the original ID back. If the API endpoint was given to other service, (ie. used as webhook in GitHub, Slack, etc), you’ll need to update each of those services.
A solution to this problem is to use a custom domain for your API and map it to your API Gateway endpoint. If your API Gateway endpoint changes in the case of a redeploy, you’ll only need to update the custom domain mapping.
Pre-requisites
-
A domain name on AWS Route 53. We are going to use api.seed-frank-playground.download as an example in this post. If you don’t have a domain name, you can purchase one on Route 53, by following the steps in our post on how to buy a domain name with Amazon Route 53.
-
A Serverless Framework project with an API Gateway endpoint. Here’s a sample repo that you can fork, serverless-example-with-custom-domain.
AWS services used
We’ll be using the following AWS services in this post:
- Amazon CloudFront: A CDN network for your API
- Amazon Route 53: To Host domain DNS records and redirect traffic to your API endpoint
- AWS Certificate Manager: Certificate manager for issuing SSL certs for your domain
- Amazon API Gateway: Manages the path mappings between the custom domain and API projects
Add an SSL certificate
Before we can set up our custom domain with our Serverless app, we’ll need to create an SSL certificate to support the https:// version of our endpoint. Let’s create an SSL certificate for our custom domain.
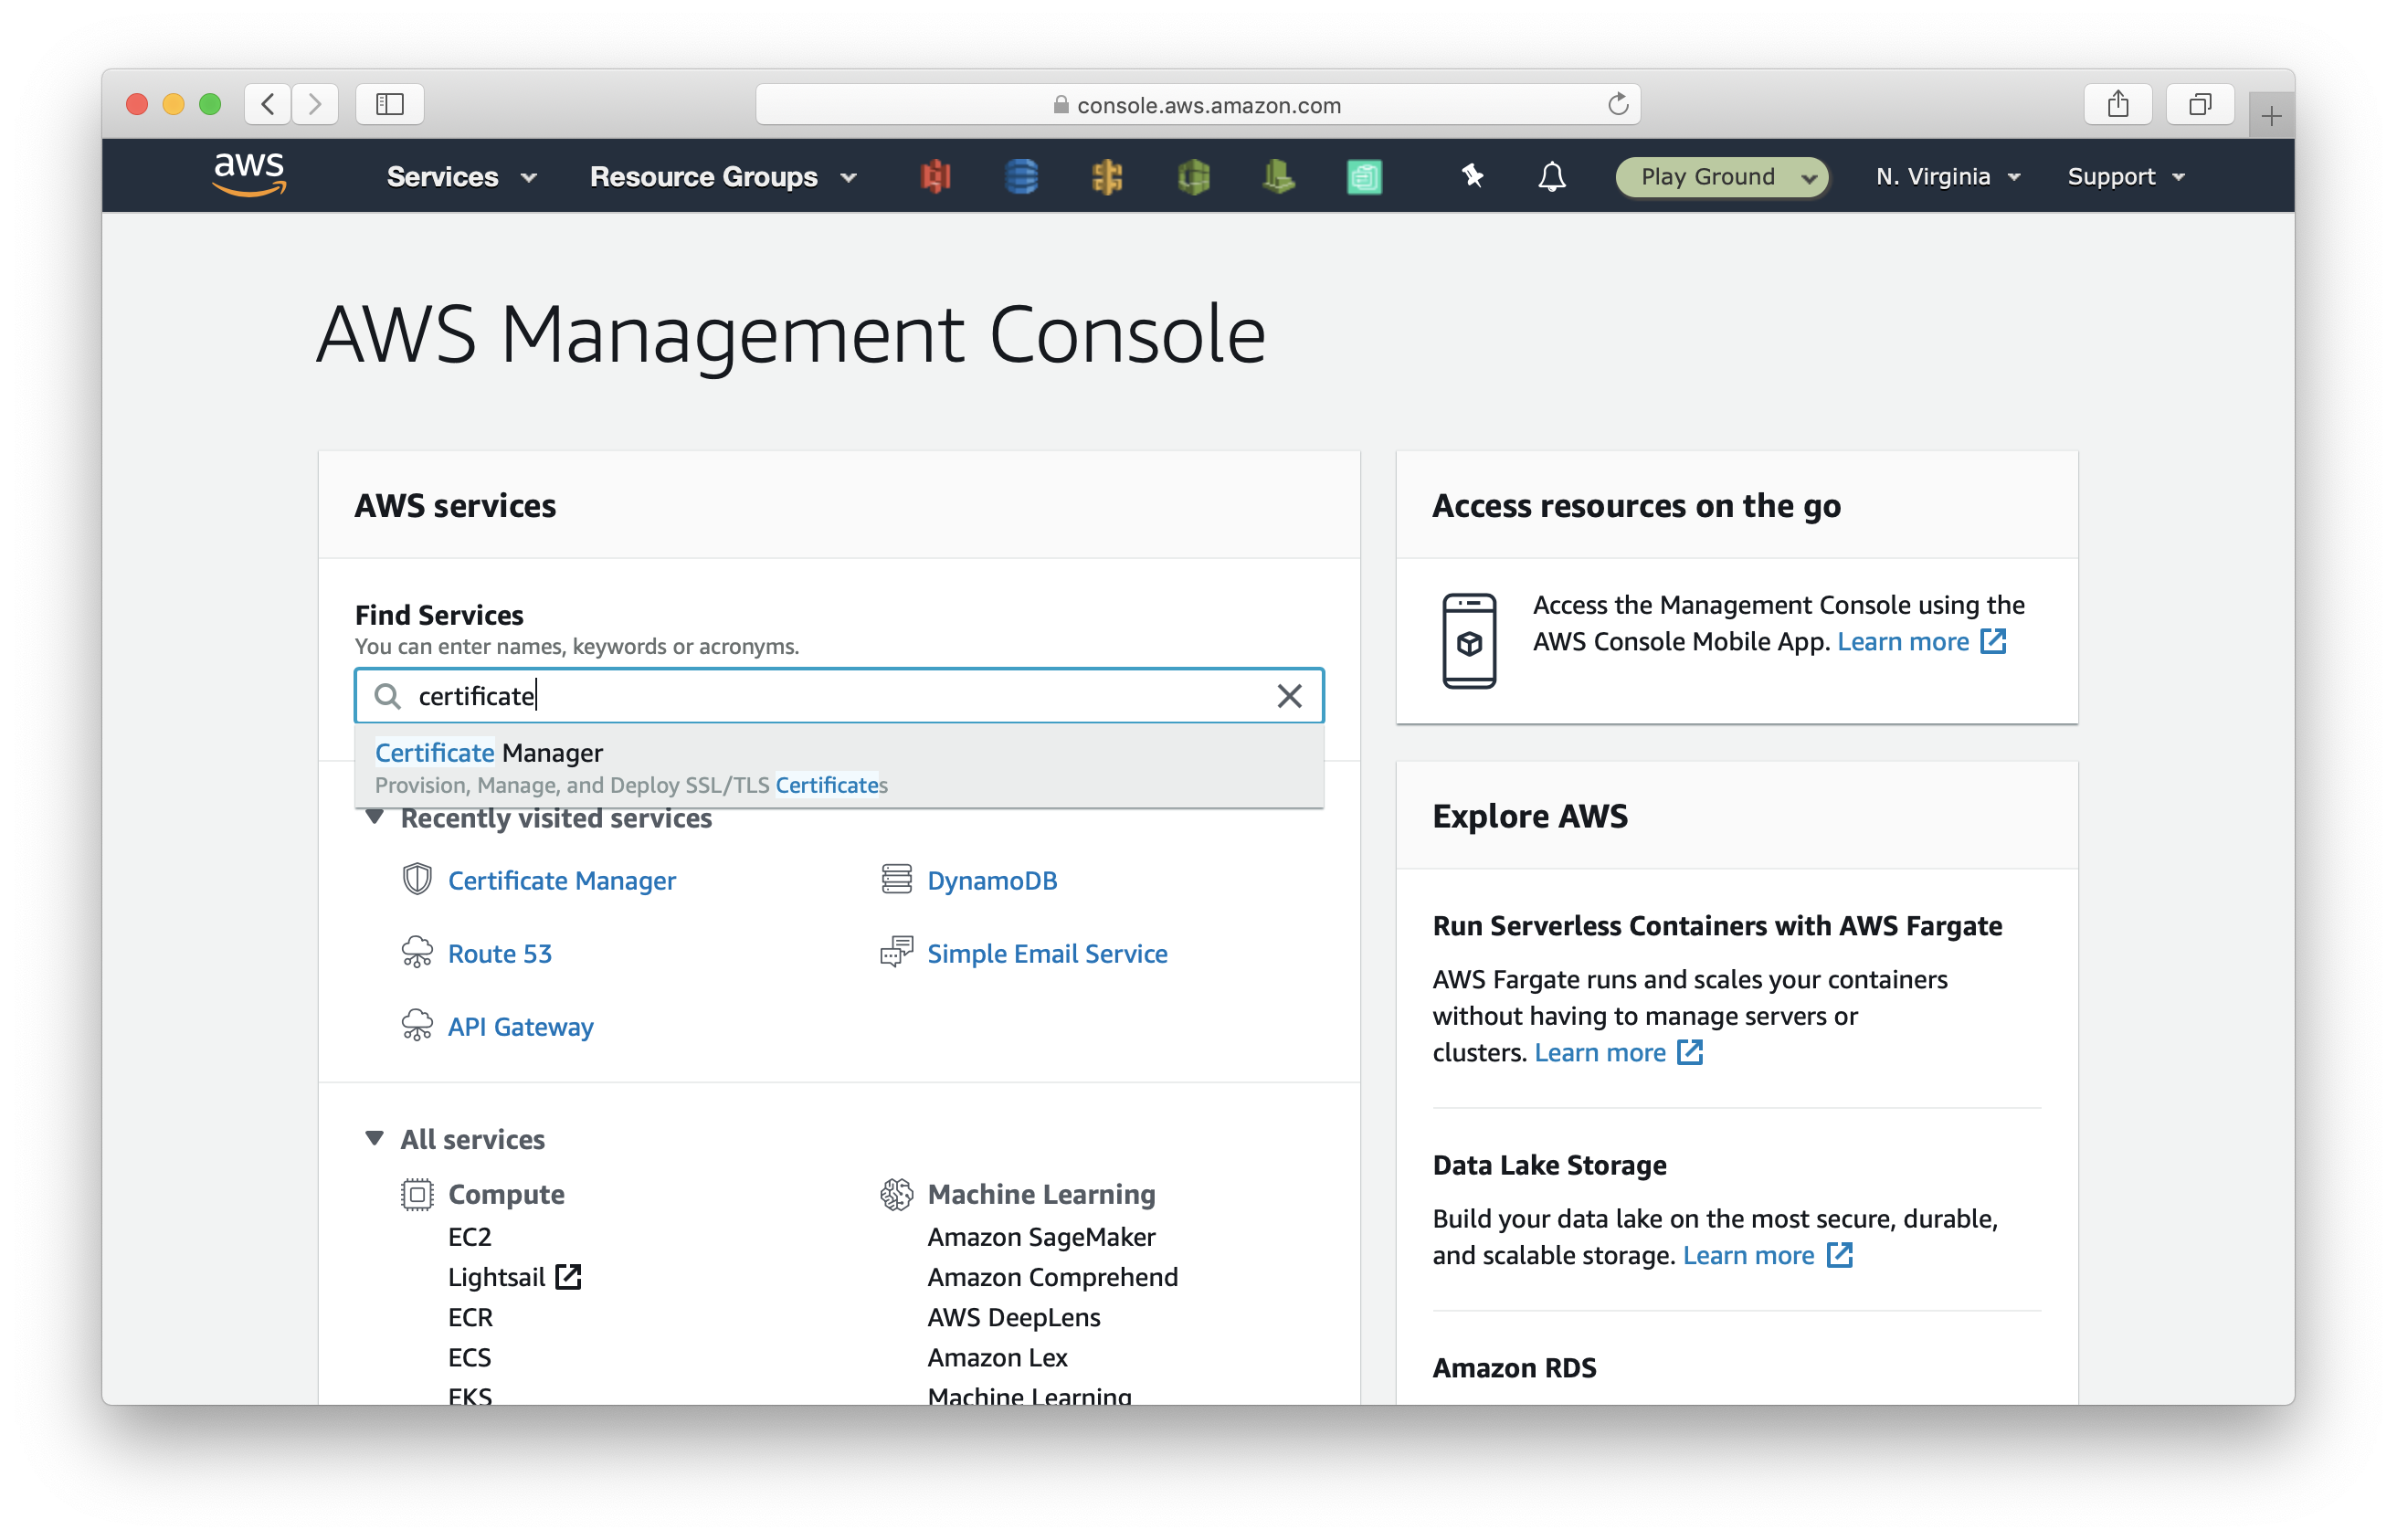
Go to the AWS console and search for the Certificate Manager service.
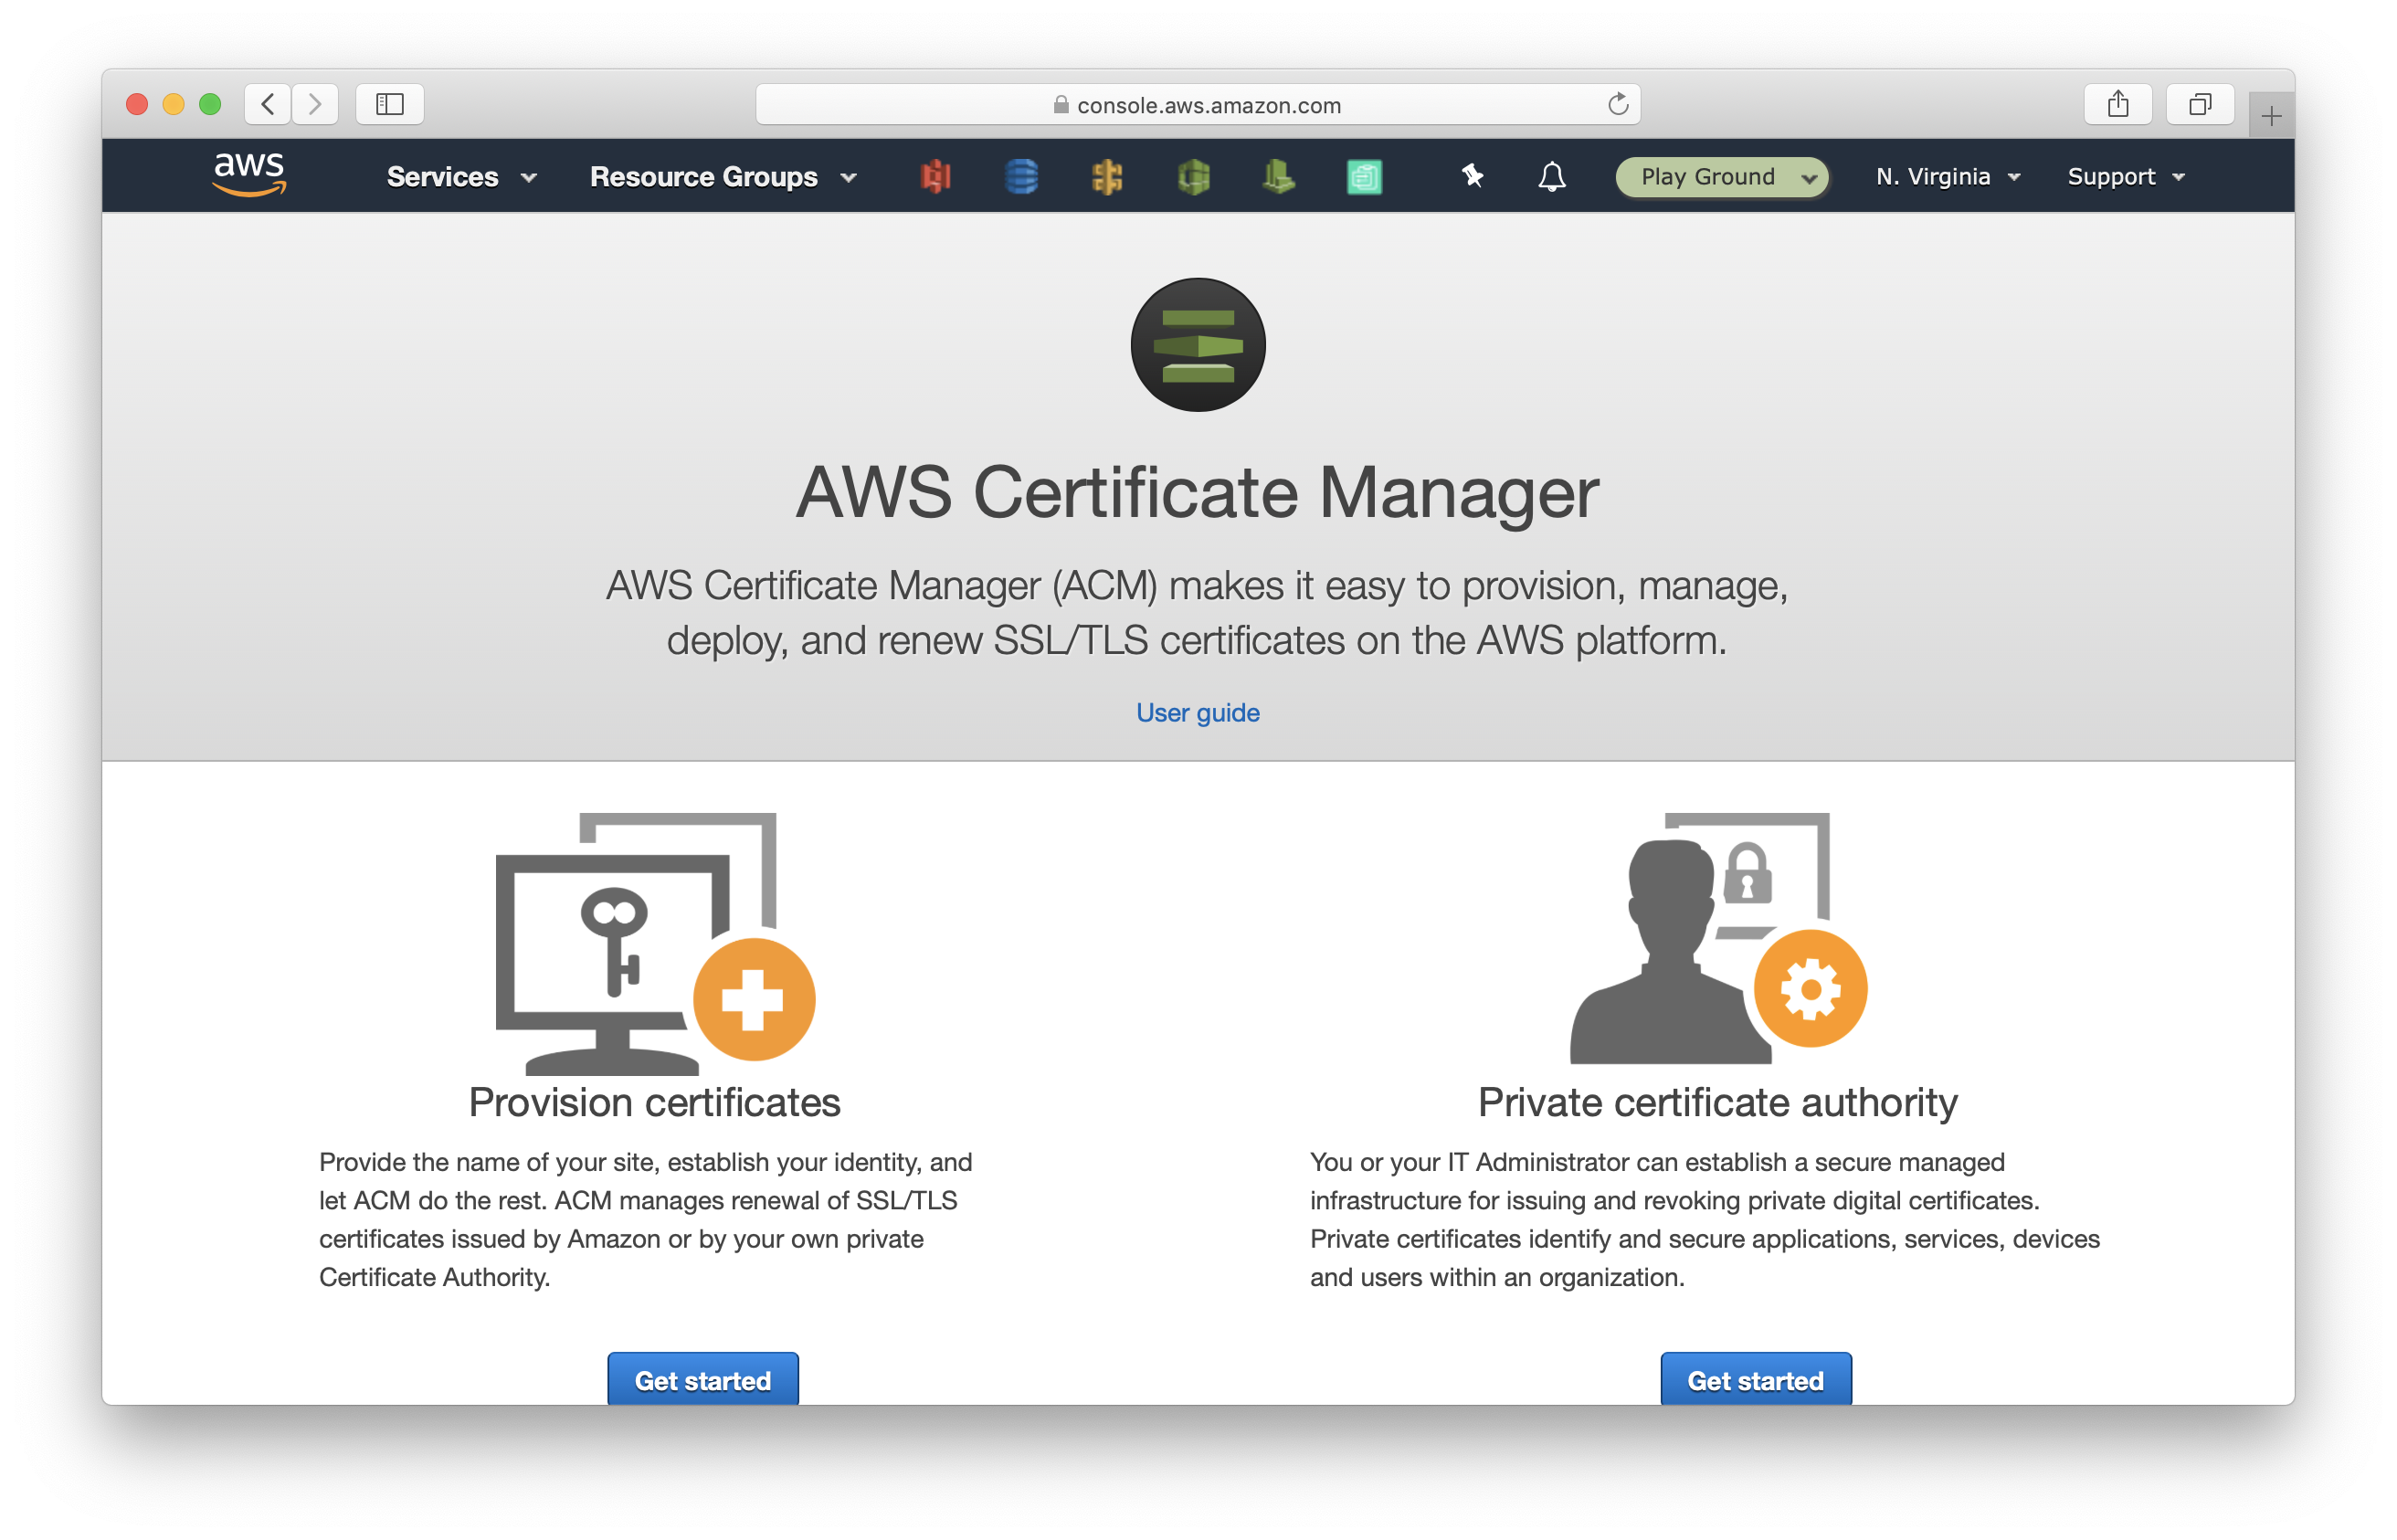
Click on Get Started under Provision certificates.
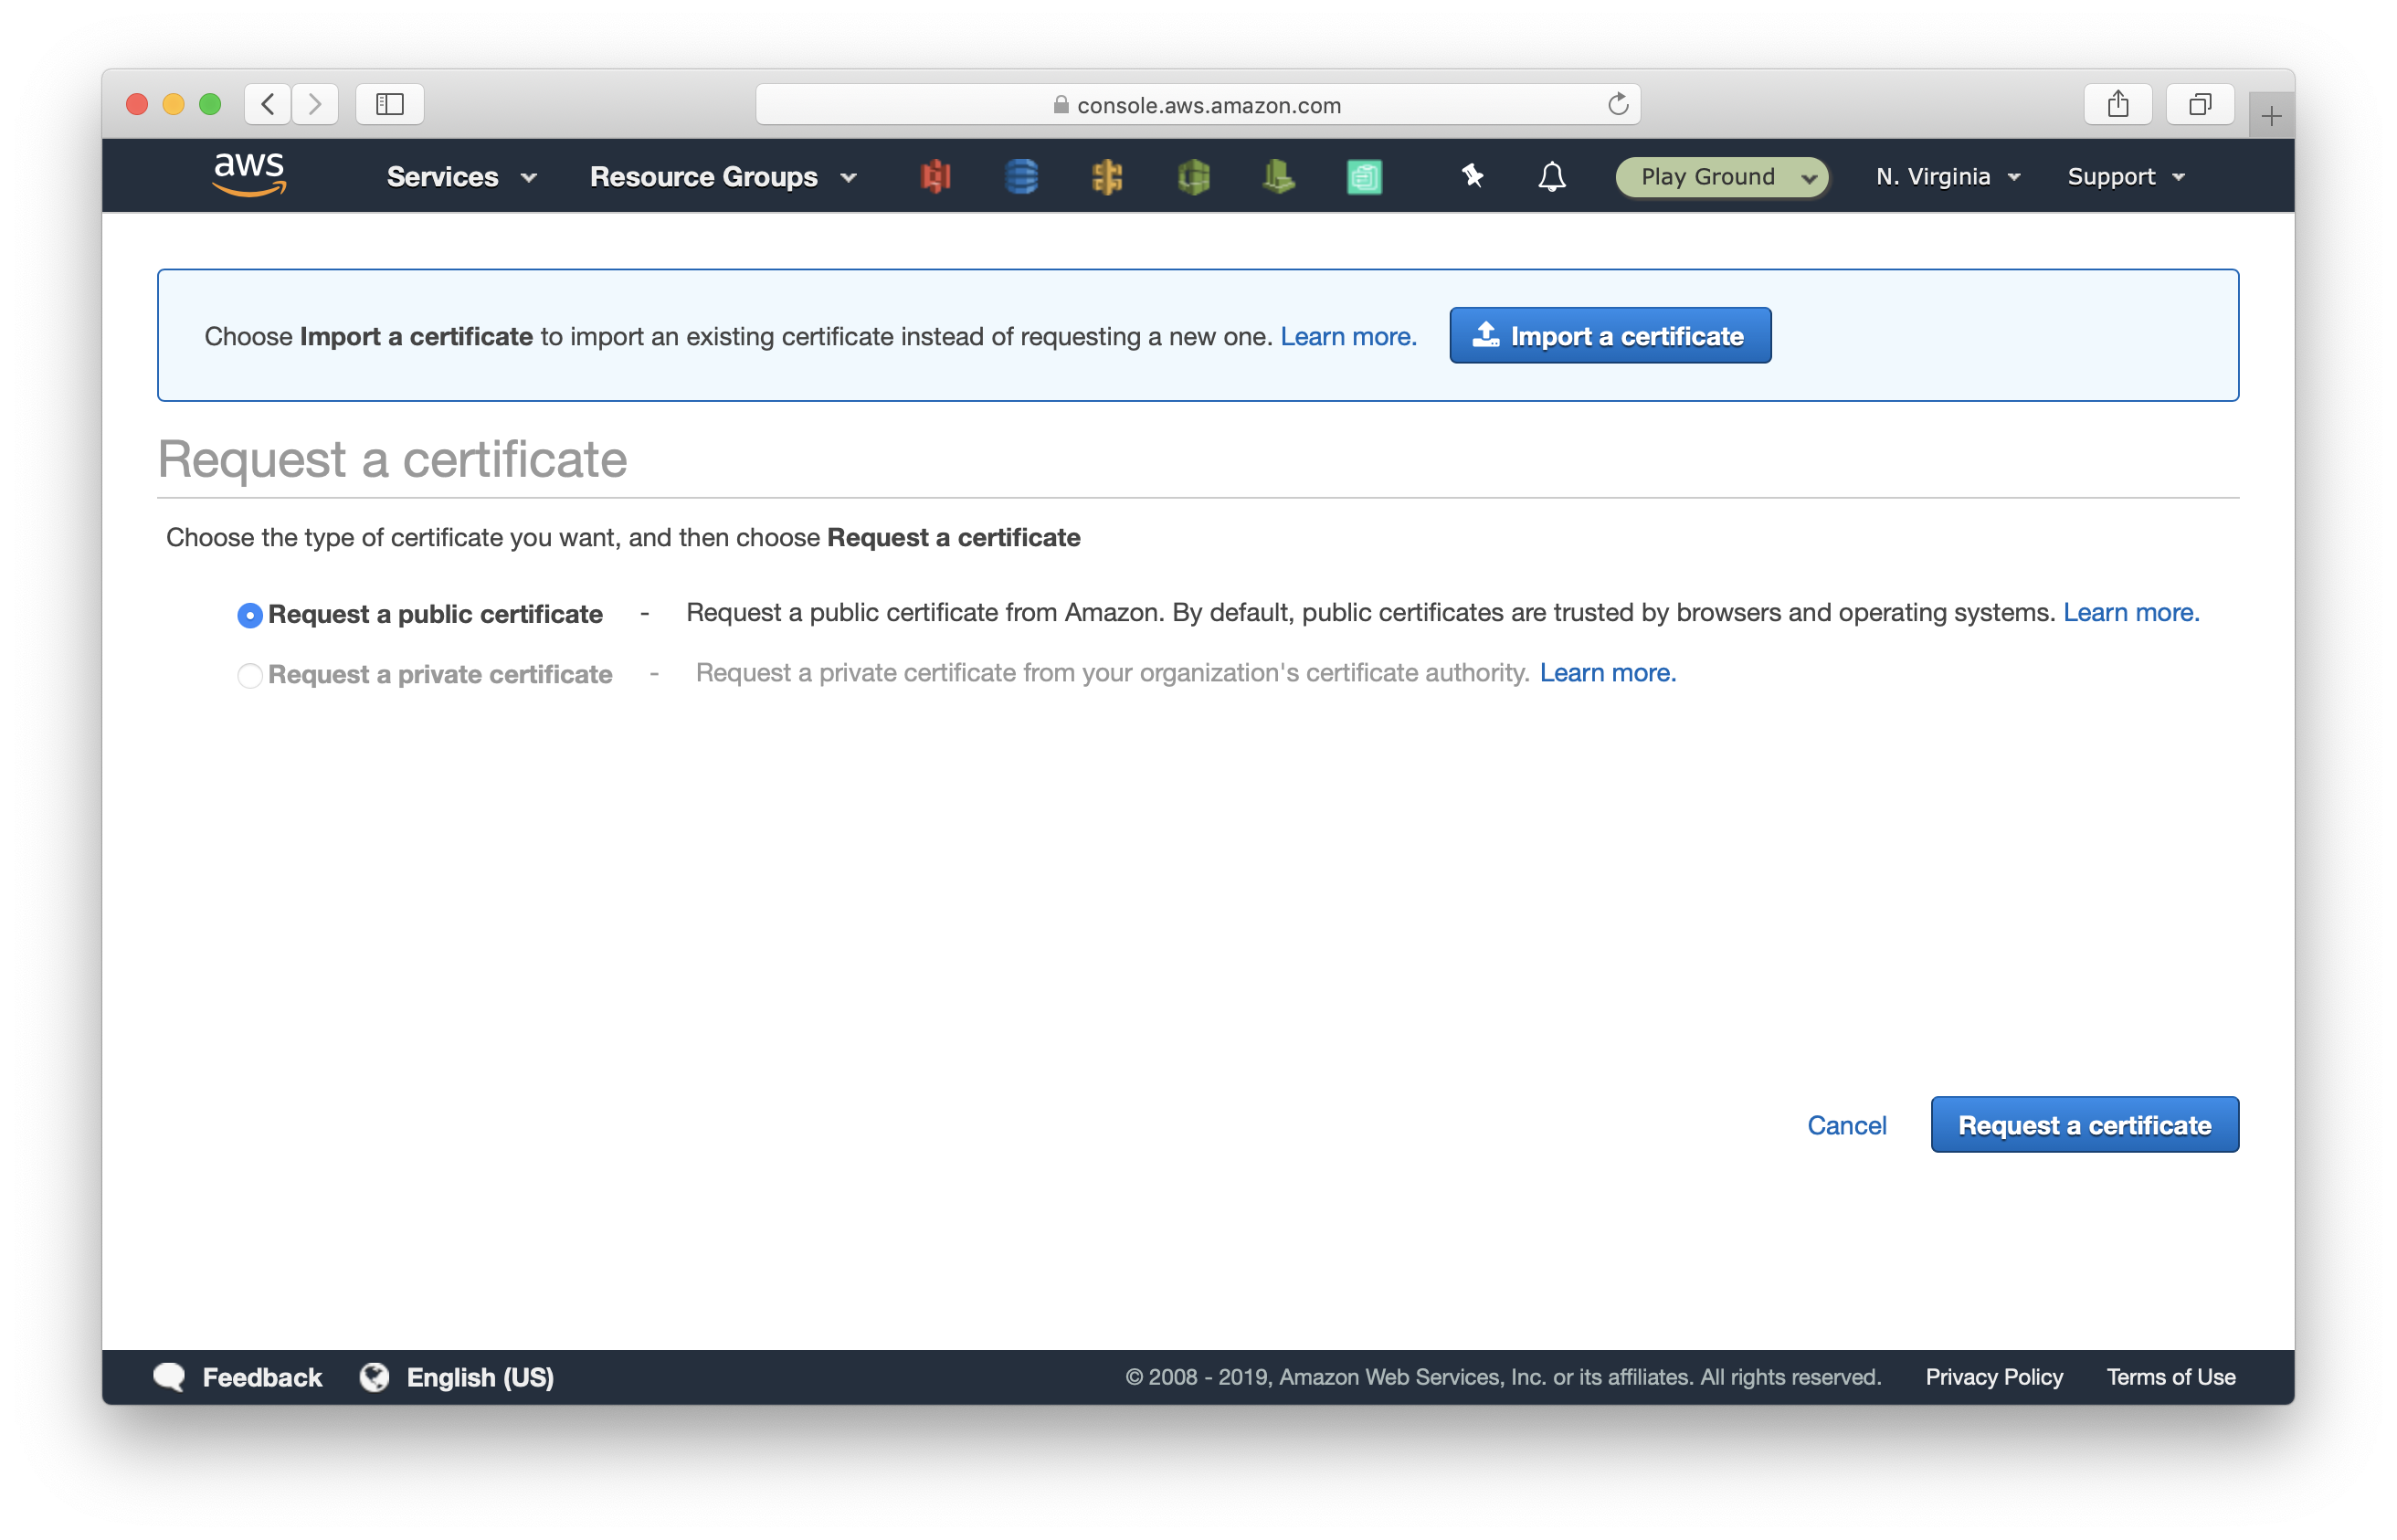
Select Request a public certificate and hit Request a certificate.
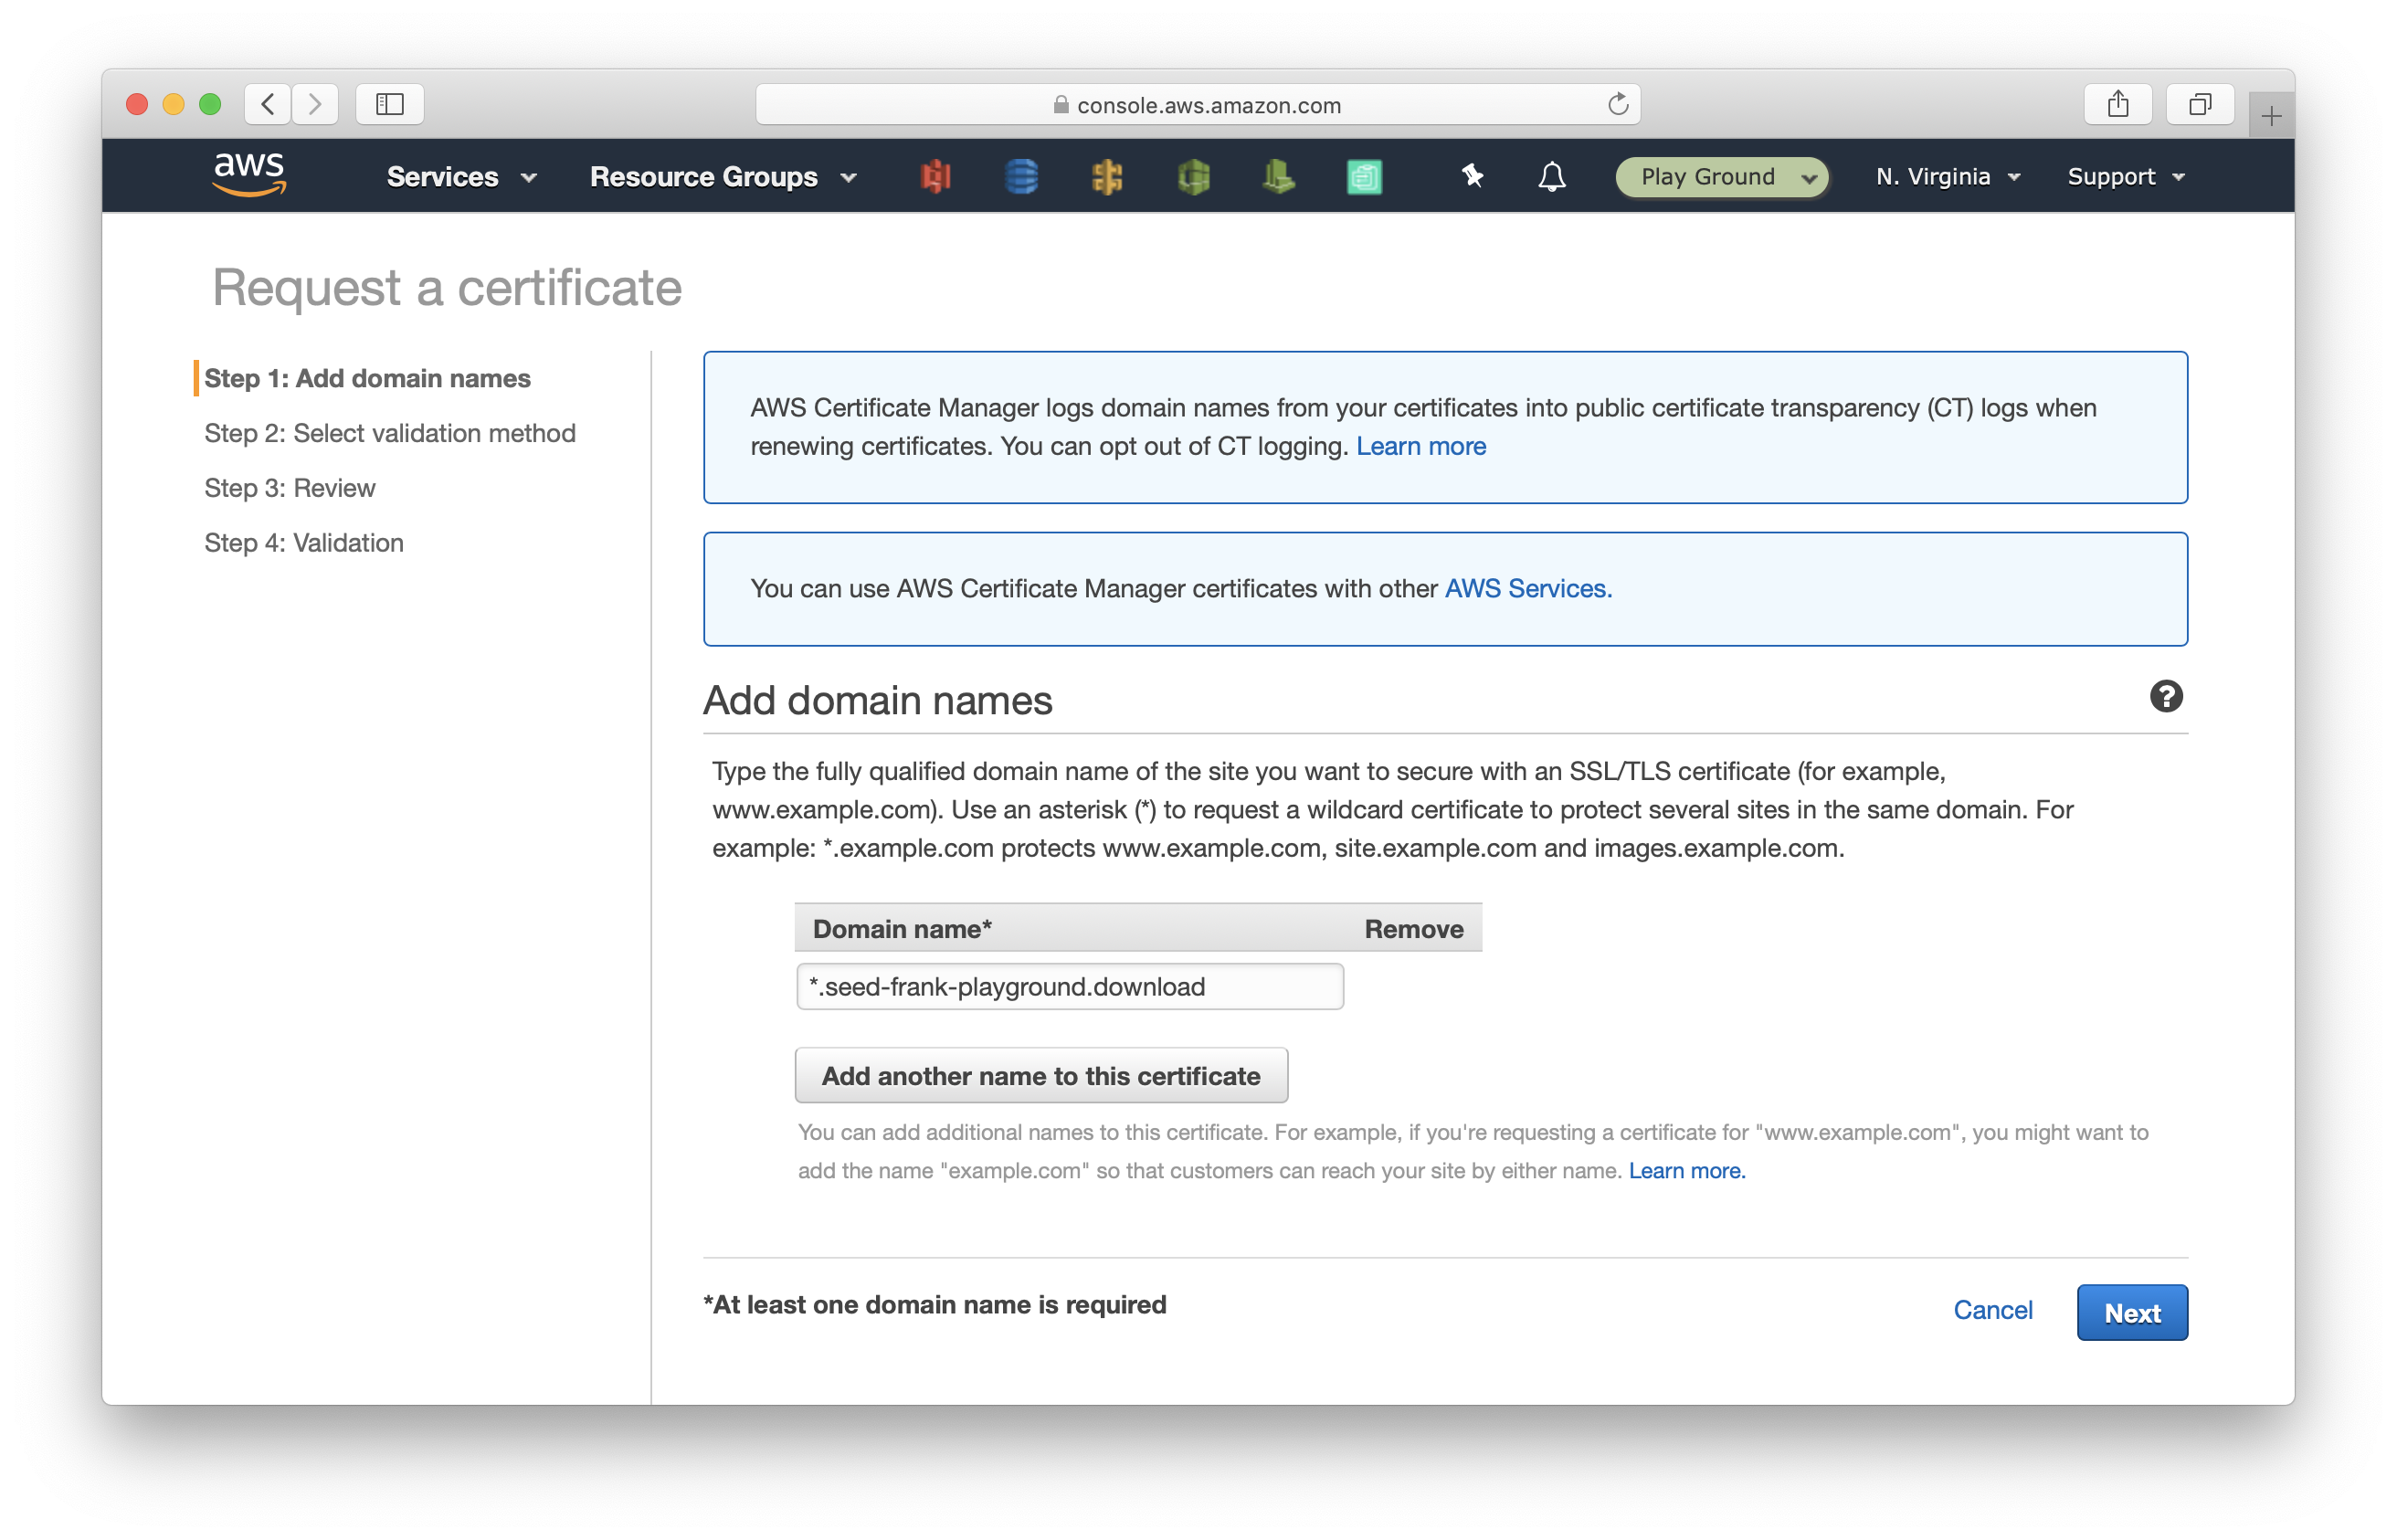
Enter *.seed-frank-playground.download for domain name (replace it with yours), and click Next.
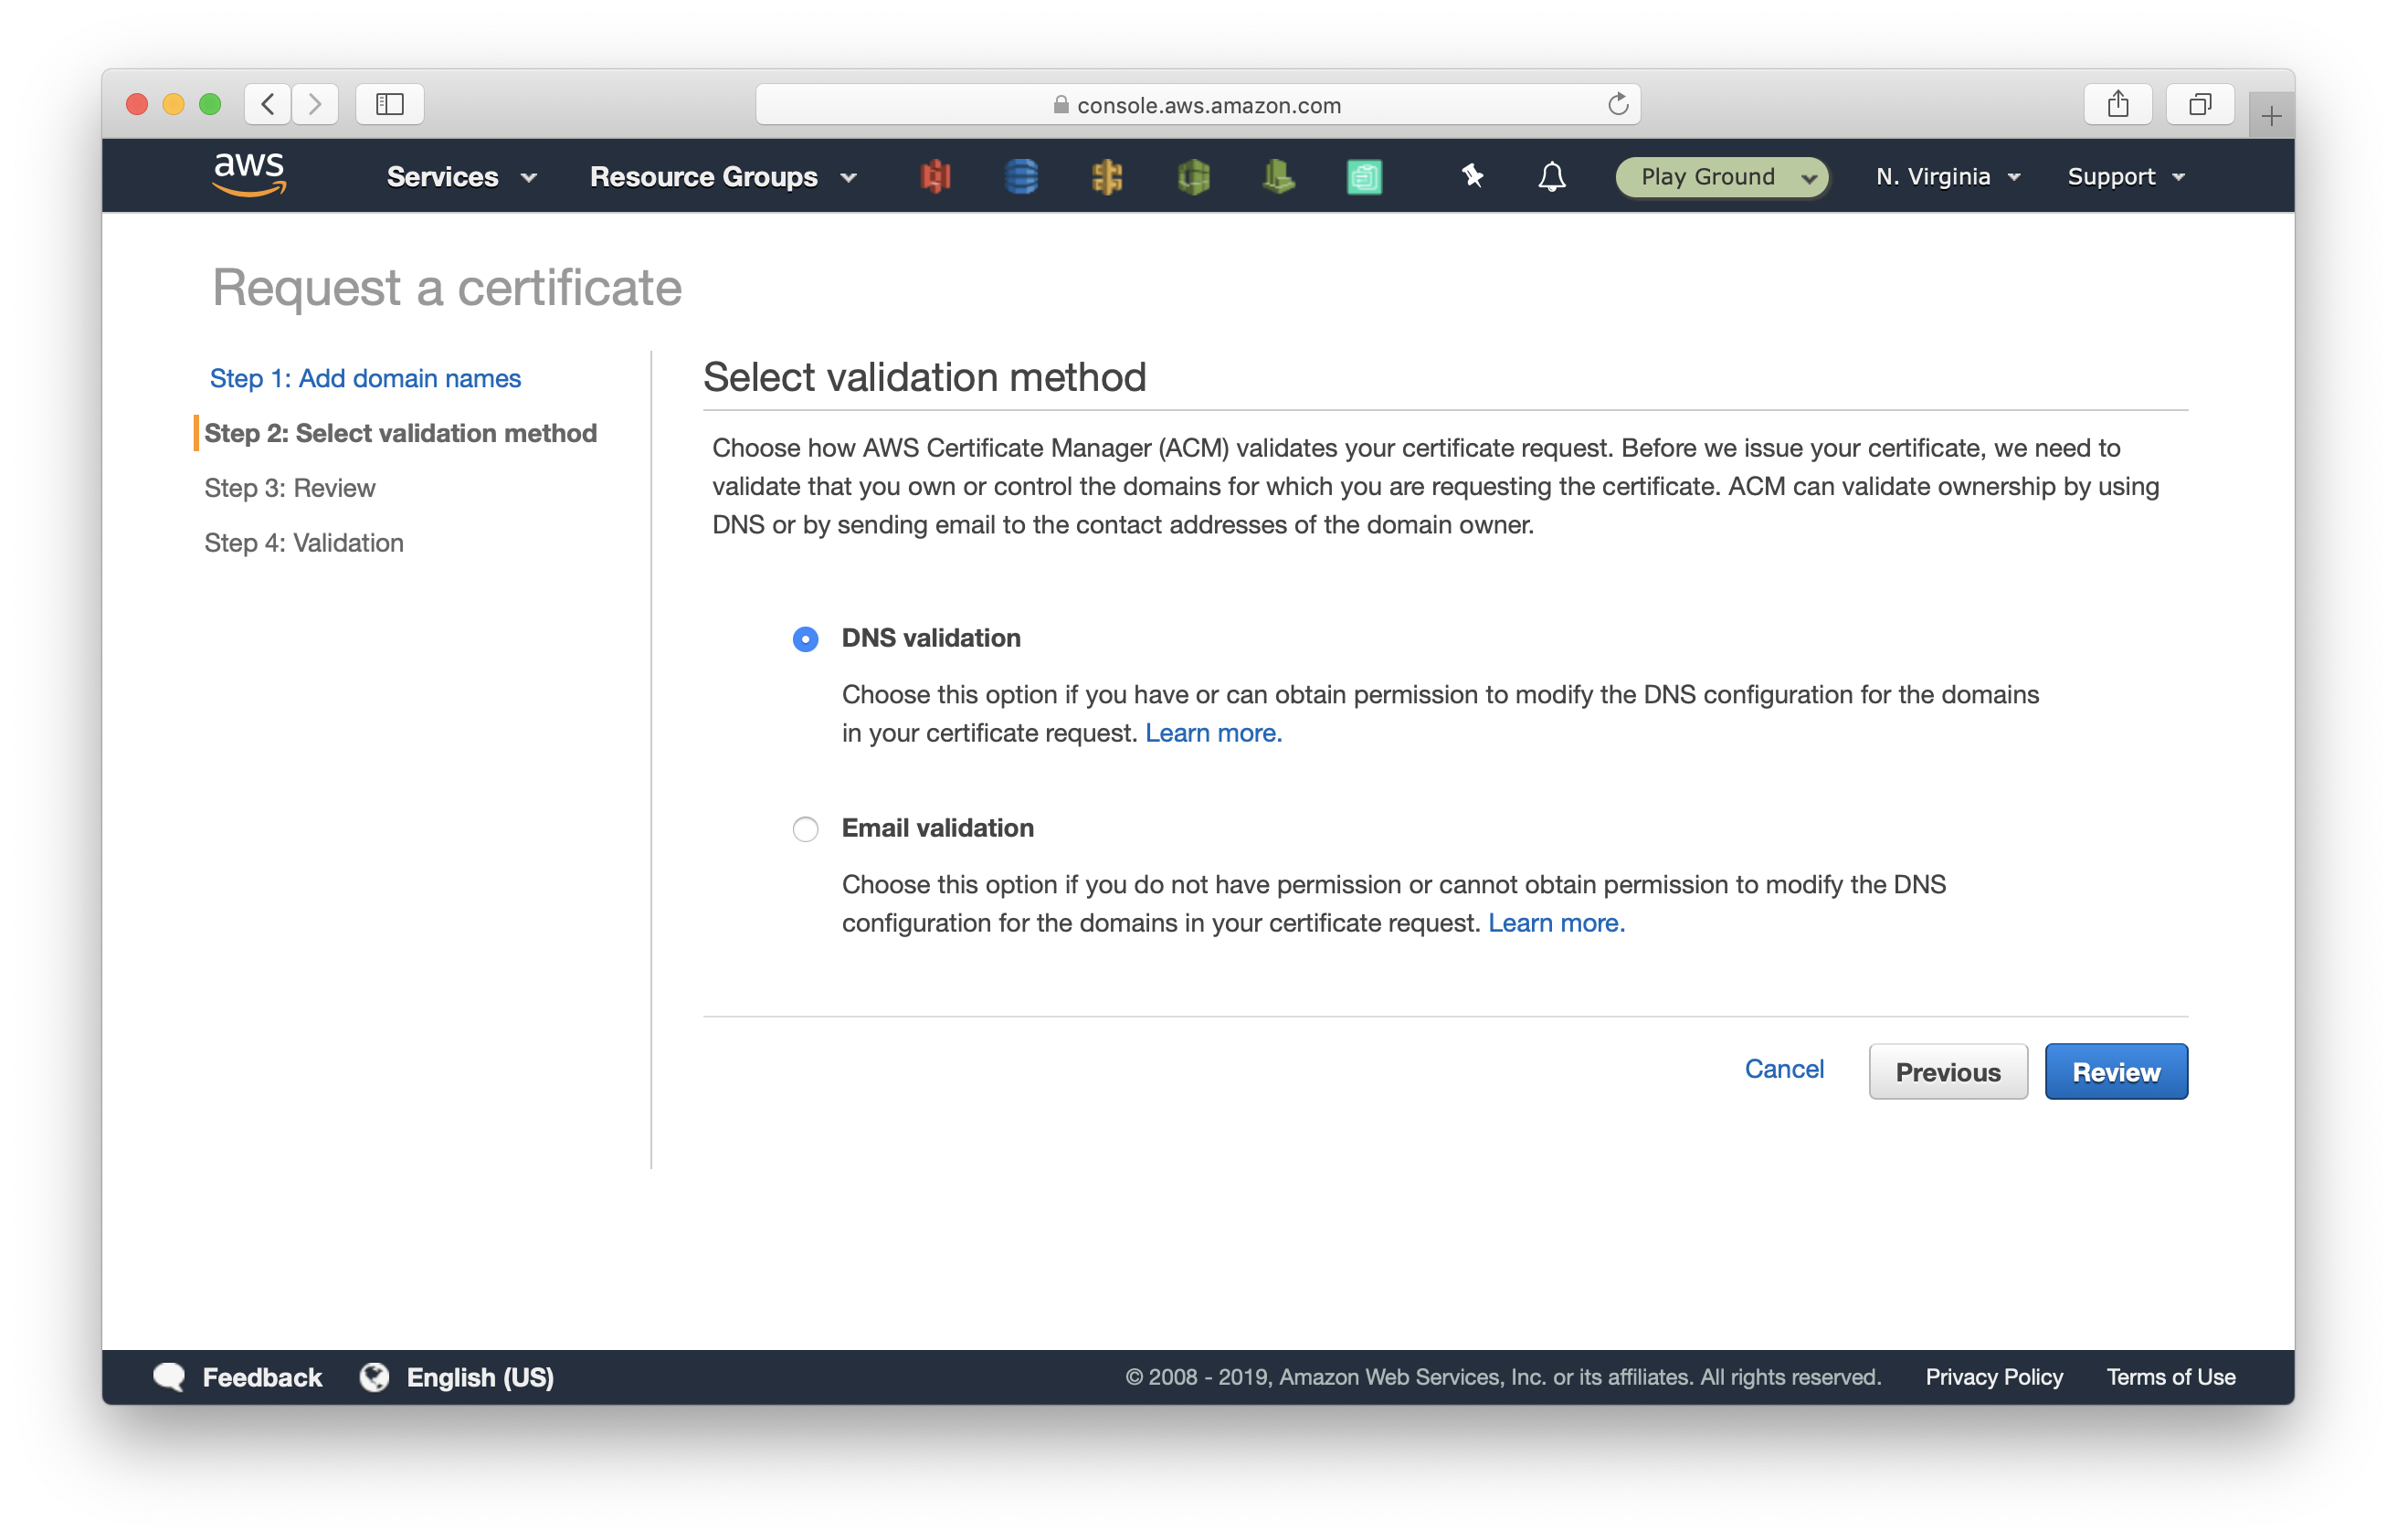
Amazon needs to validate that you own the domain. There are two common ways to do this:
- DNS validation: you add a specific CNAME record to prove you have access to the domain’s DNS record.
- Or, email validation: they send you an email, you need to click through the verification link in the email.
We’ll select DNS validation, and since our domain is hosted on Route 53, ACM can help us set it up automatically.
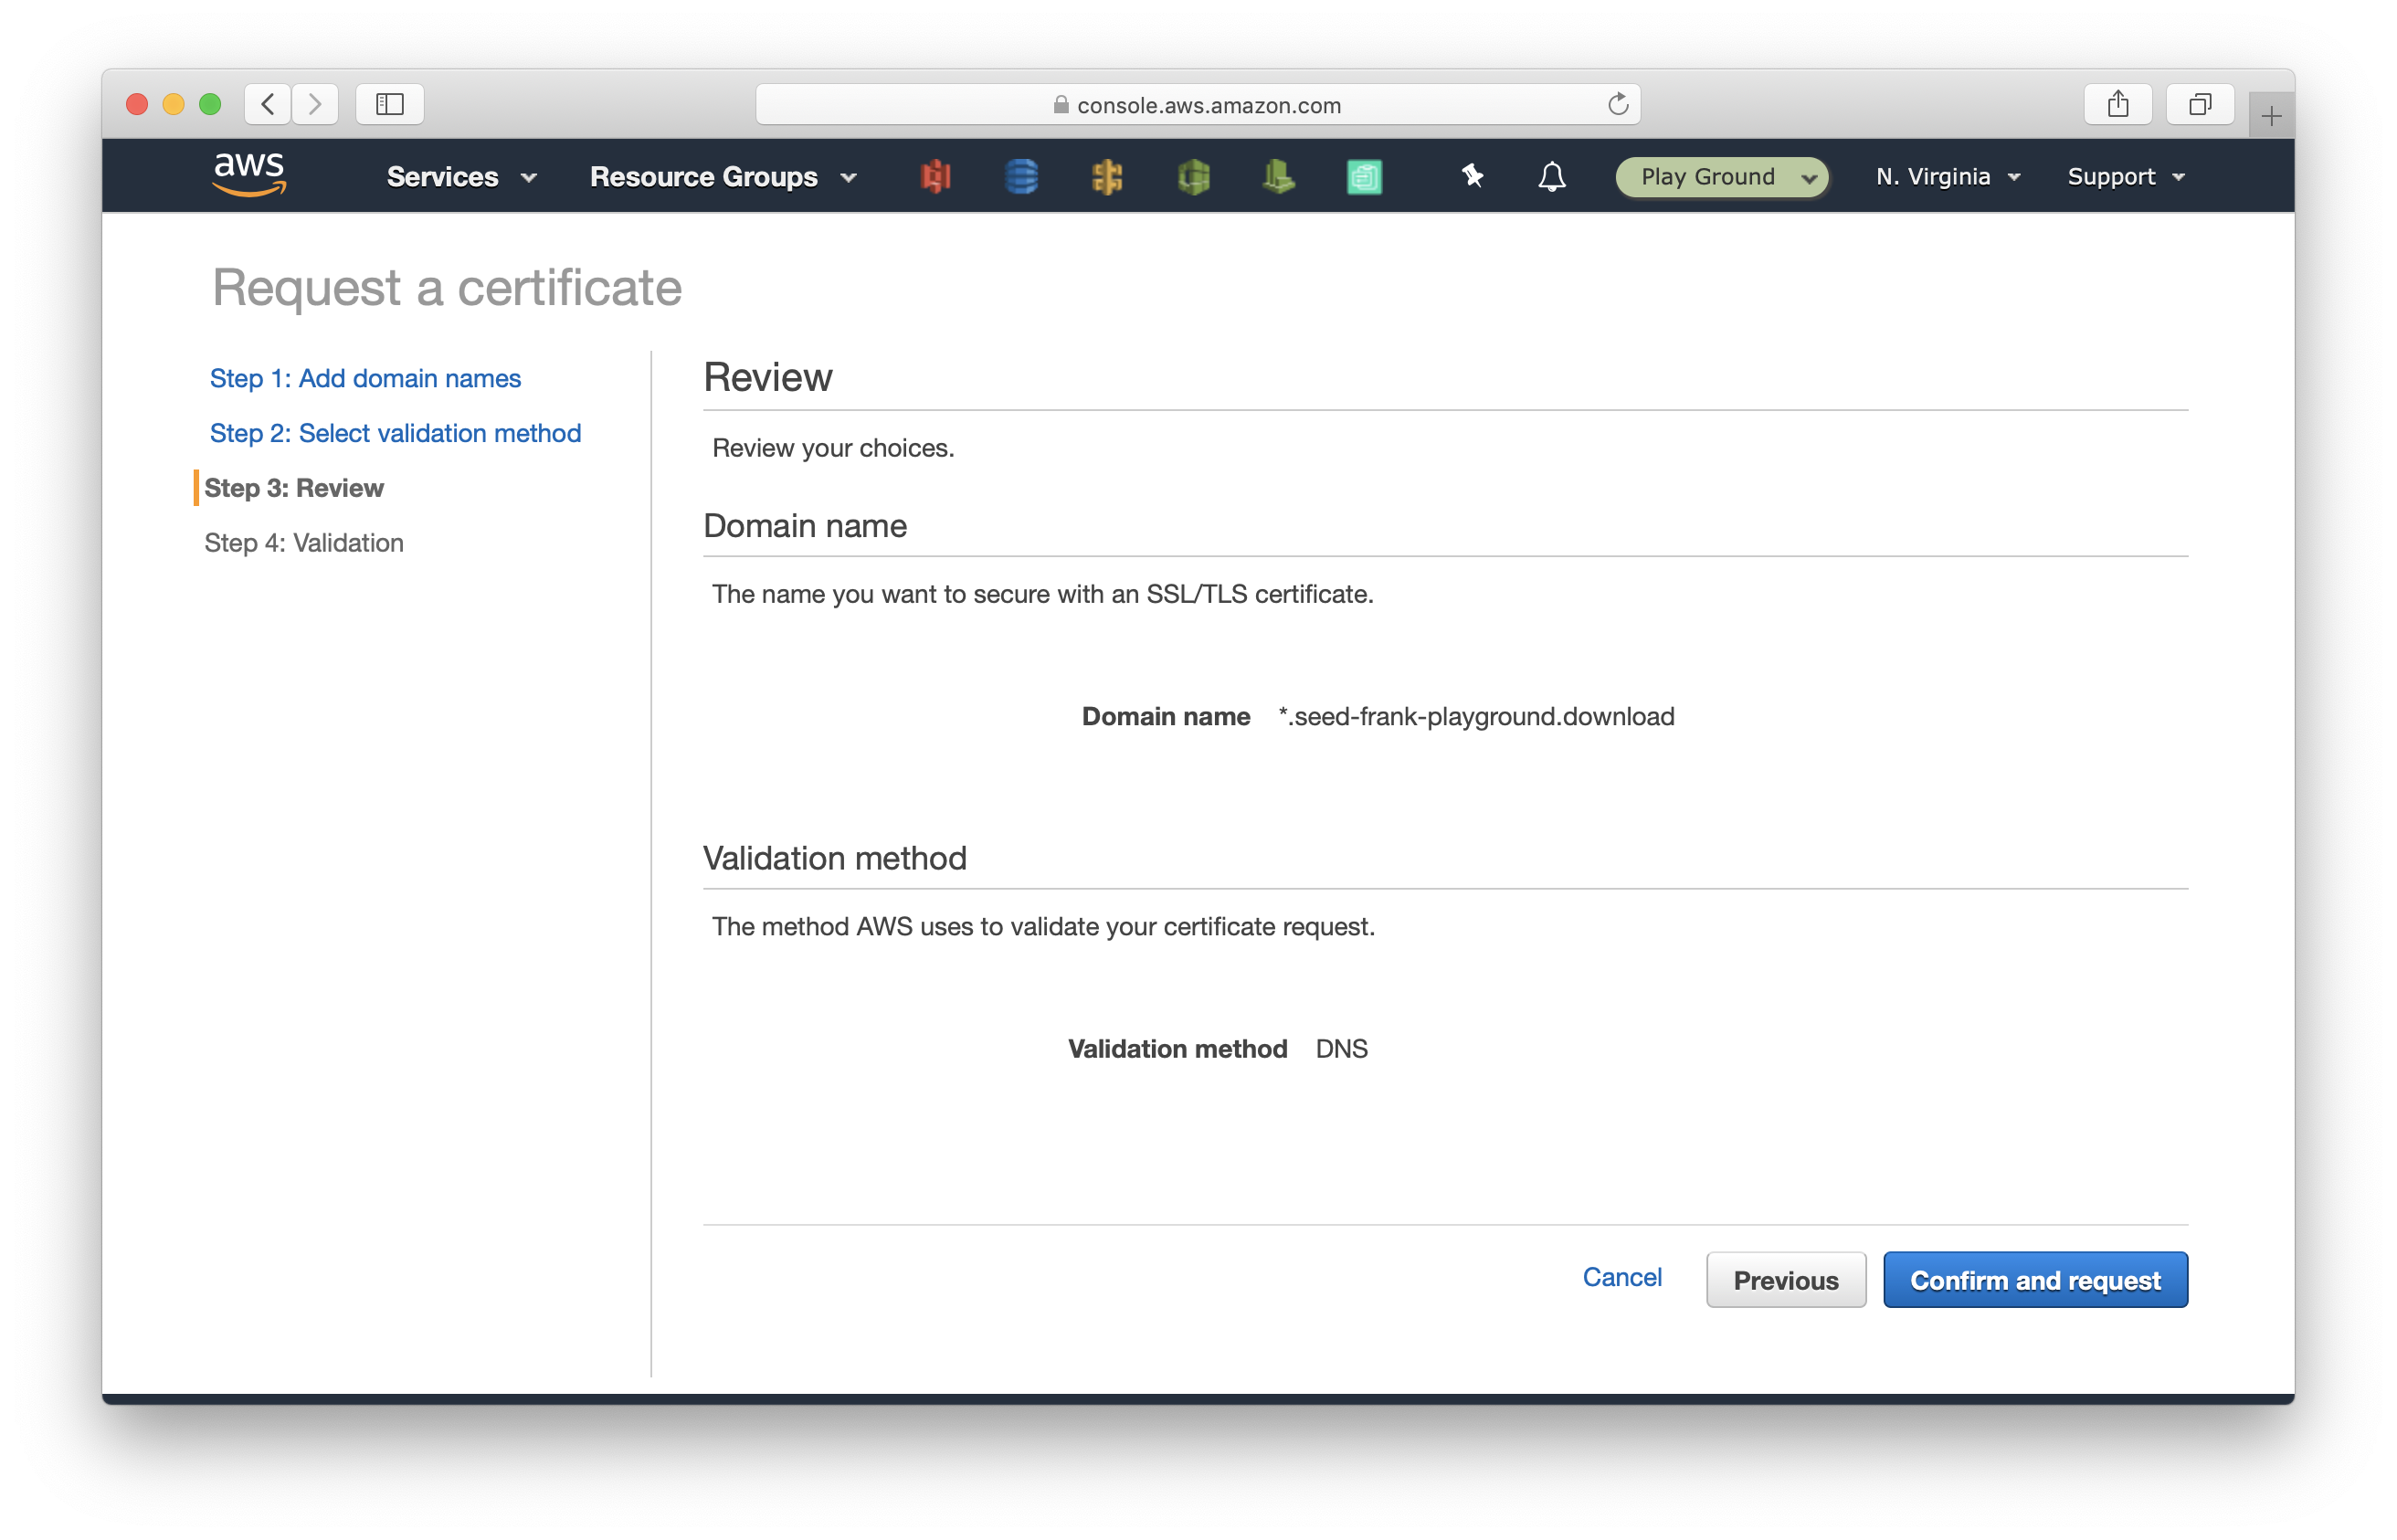
Select DNS Validation and click Review.
Click Confirm and request.
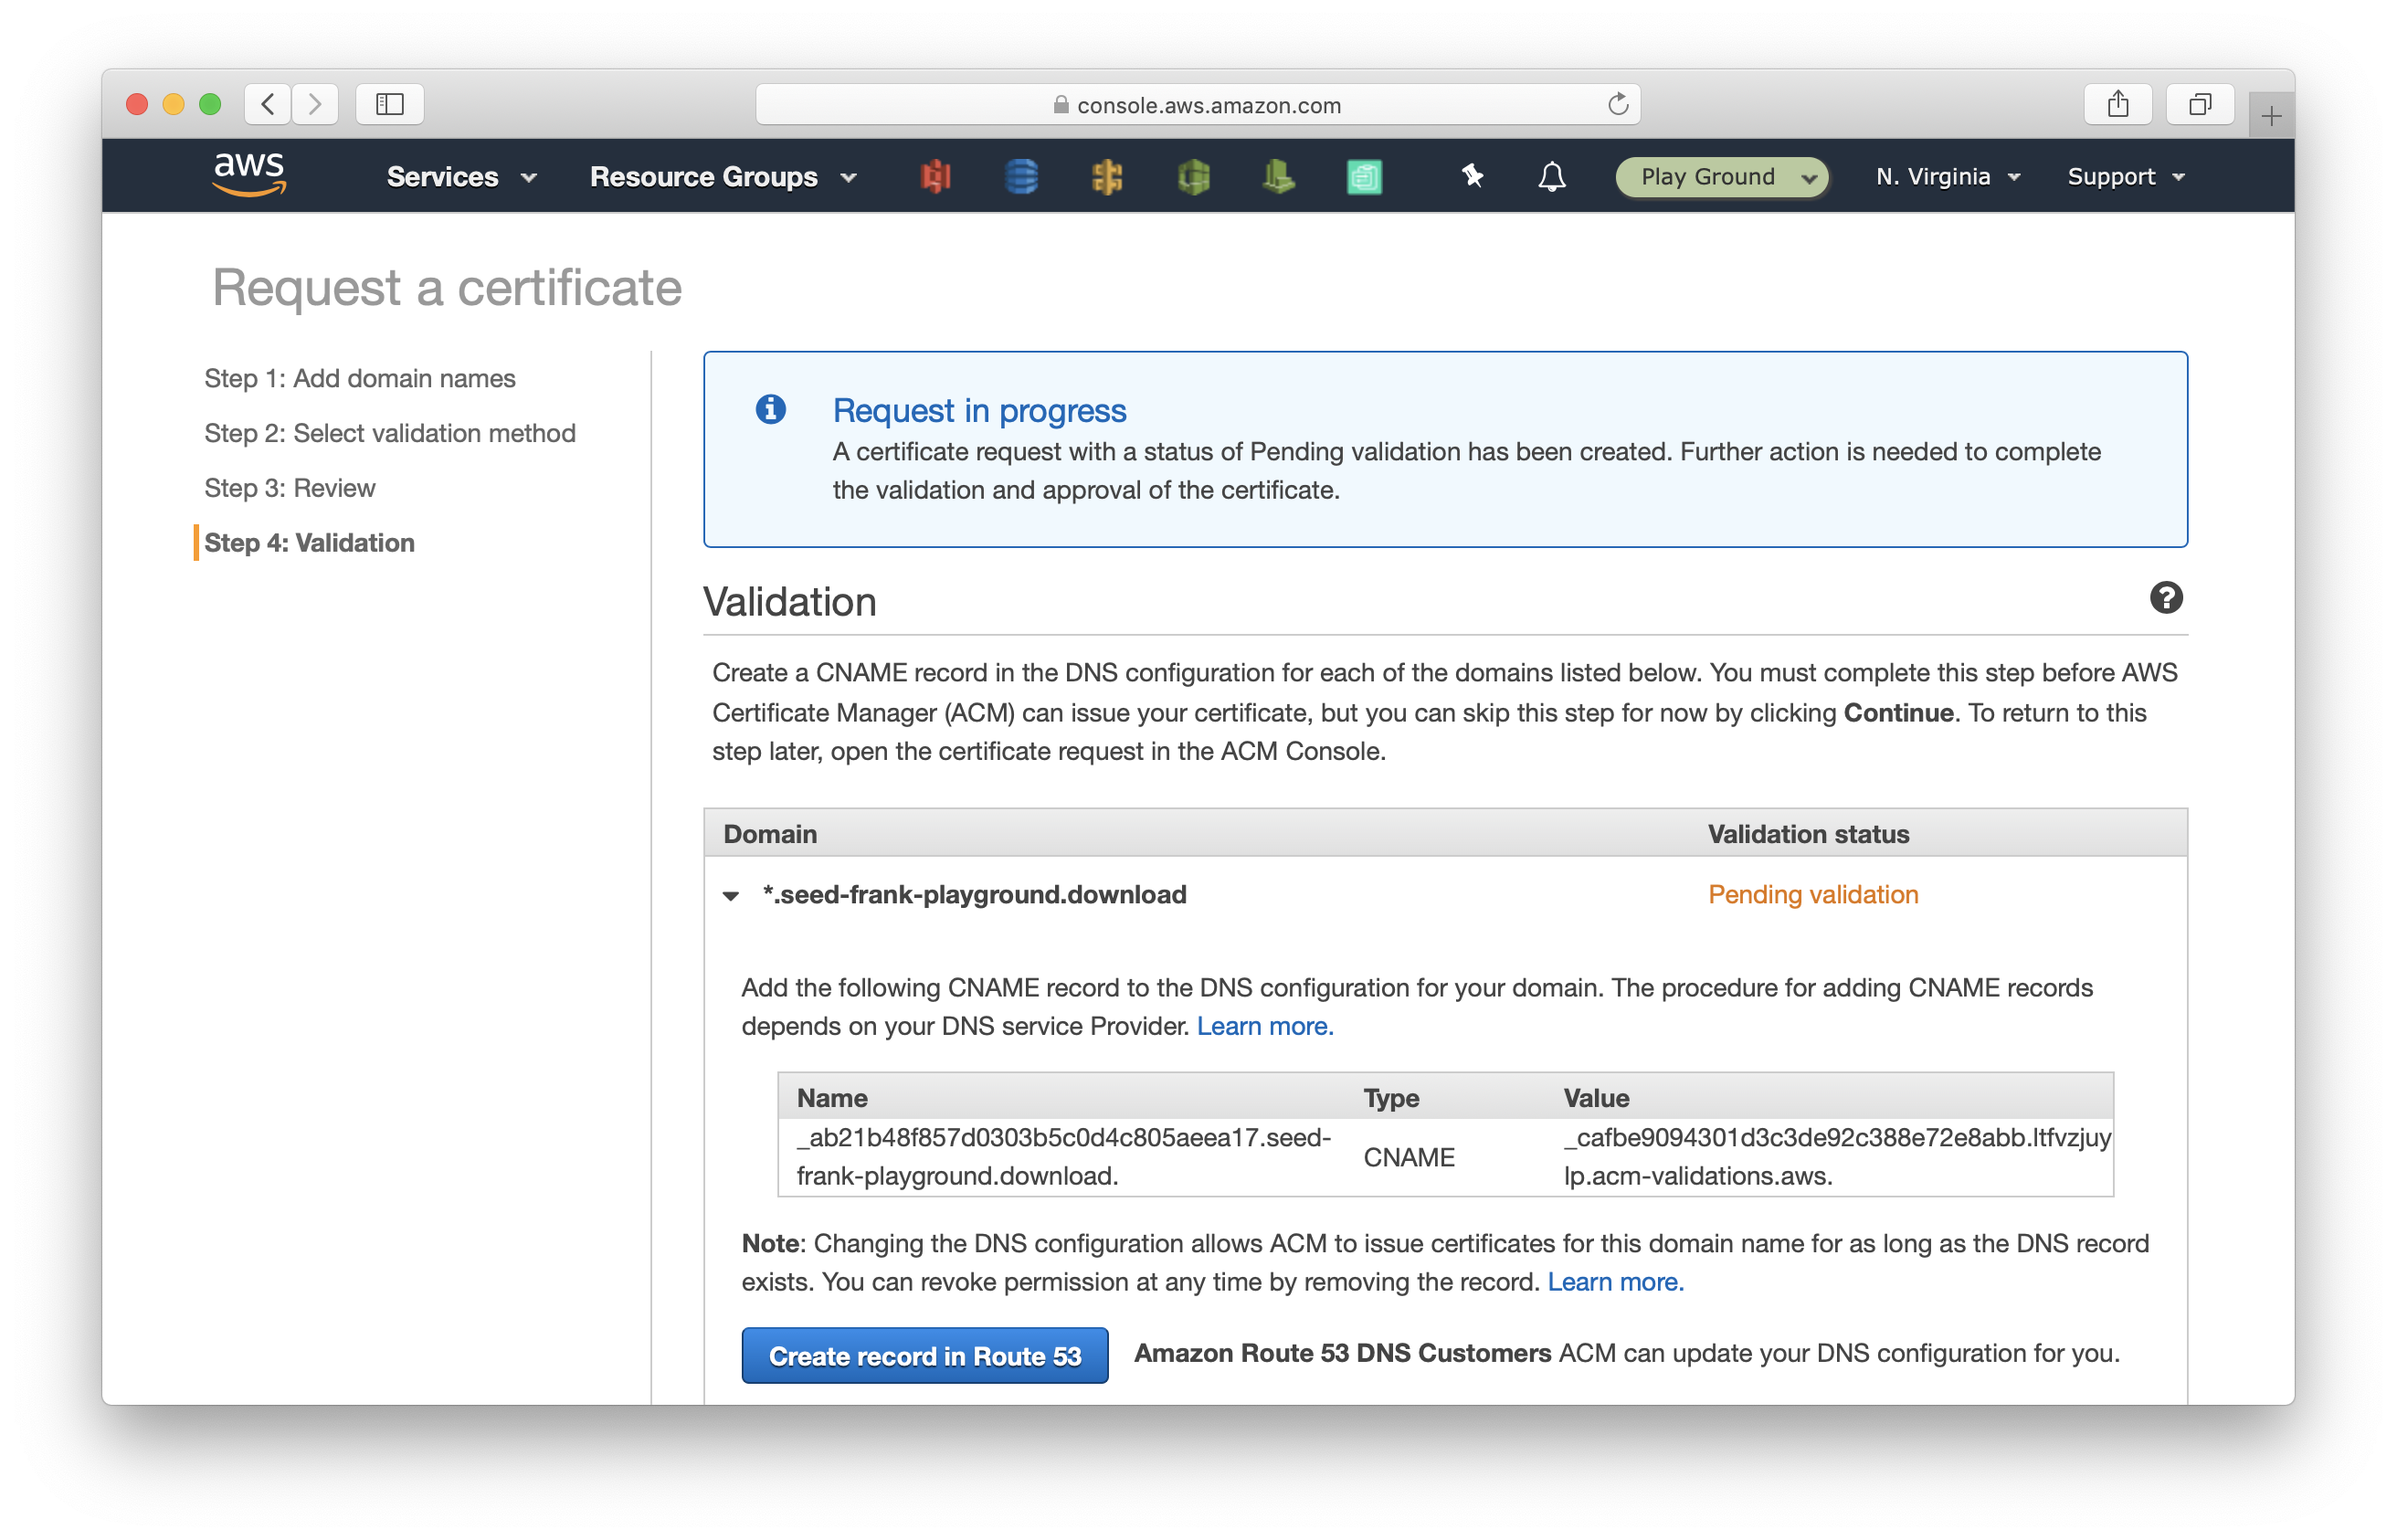
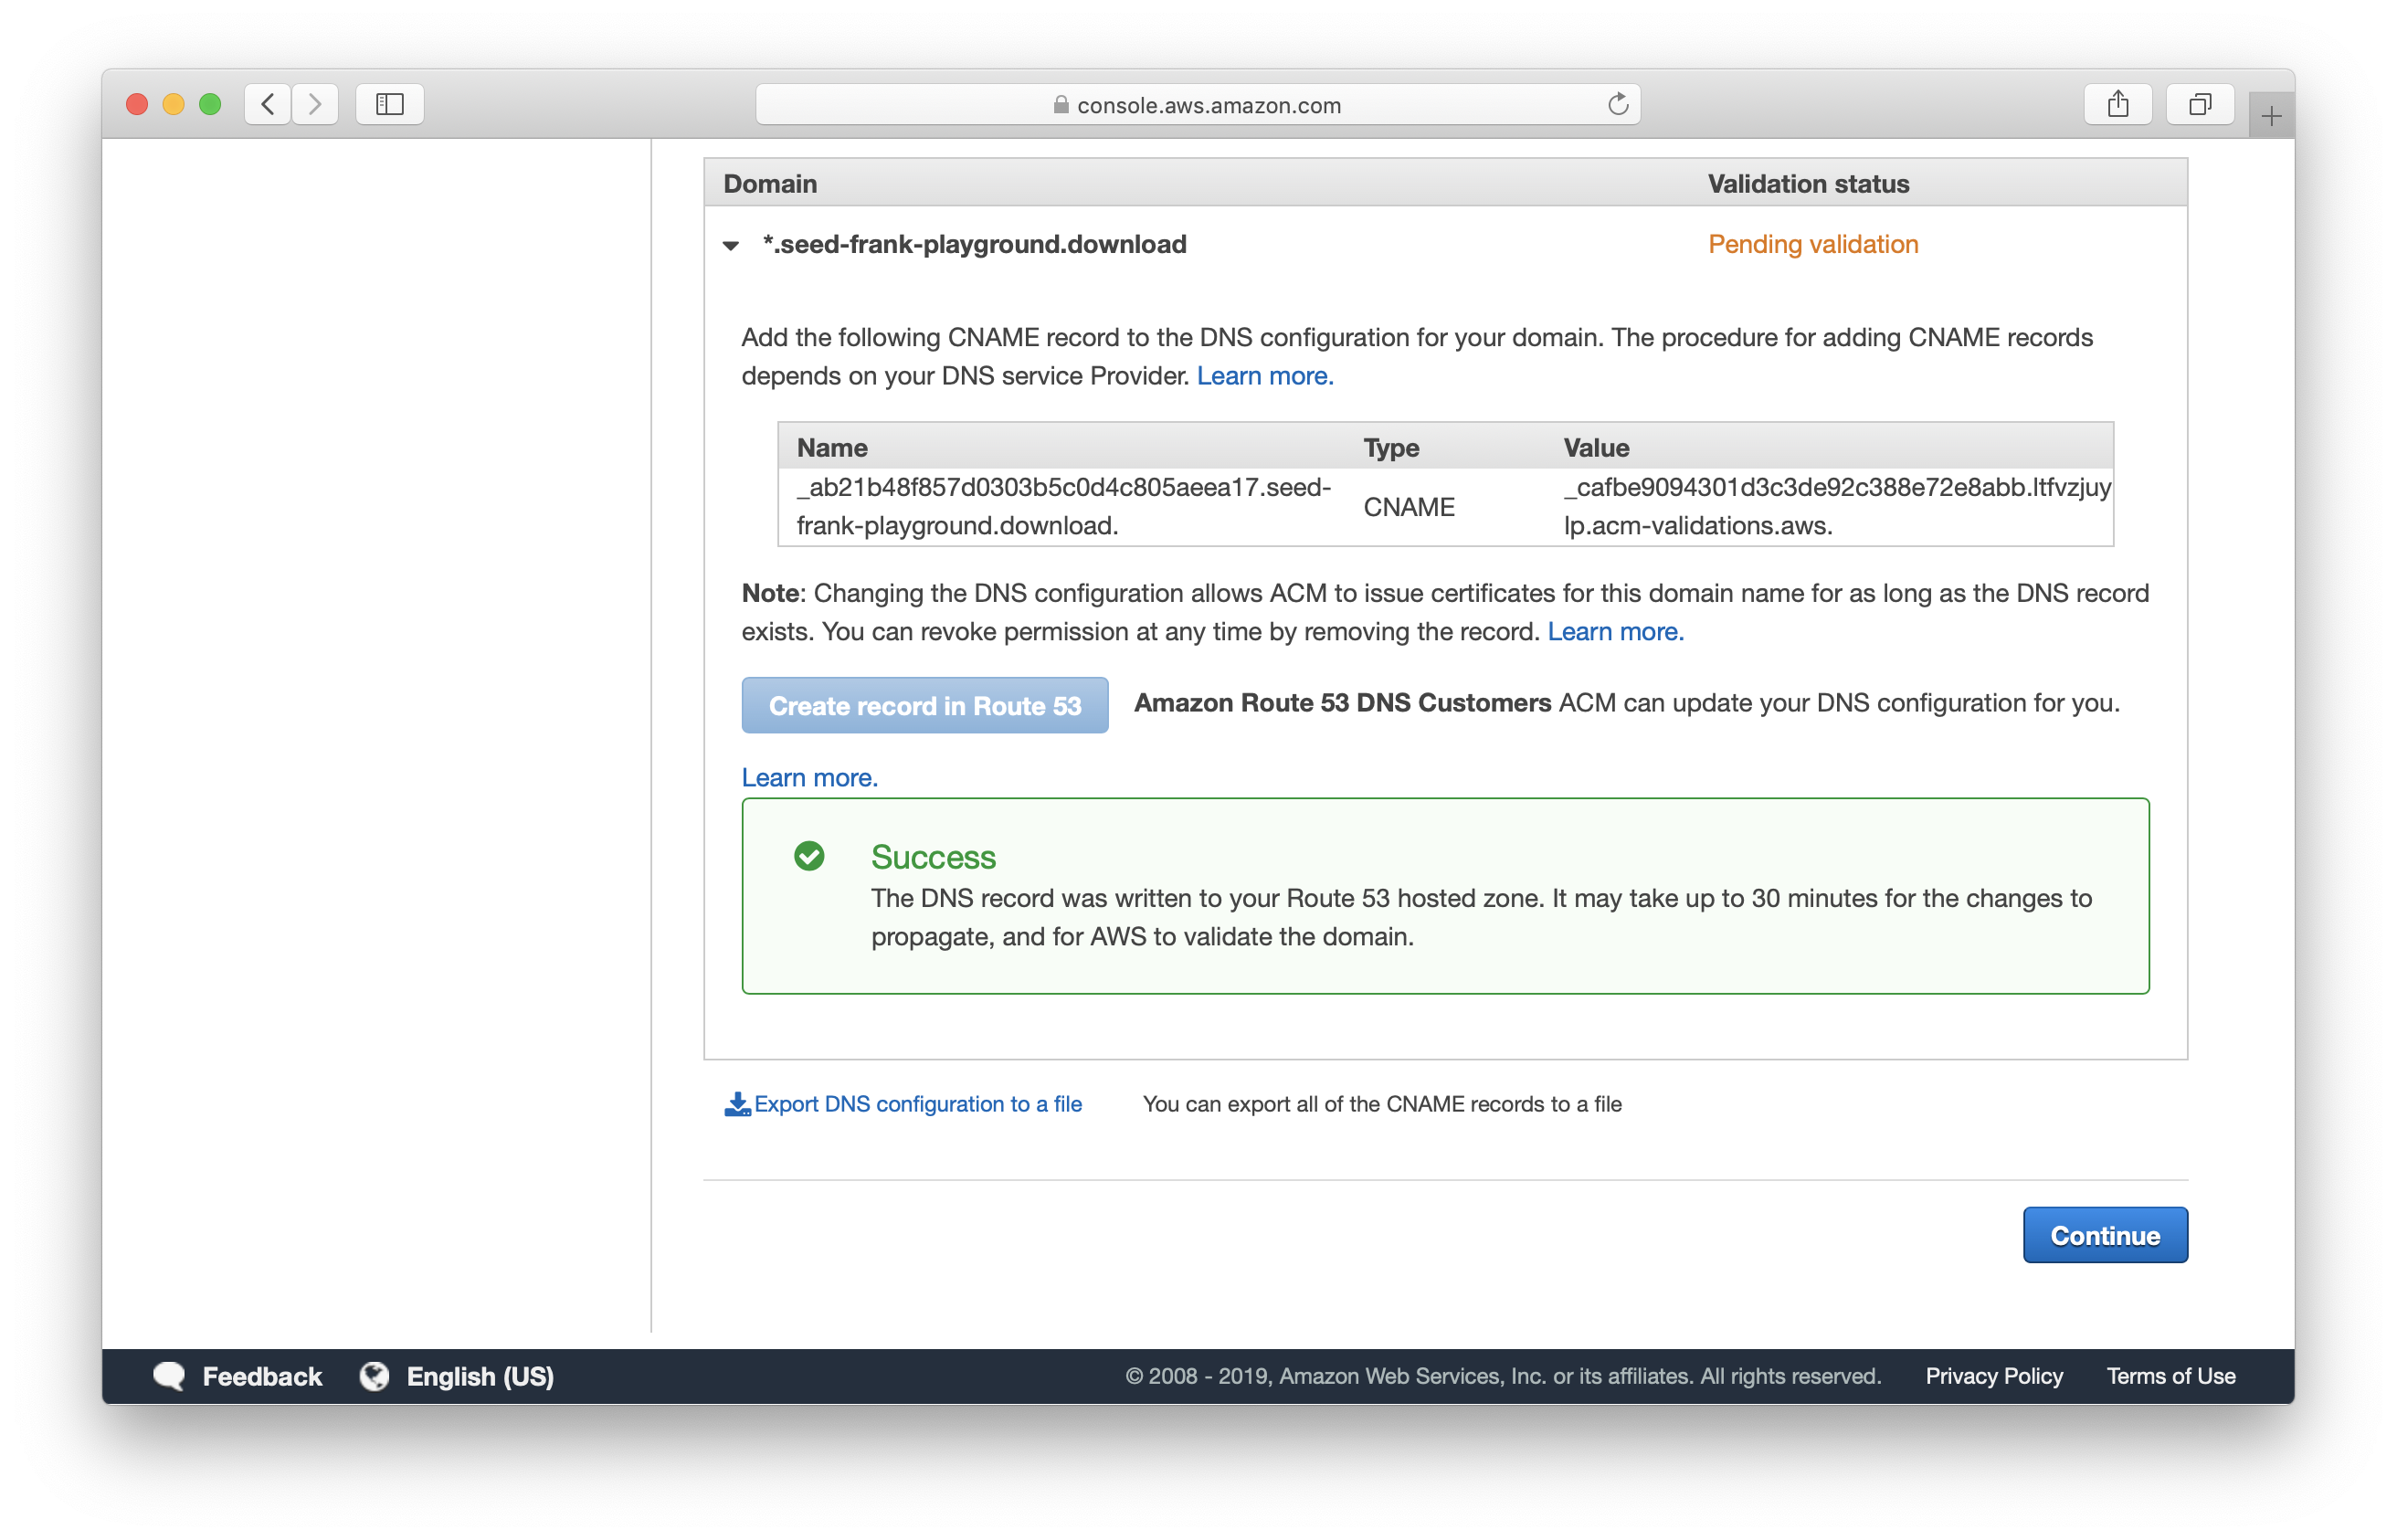
You’ll see validation status set to Pending validation. Hit Create record in Route 53.
Click Create.
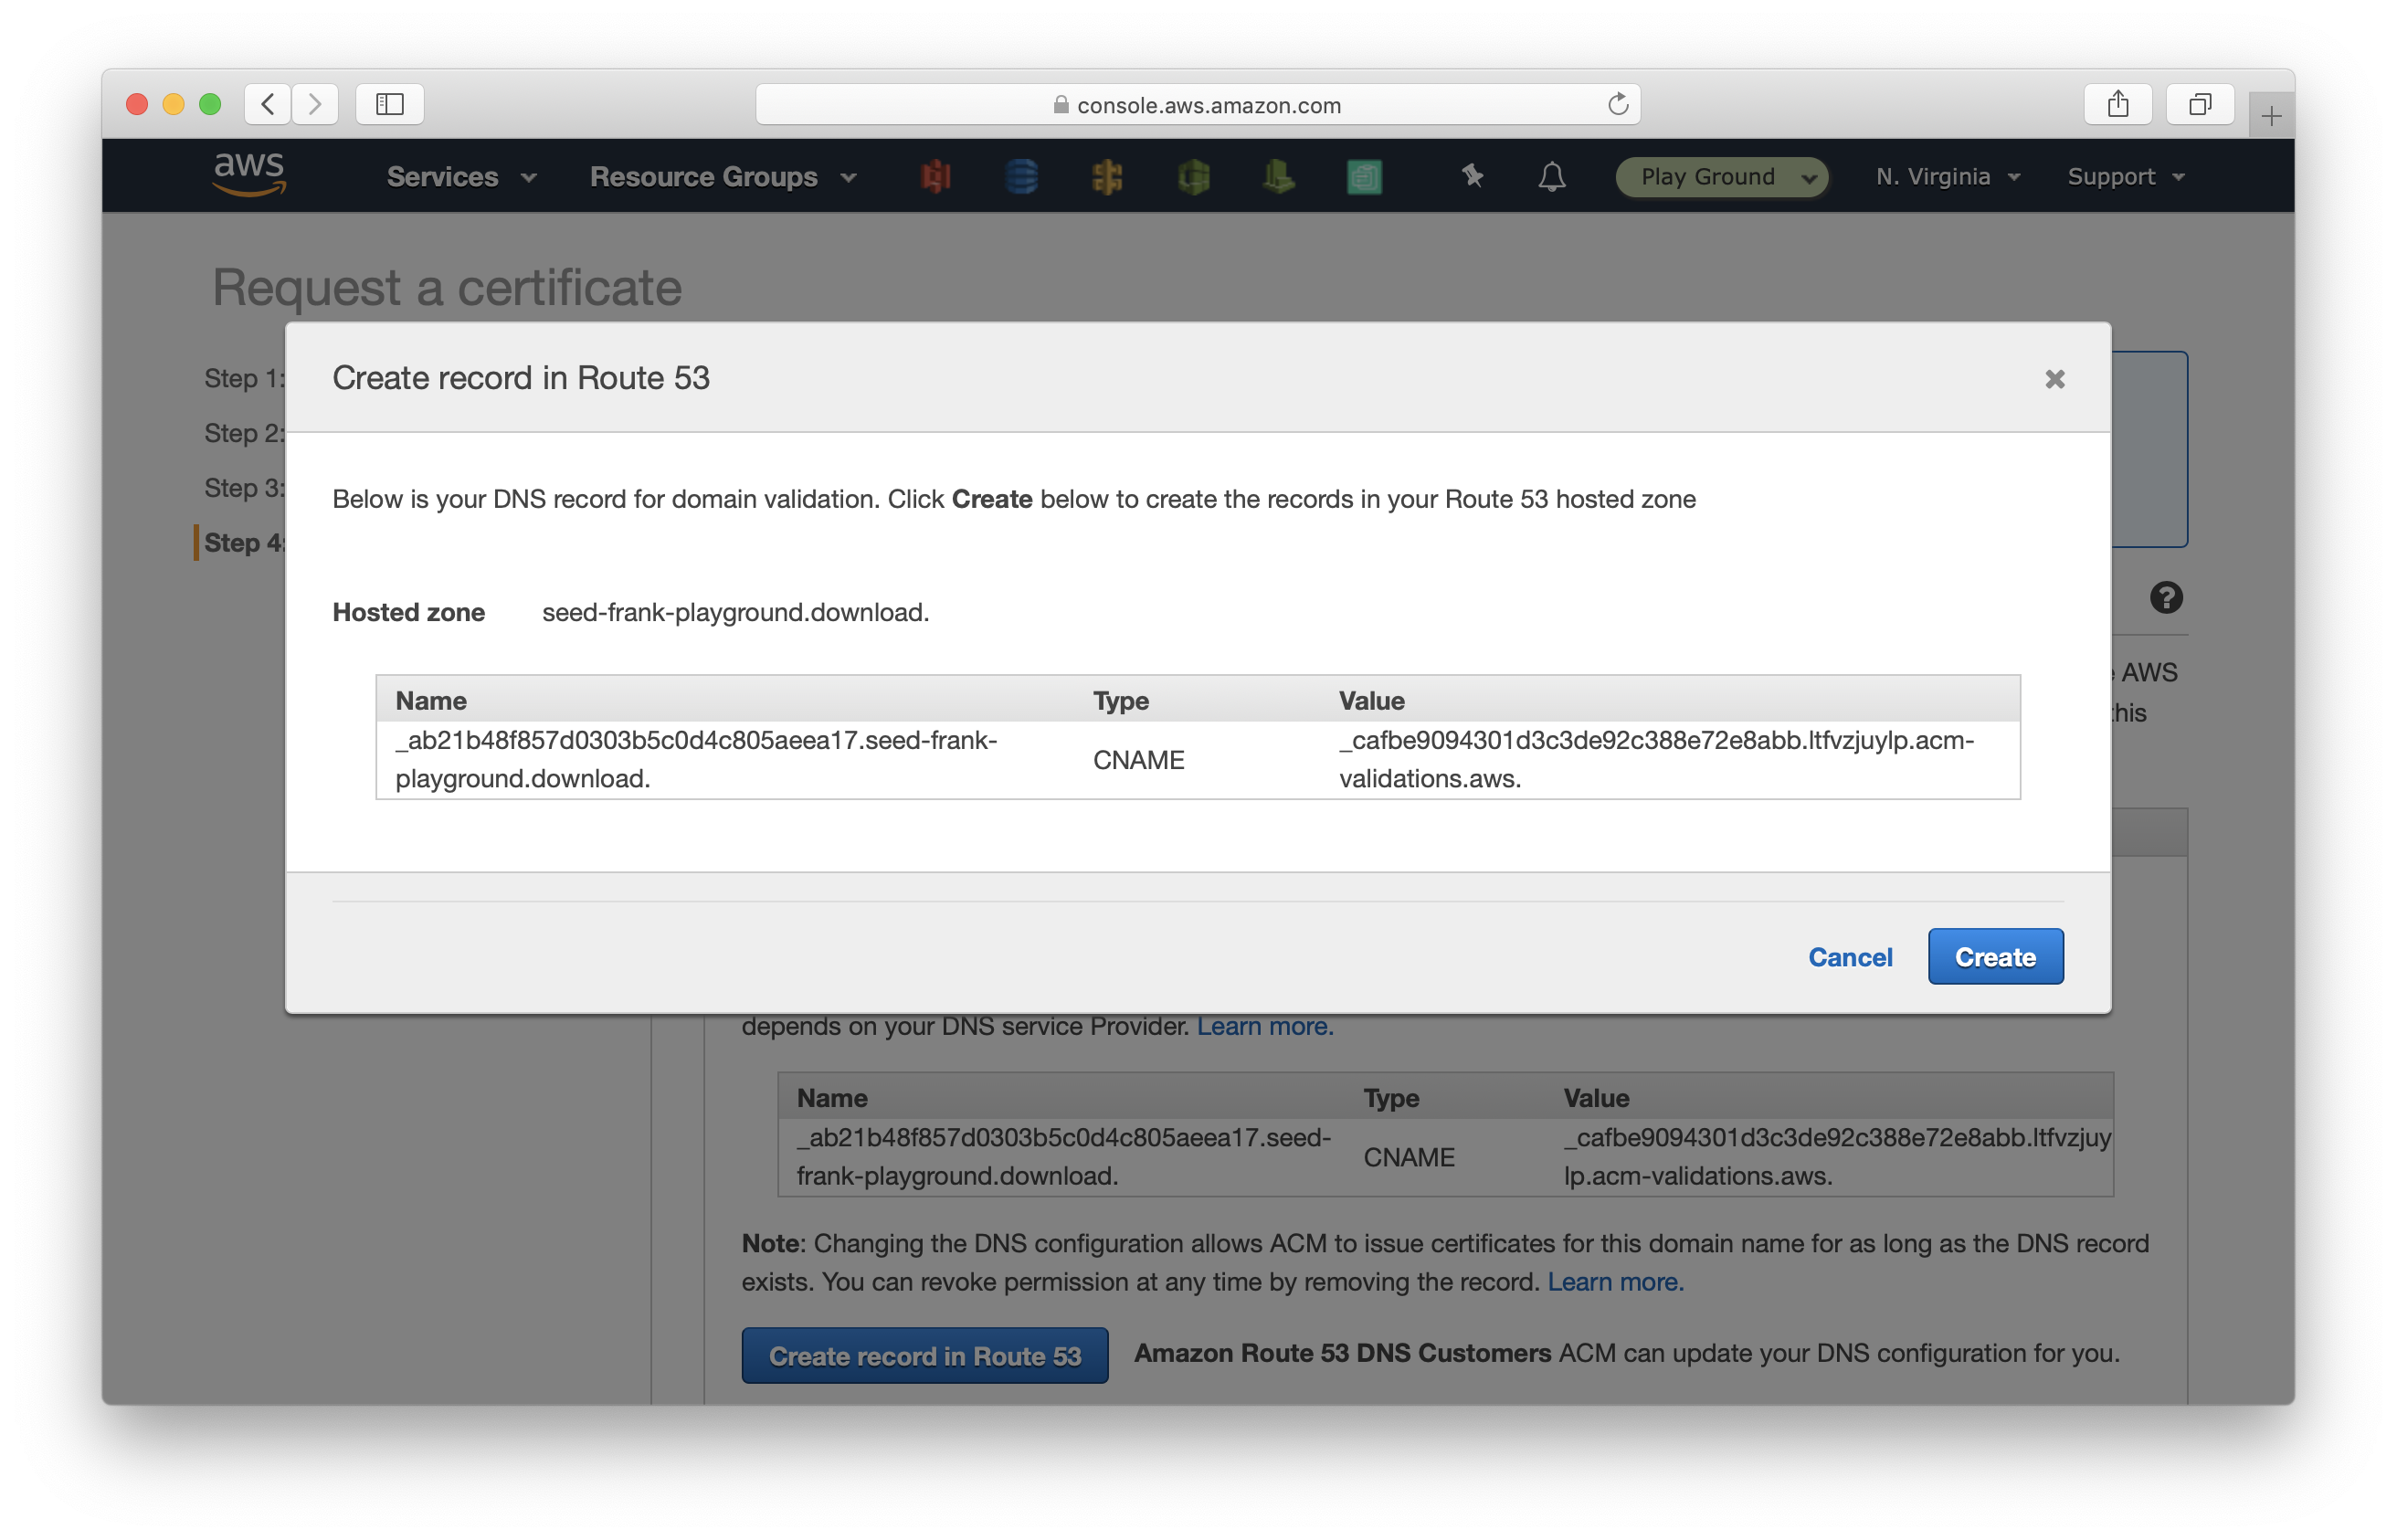
Scroll down and you will see a Success message. Click Continue.
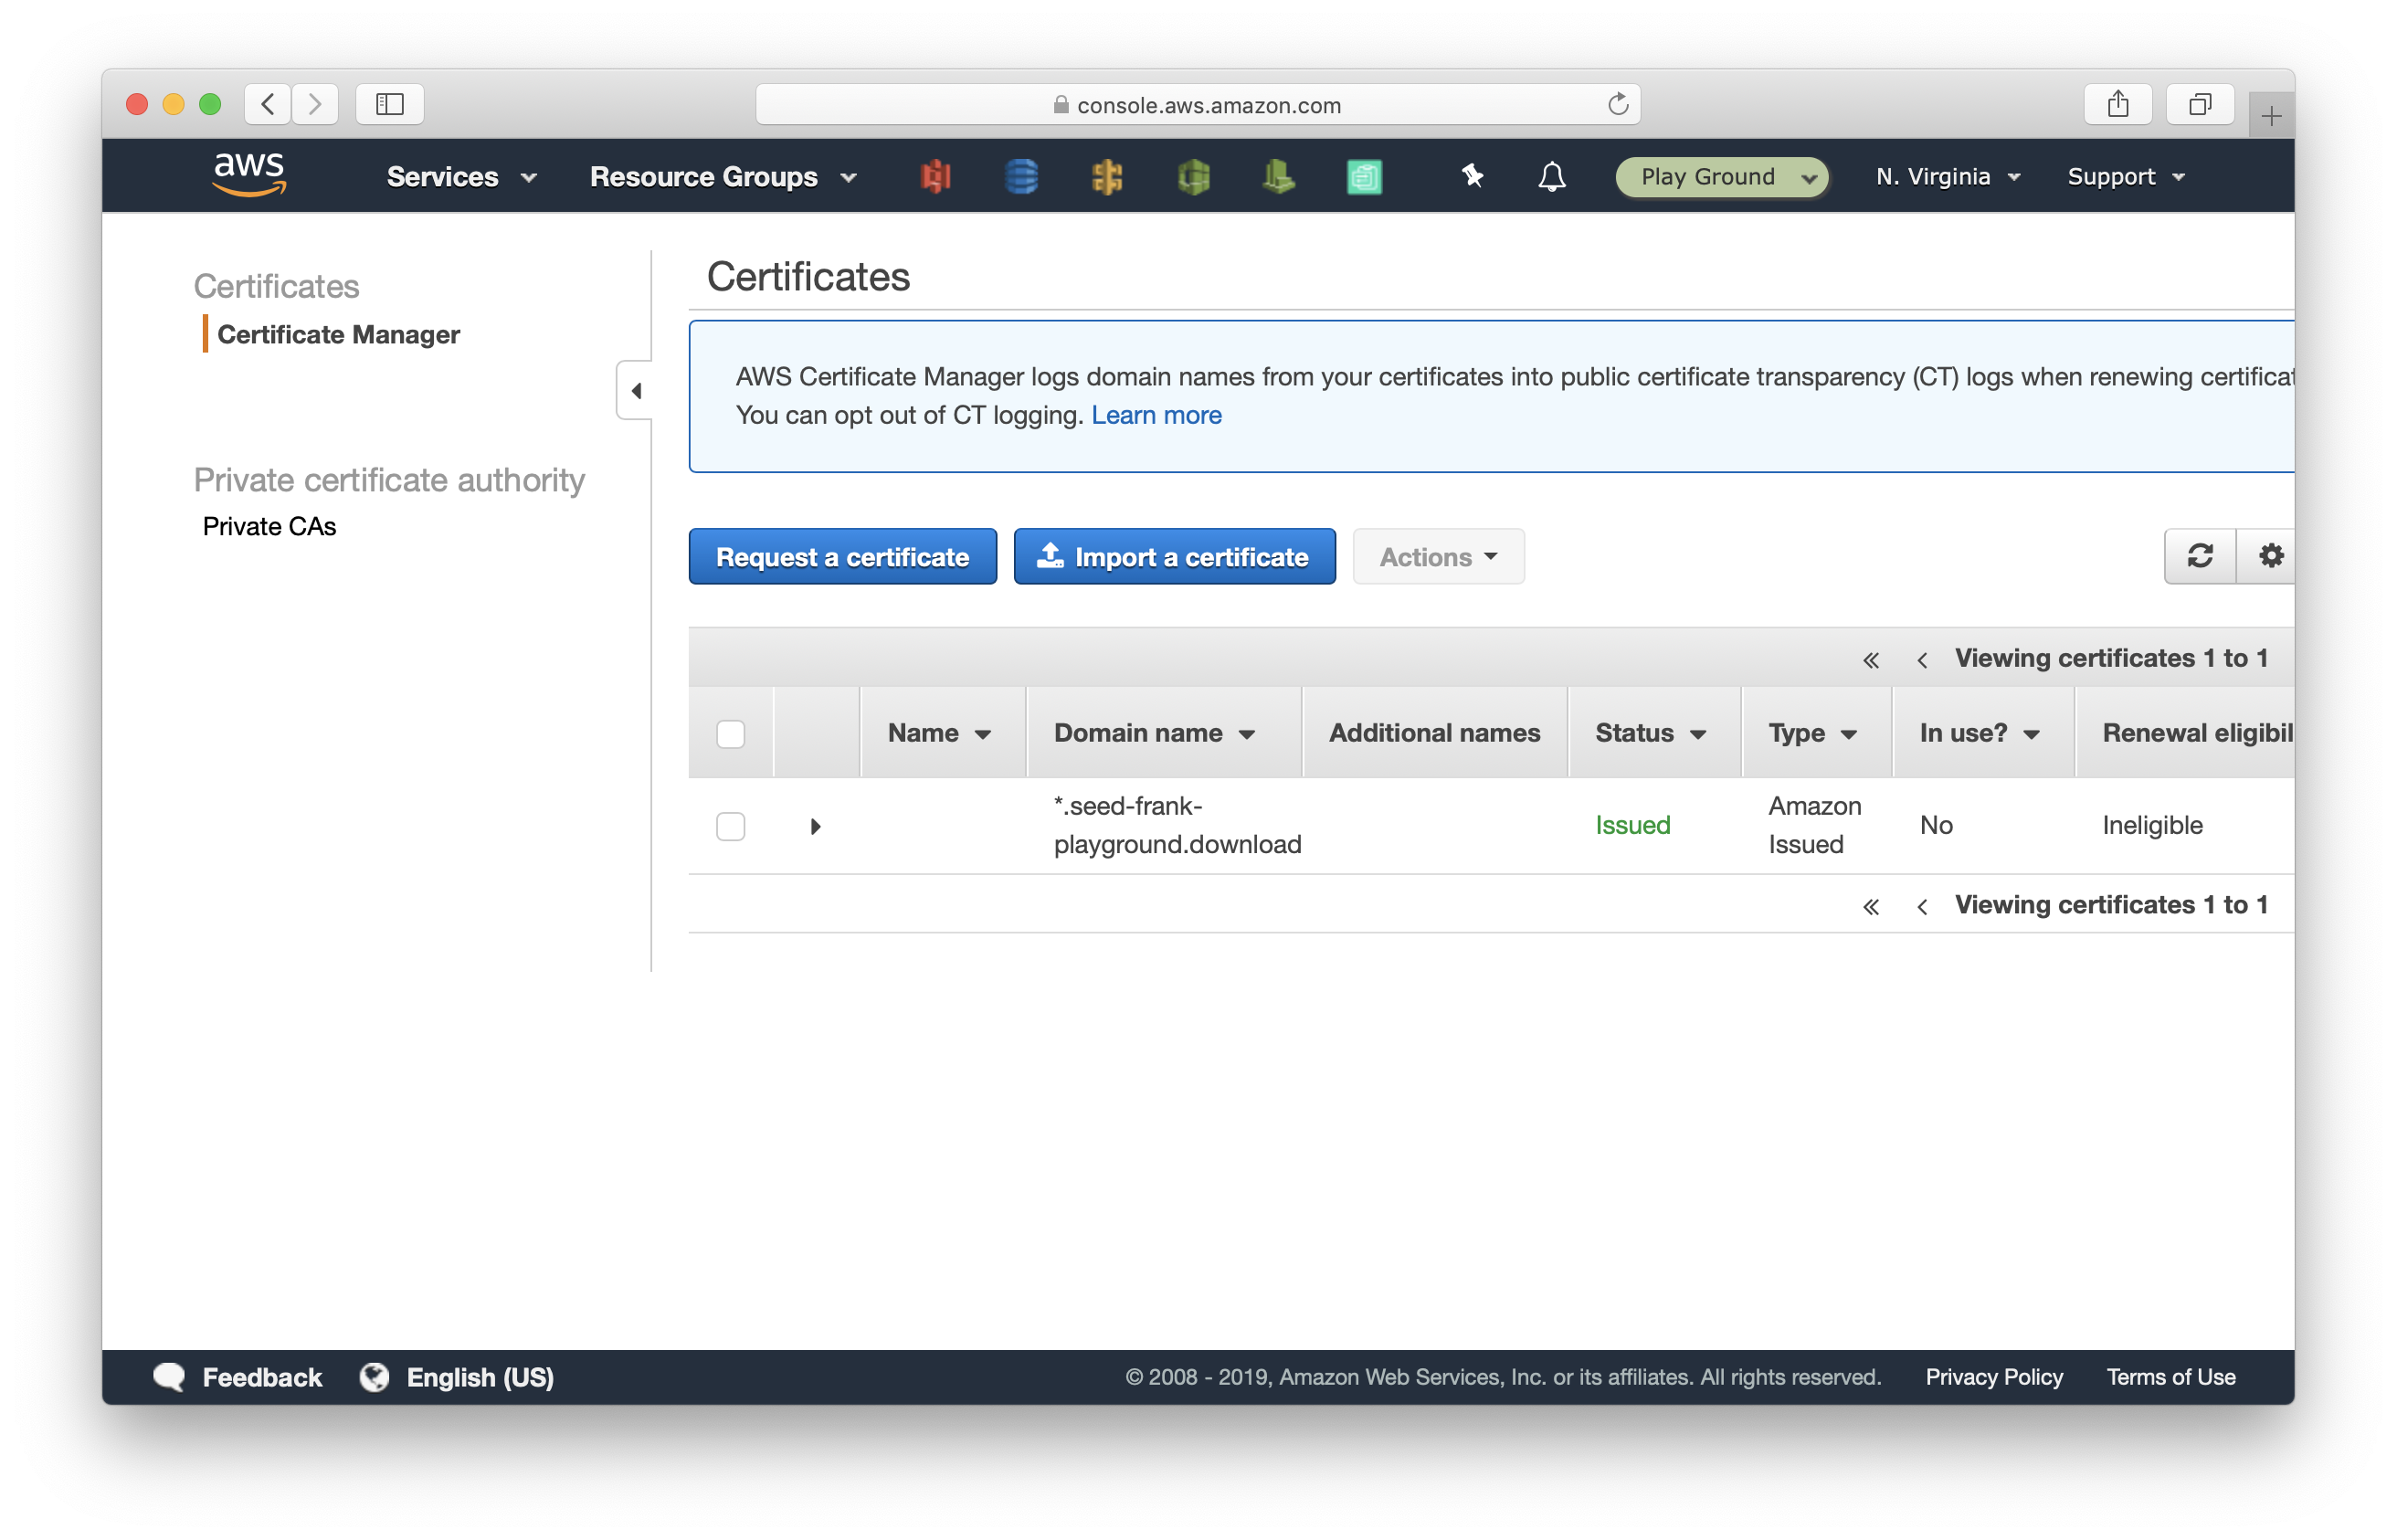
Give it a couple of minutes for the validation. After which you will see the certificate status being Issued.
Set up serverless-domain-manager
Now, we are ready to use this in our Serverless app. We are going to use the serverless-domain-manager plugin to help us setup the domain.
In your terminal, navigate to the directory with your Serverless project and run.
$ npm install serverless-domain-manager --save-dev
Then add the following block in your serverless.yml.
...
plugins:
  - serverless-domain-manager

custom:
  customDomain:
    domainName: api.seed-frank-playground.download
...
Make sure to replace the domain with the one you purchased.
You can configure a base path to use for your custom domain, ie. https://api.seed-frank-playground.download/hello by setting the basePath option in the config.
...
plugins:
  - serverless-domain-manager

custom:
  customDomain:
    domainName: api.seed-frank-playground.download
    basePath: hello
...
It is common to tie the API endpoint to the stage you are deploying to. You can either do:
domainName: api.${opt:stage}.seed-frank-playground.download
This’ll give you an endpoint for dev that looks like, api.dev.seed-frank-playground.download.
Or
basePath: ${opt:stage}
While this’ll give you a dev endpoint that looks like api.seed-frank-playground.download/dev. You can pick a scheme that works for you.
We are almost ready to deploy this. But first we need to use the plugin to configure our domain. To do that run:
$ serverless create_domain --stage dev
Serverless: Custom domain api.seed-frank-playground.download was created.
            New domains may take up to 40 minutes to be initialized.
As the output suggests, this process can take up to 40 minutes to complete. It’s setting up a CloudFront distribution for your API Gateway project.
After the domain is configured, deploy your service.
$ serverless deploy --stage dev
You should see the custom domain info printed at the end of the logs.
Domain Name
  api.seed-frank-playground.download
Distribution Domain Name
  Target Domain: dpy3yzw5vvuwe.cloudfront.net
  Hosted Zone Id: Z2FDTNDATAQYW2
Now you can curl your API Gateway endpoint using the custom domain!
$ curl https://api.seed-frank-playground.download
Removing a custom domain
Finally, to remove the custom domain created, run.
$ serverless delete_domain --stage dev
And manually remove the certificate in the ACM console, as well as the domain’s validation CNAME record in Route 53.
A couple things of note
- With the custom domain configured, the default endpoint
https://xxxxxxxxxx.execute-api.us-east-1.amazonaws.com/dev/still exists and can be used. - Custom domains are not a property of your API Gateway project. They sit on top of all API Gateway projects. This means that the same domain with different base paths can point to multiple API Gateway projects.
- CloudFormation does not support changing the base path from an empty value to a non-empty value or vice versa. You need to run the
serverless removecommand to remove the base path mapping.
And that’s it! You are now ready to use custom domains in your Serverless apps. If you are looking for an easier way to do this (without configuring certificates or using any plugins), Seed will do it for you automatically!
Do your Serverless deployments take too long? Incremental deploys in Seed can speed it up 100x!
Learn More