Configuring Custom Domains
Seed can help you configure a custom domain for any API endpoint in your app.
Here are a couple of things to ensure before setting it up:
-
Migrate your domain to Amazon Route 53
Currently, Seed only supports the configuration of domains managed by Route 53. You can read more about migrating to Route 53 here.
-
Ensure the IAM Policy has the appropriate permissions
Seed does all the configuration on your behalf using the IAM Role assigned to it when you created the project. Just ensure to give it the appropriate set of permissions as outlined in the Customizing your IAM Policy chapter.
To configure a stage with a custom domain, Seed will automatically create the SSL certificate using AWS Certificate Manager and assign the requested path and subdomain to the API Gateway stage.
Domains need to be managed by Amazon Route 53 for Seed to configure the custom domain
Seed supports both regional and edge-optimized API endpoints for custom domains.
Let’s look at how to add a custom domain for your app.
Adding a Custom Domain
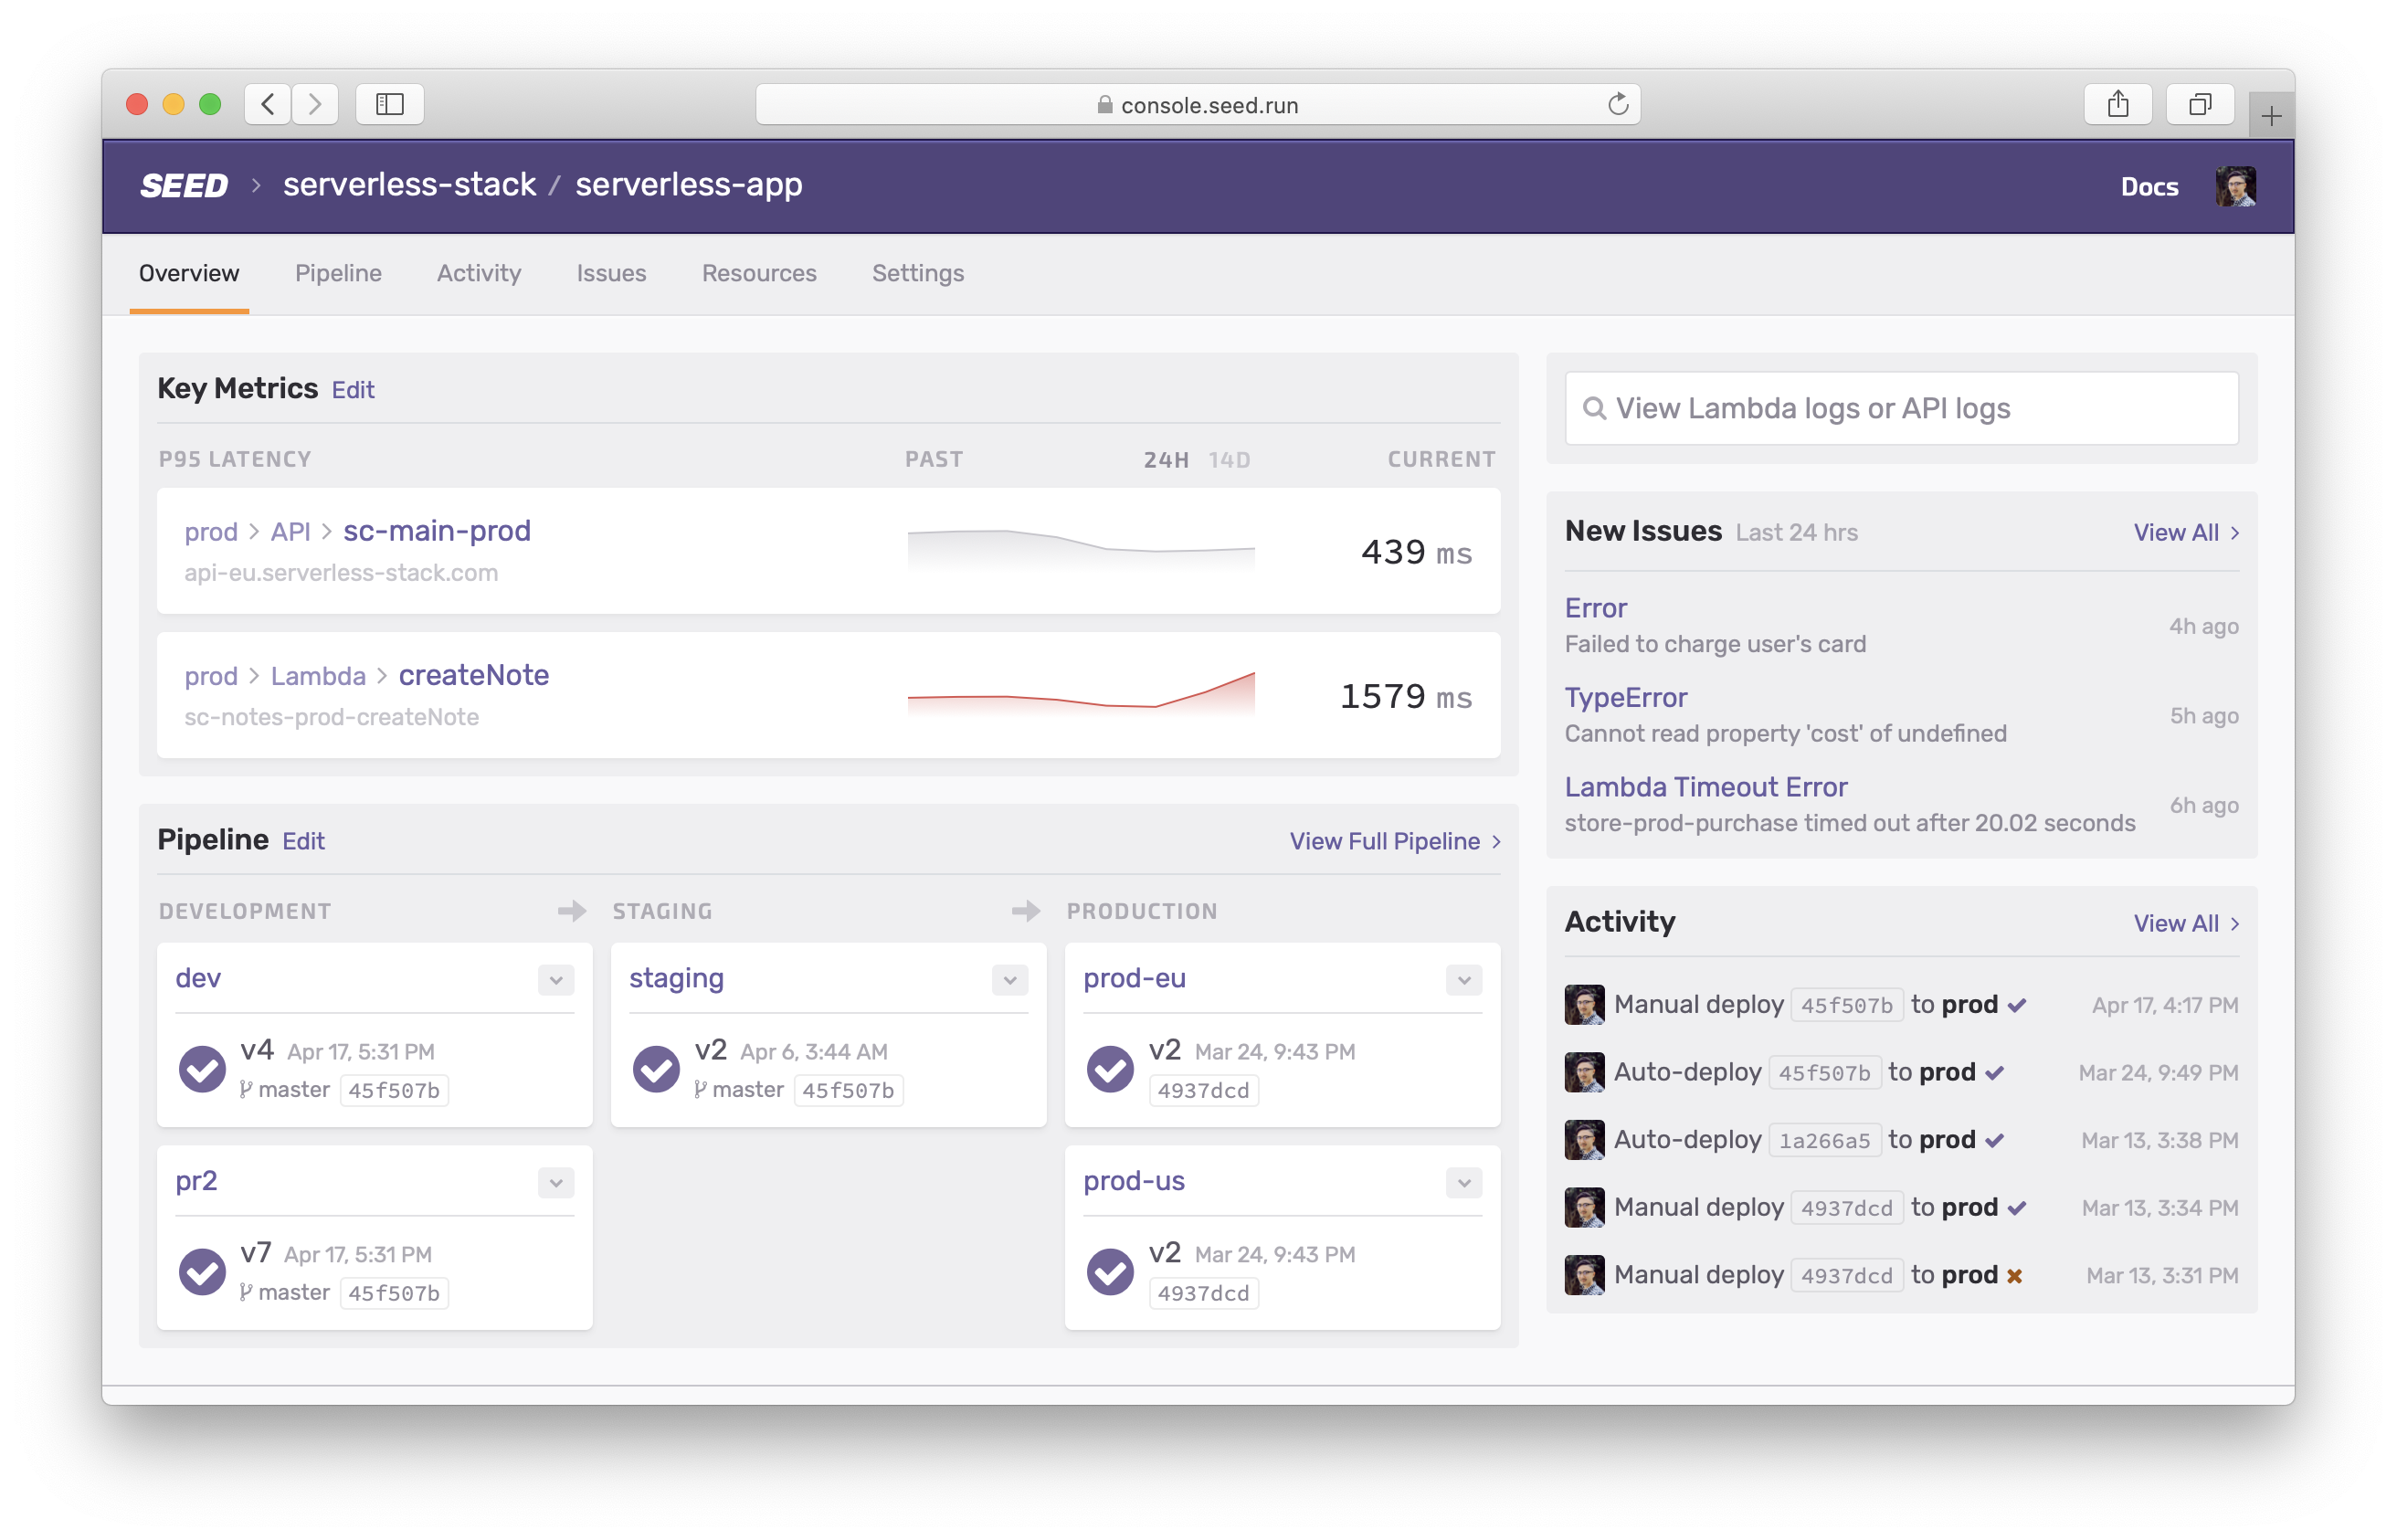
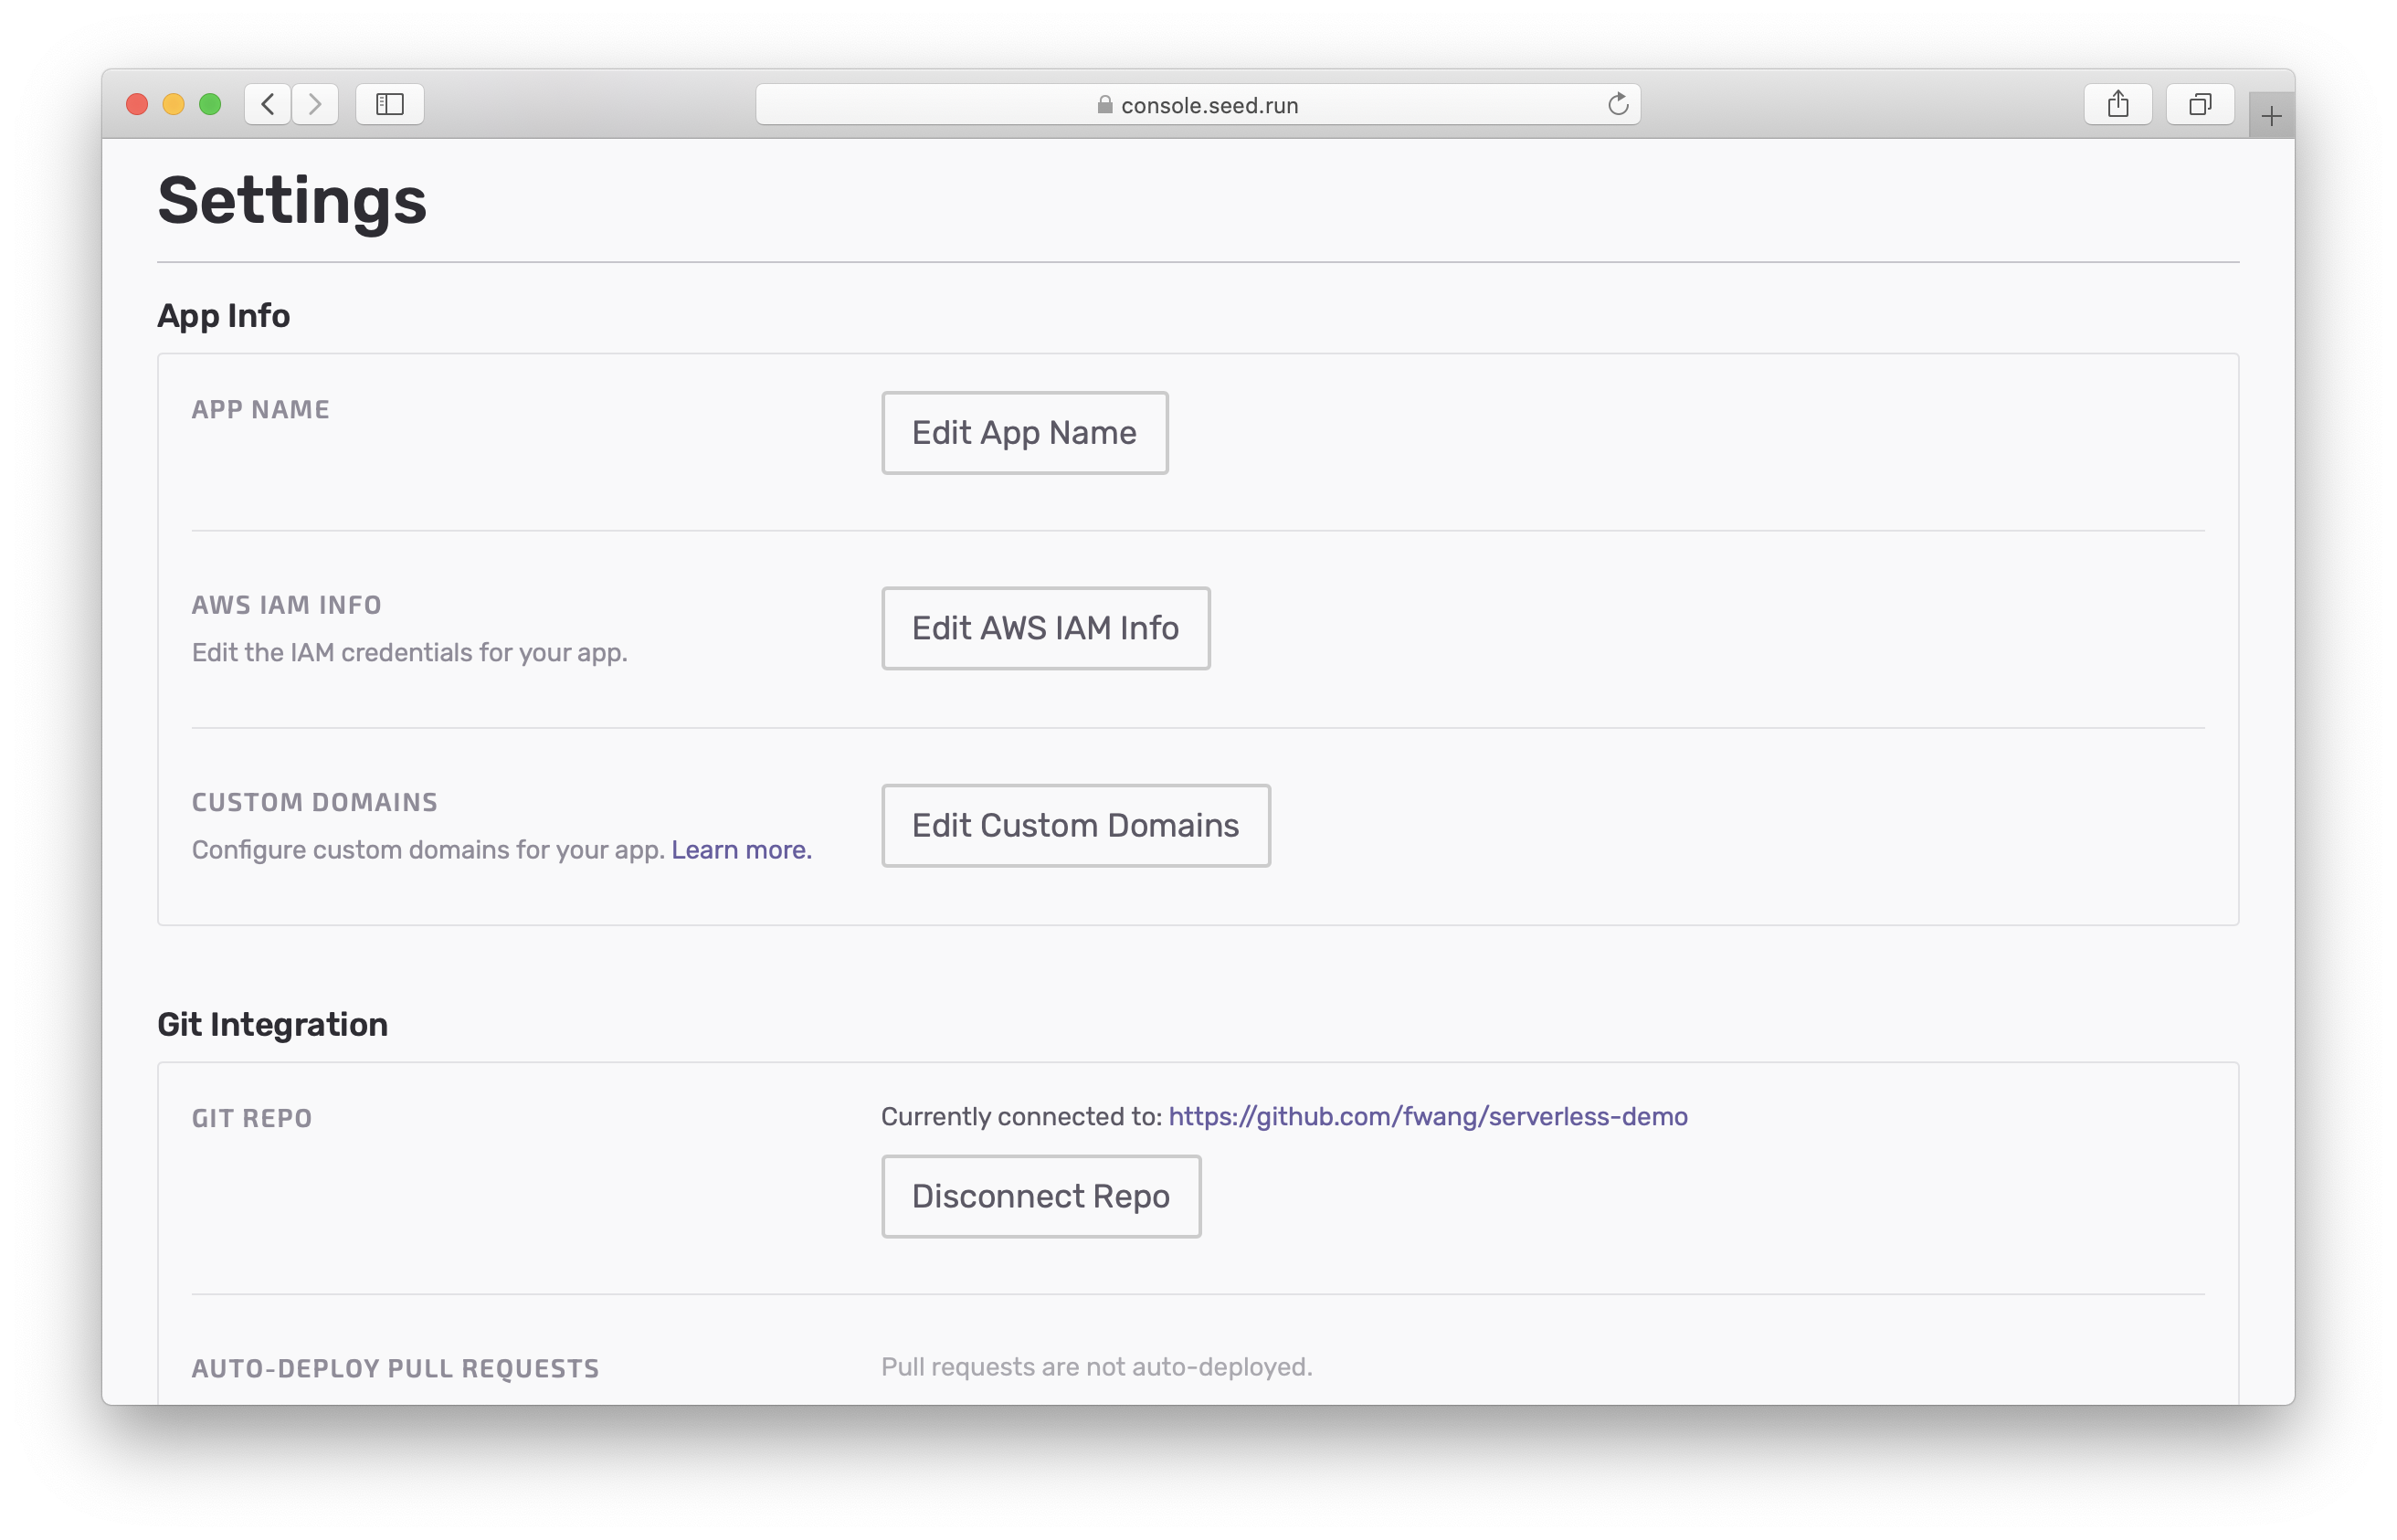
Start by heading over to your app settings.
And click Edit Custom Domains.
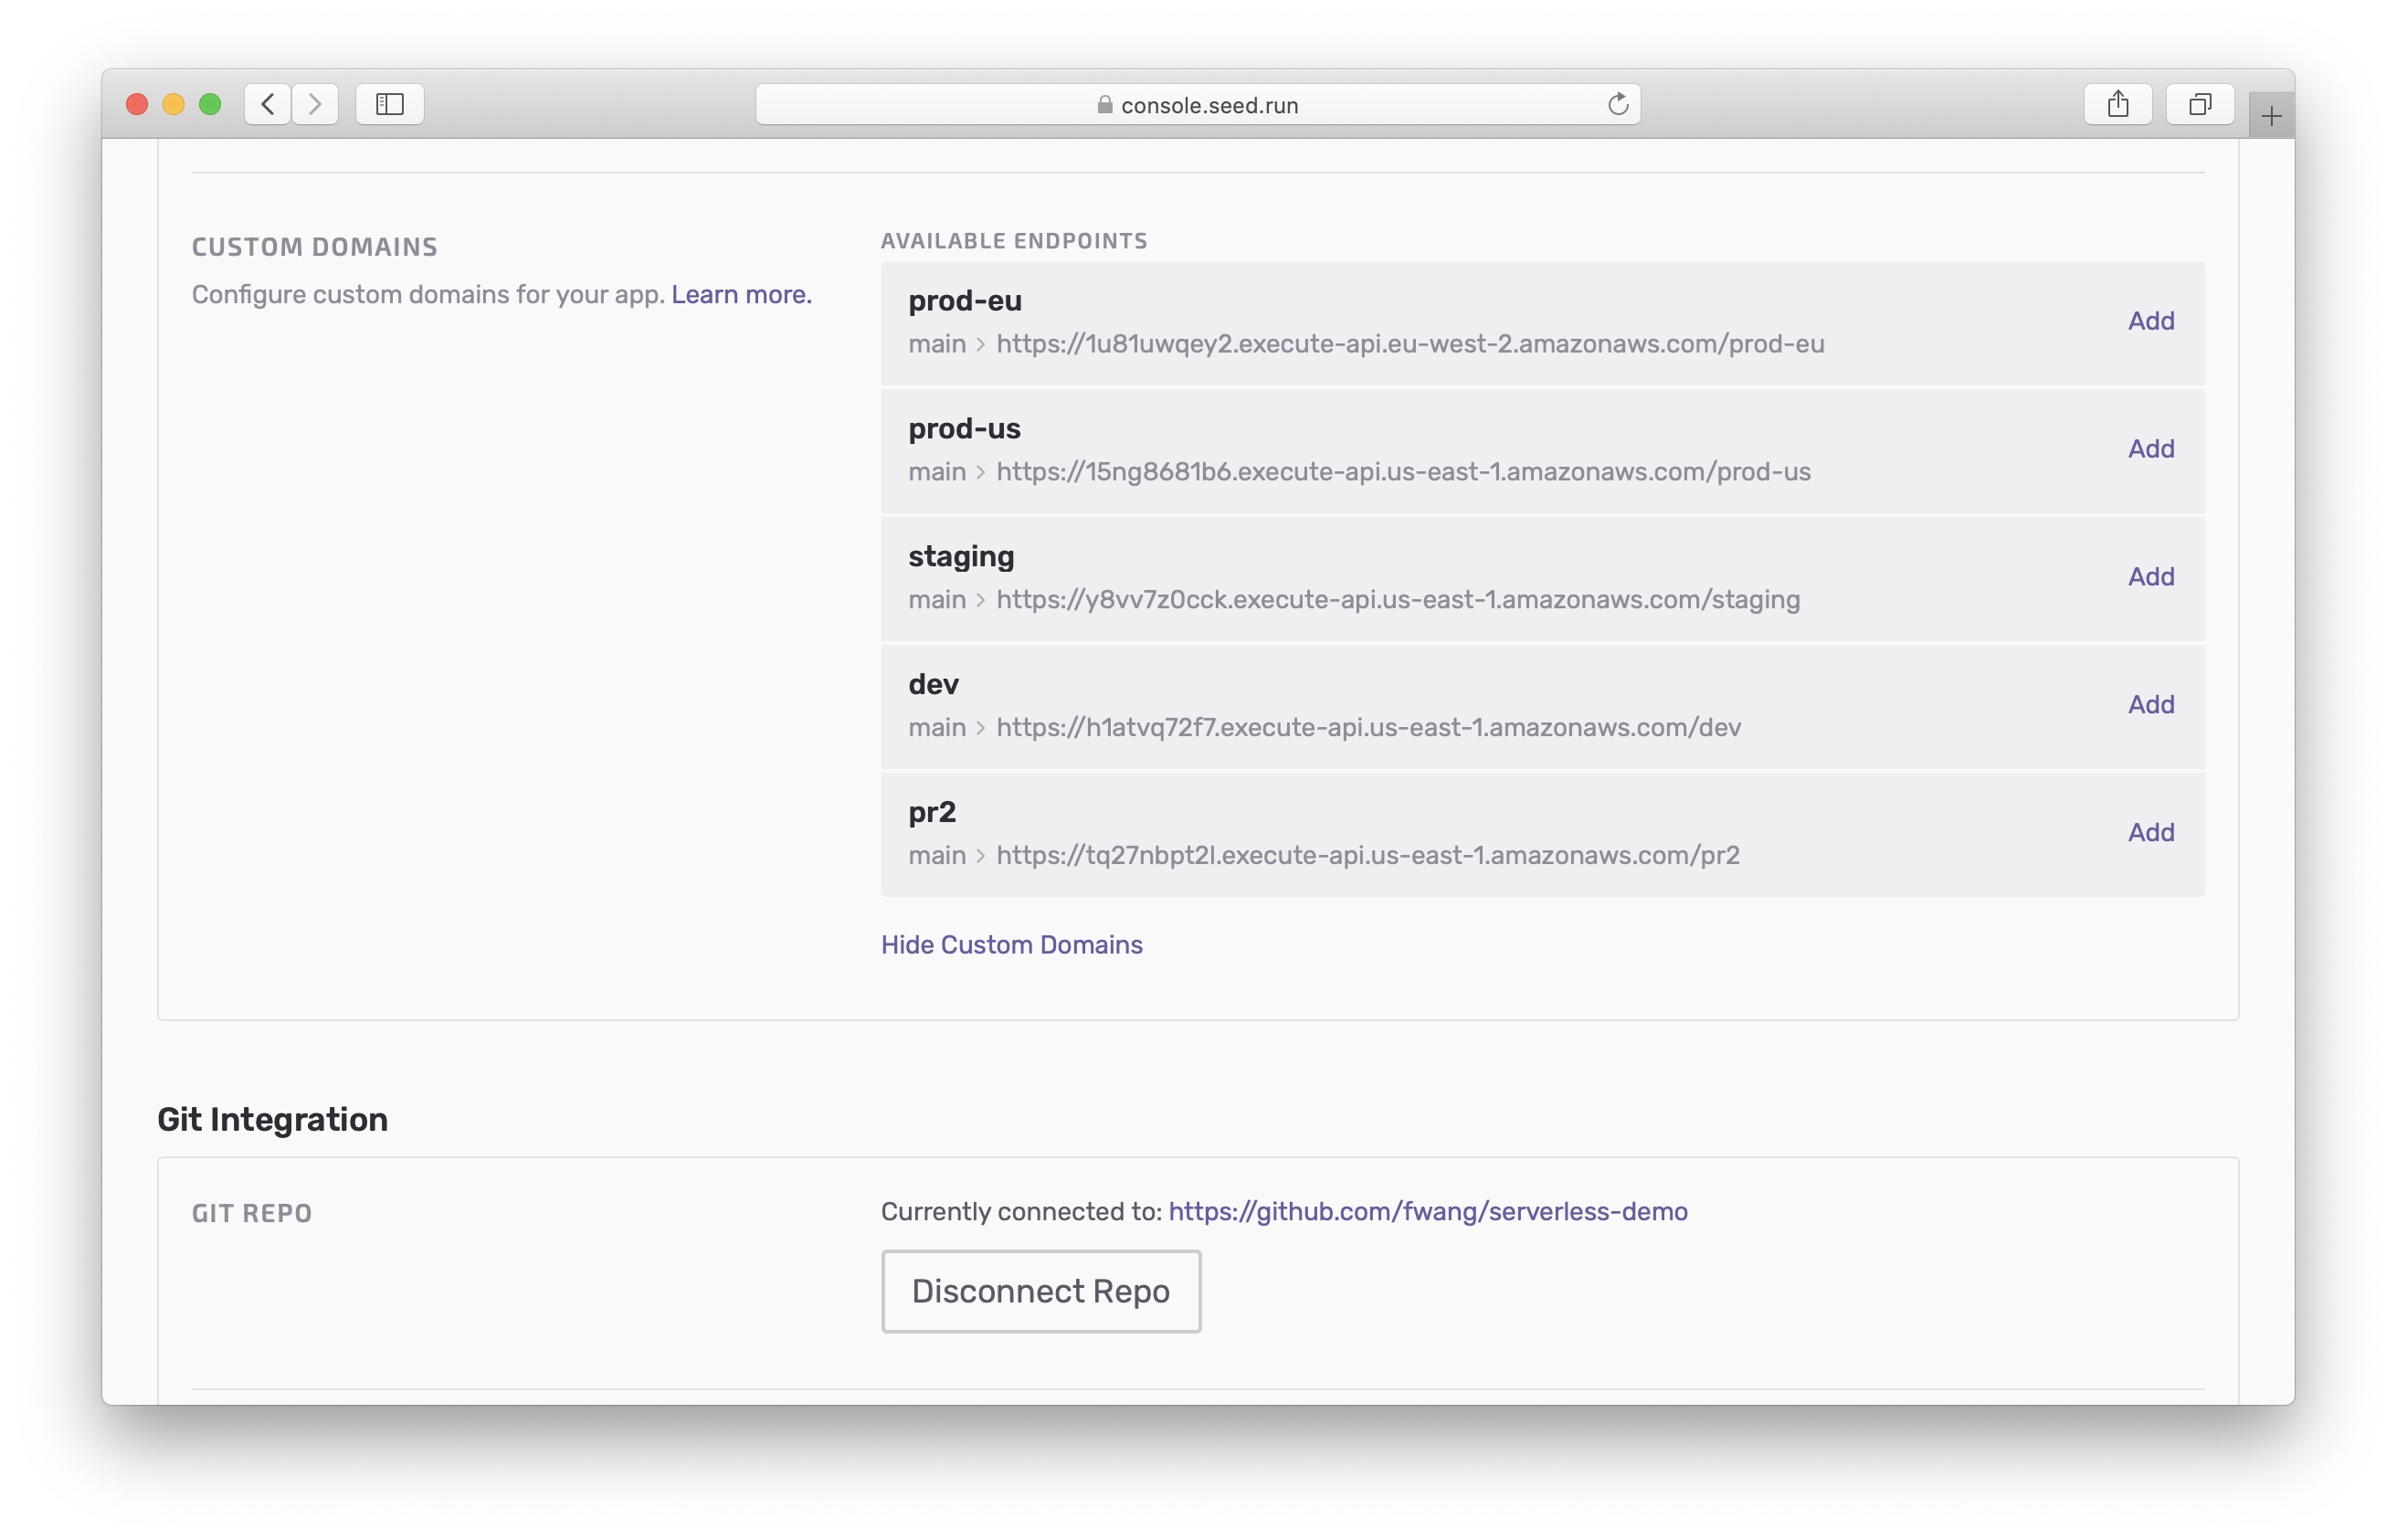
Here you’ll see a list of all the deployed API endpoints in your app (across all the stages and services). For the endpoint that you want to configure a custom domain, click Add.
You can set the sub-domain, domain, and base-path.
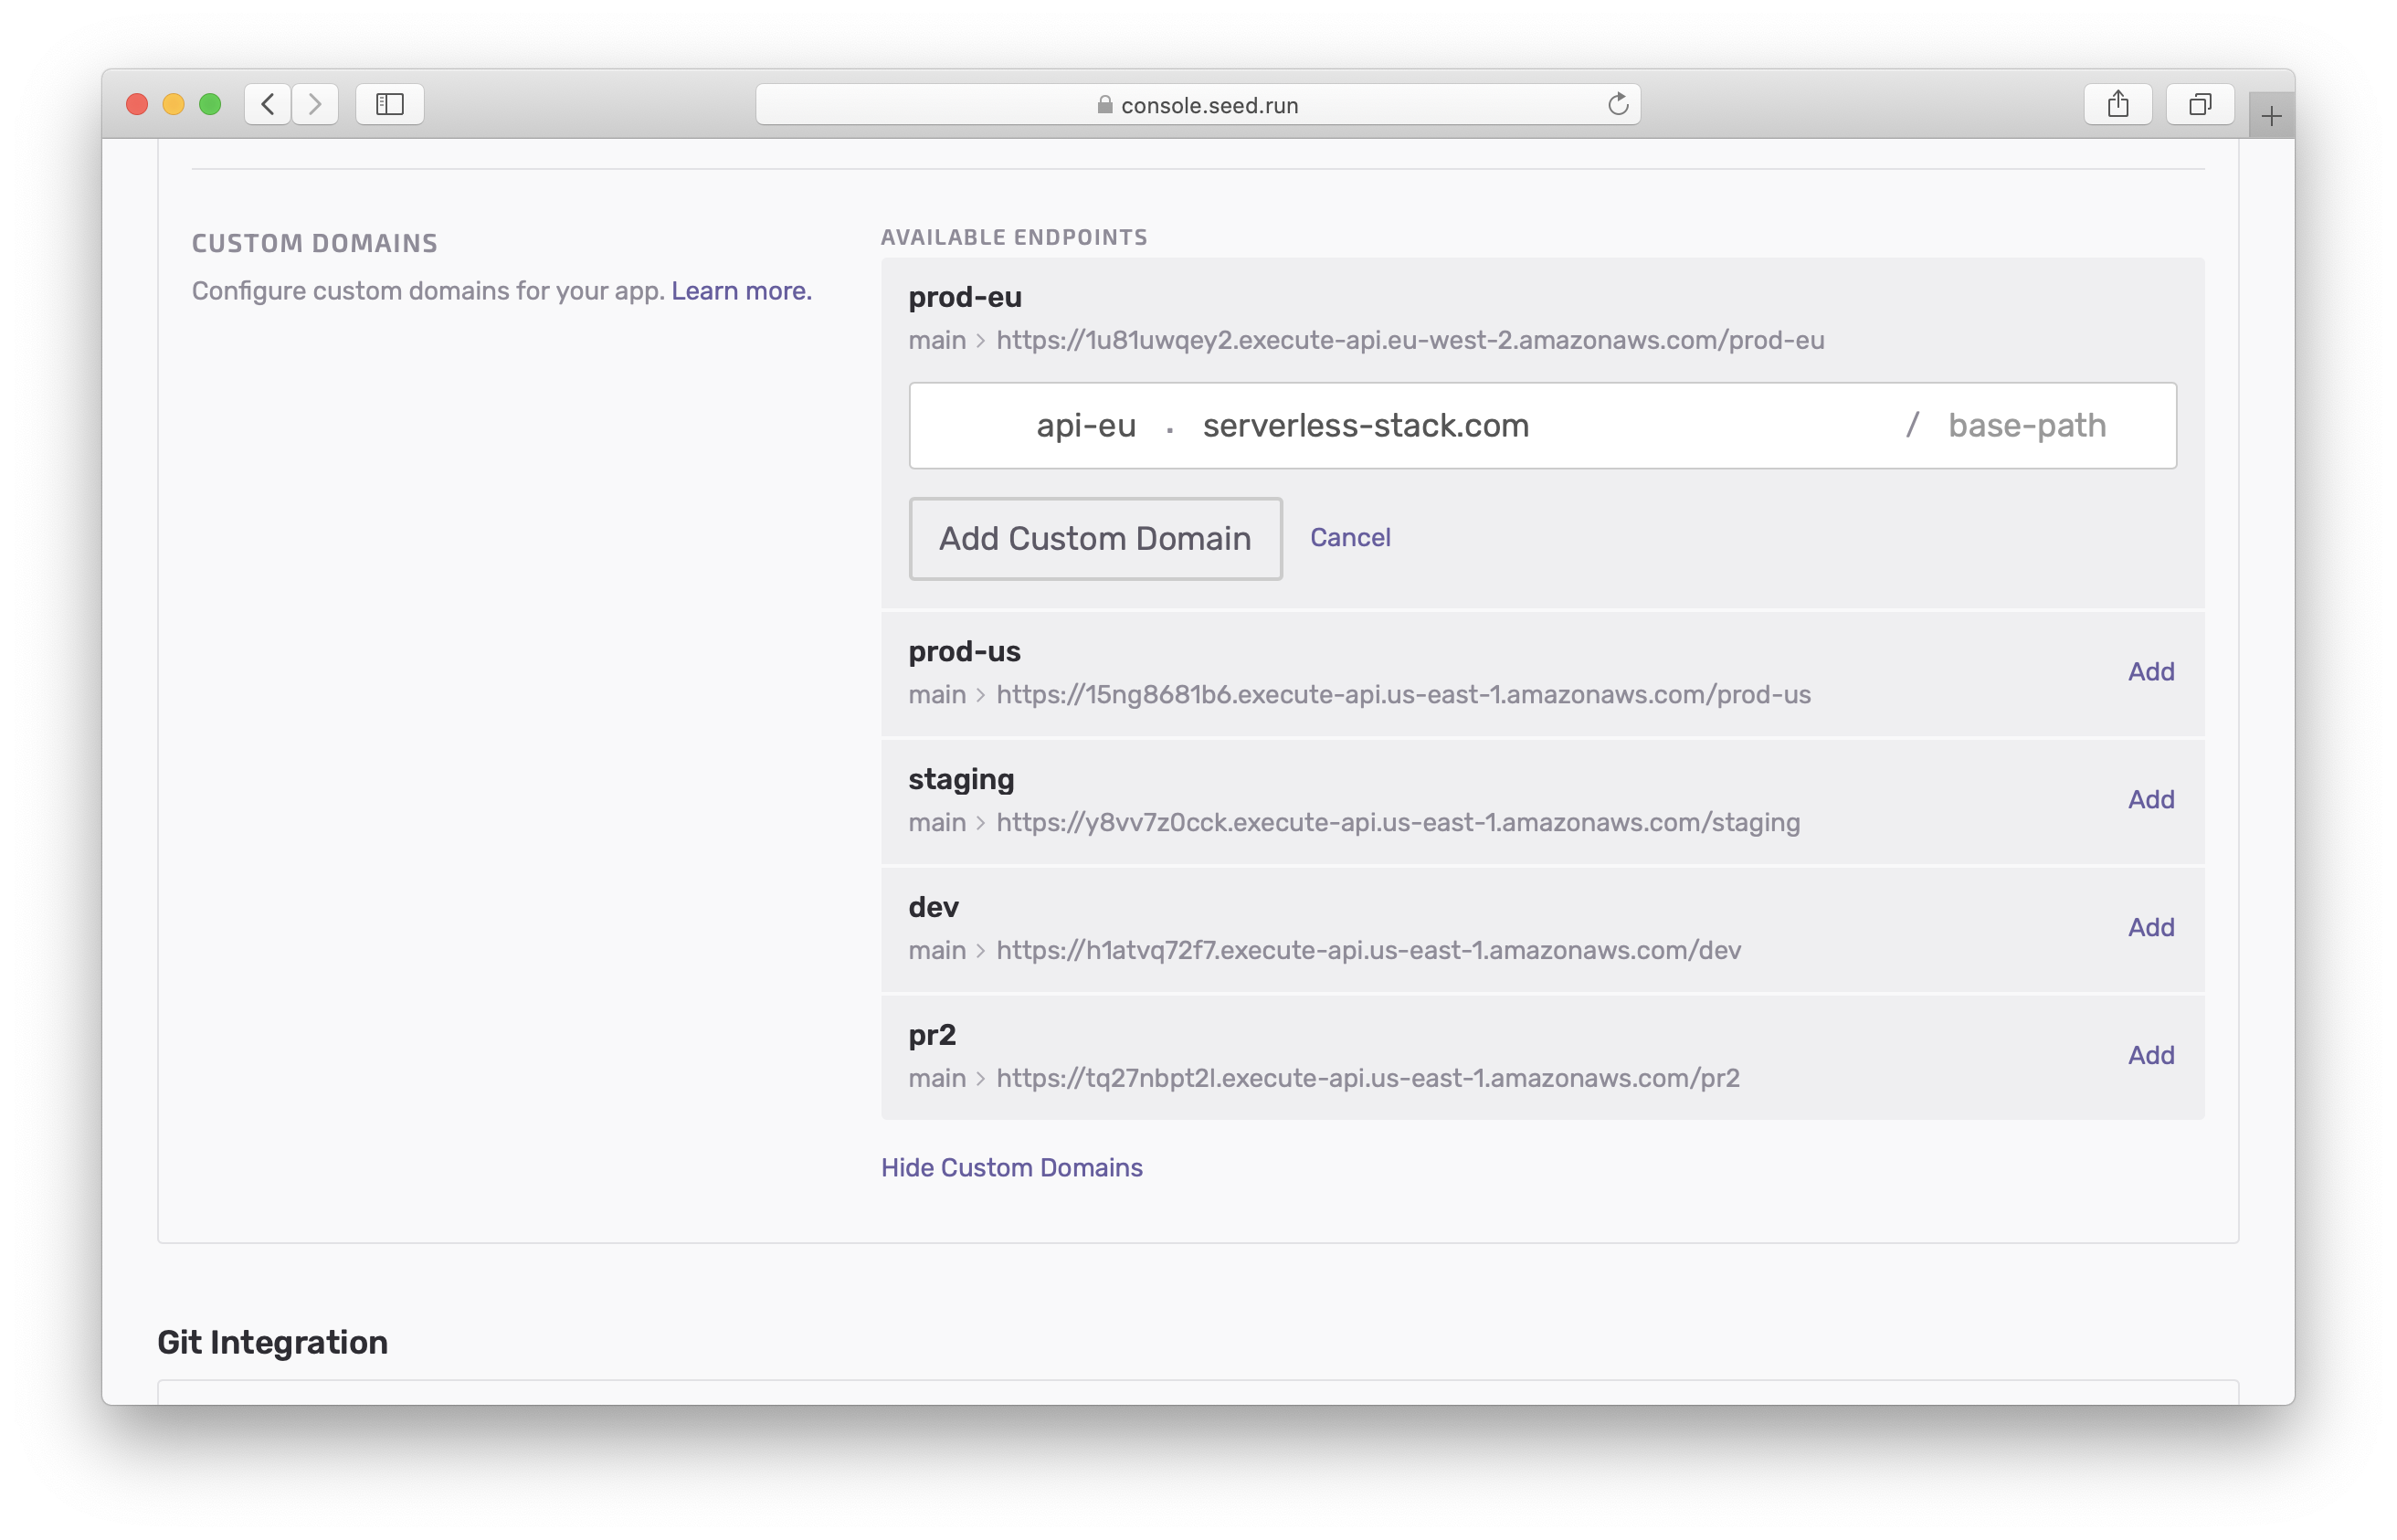
For example, to configure your stage to api.example.com/prod; you can set the subdomain as api, pick example.com as your domain, and select prod as your base path. There are a couple of things to watch out for while setting the base path. We talk about this below.
Note that, the domains that are listed in the dropdown are pulled from Route 53. Seed will use the IAM credentials that are tied to the stage for the specified endpoint. If the stage doesn’t have its own custom IAM credentials, then the one specified in the app will be used.
And hit Add Custom Domain. Updating the custom domain for an endpoint can take up to 40 minutes. Seed needs to configure the SSL certificate and update the API Gateway CloudFront Distribution with the new domain.
As Seed configures the custom domain, it’ll update the status of the process.
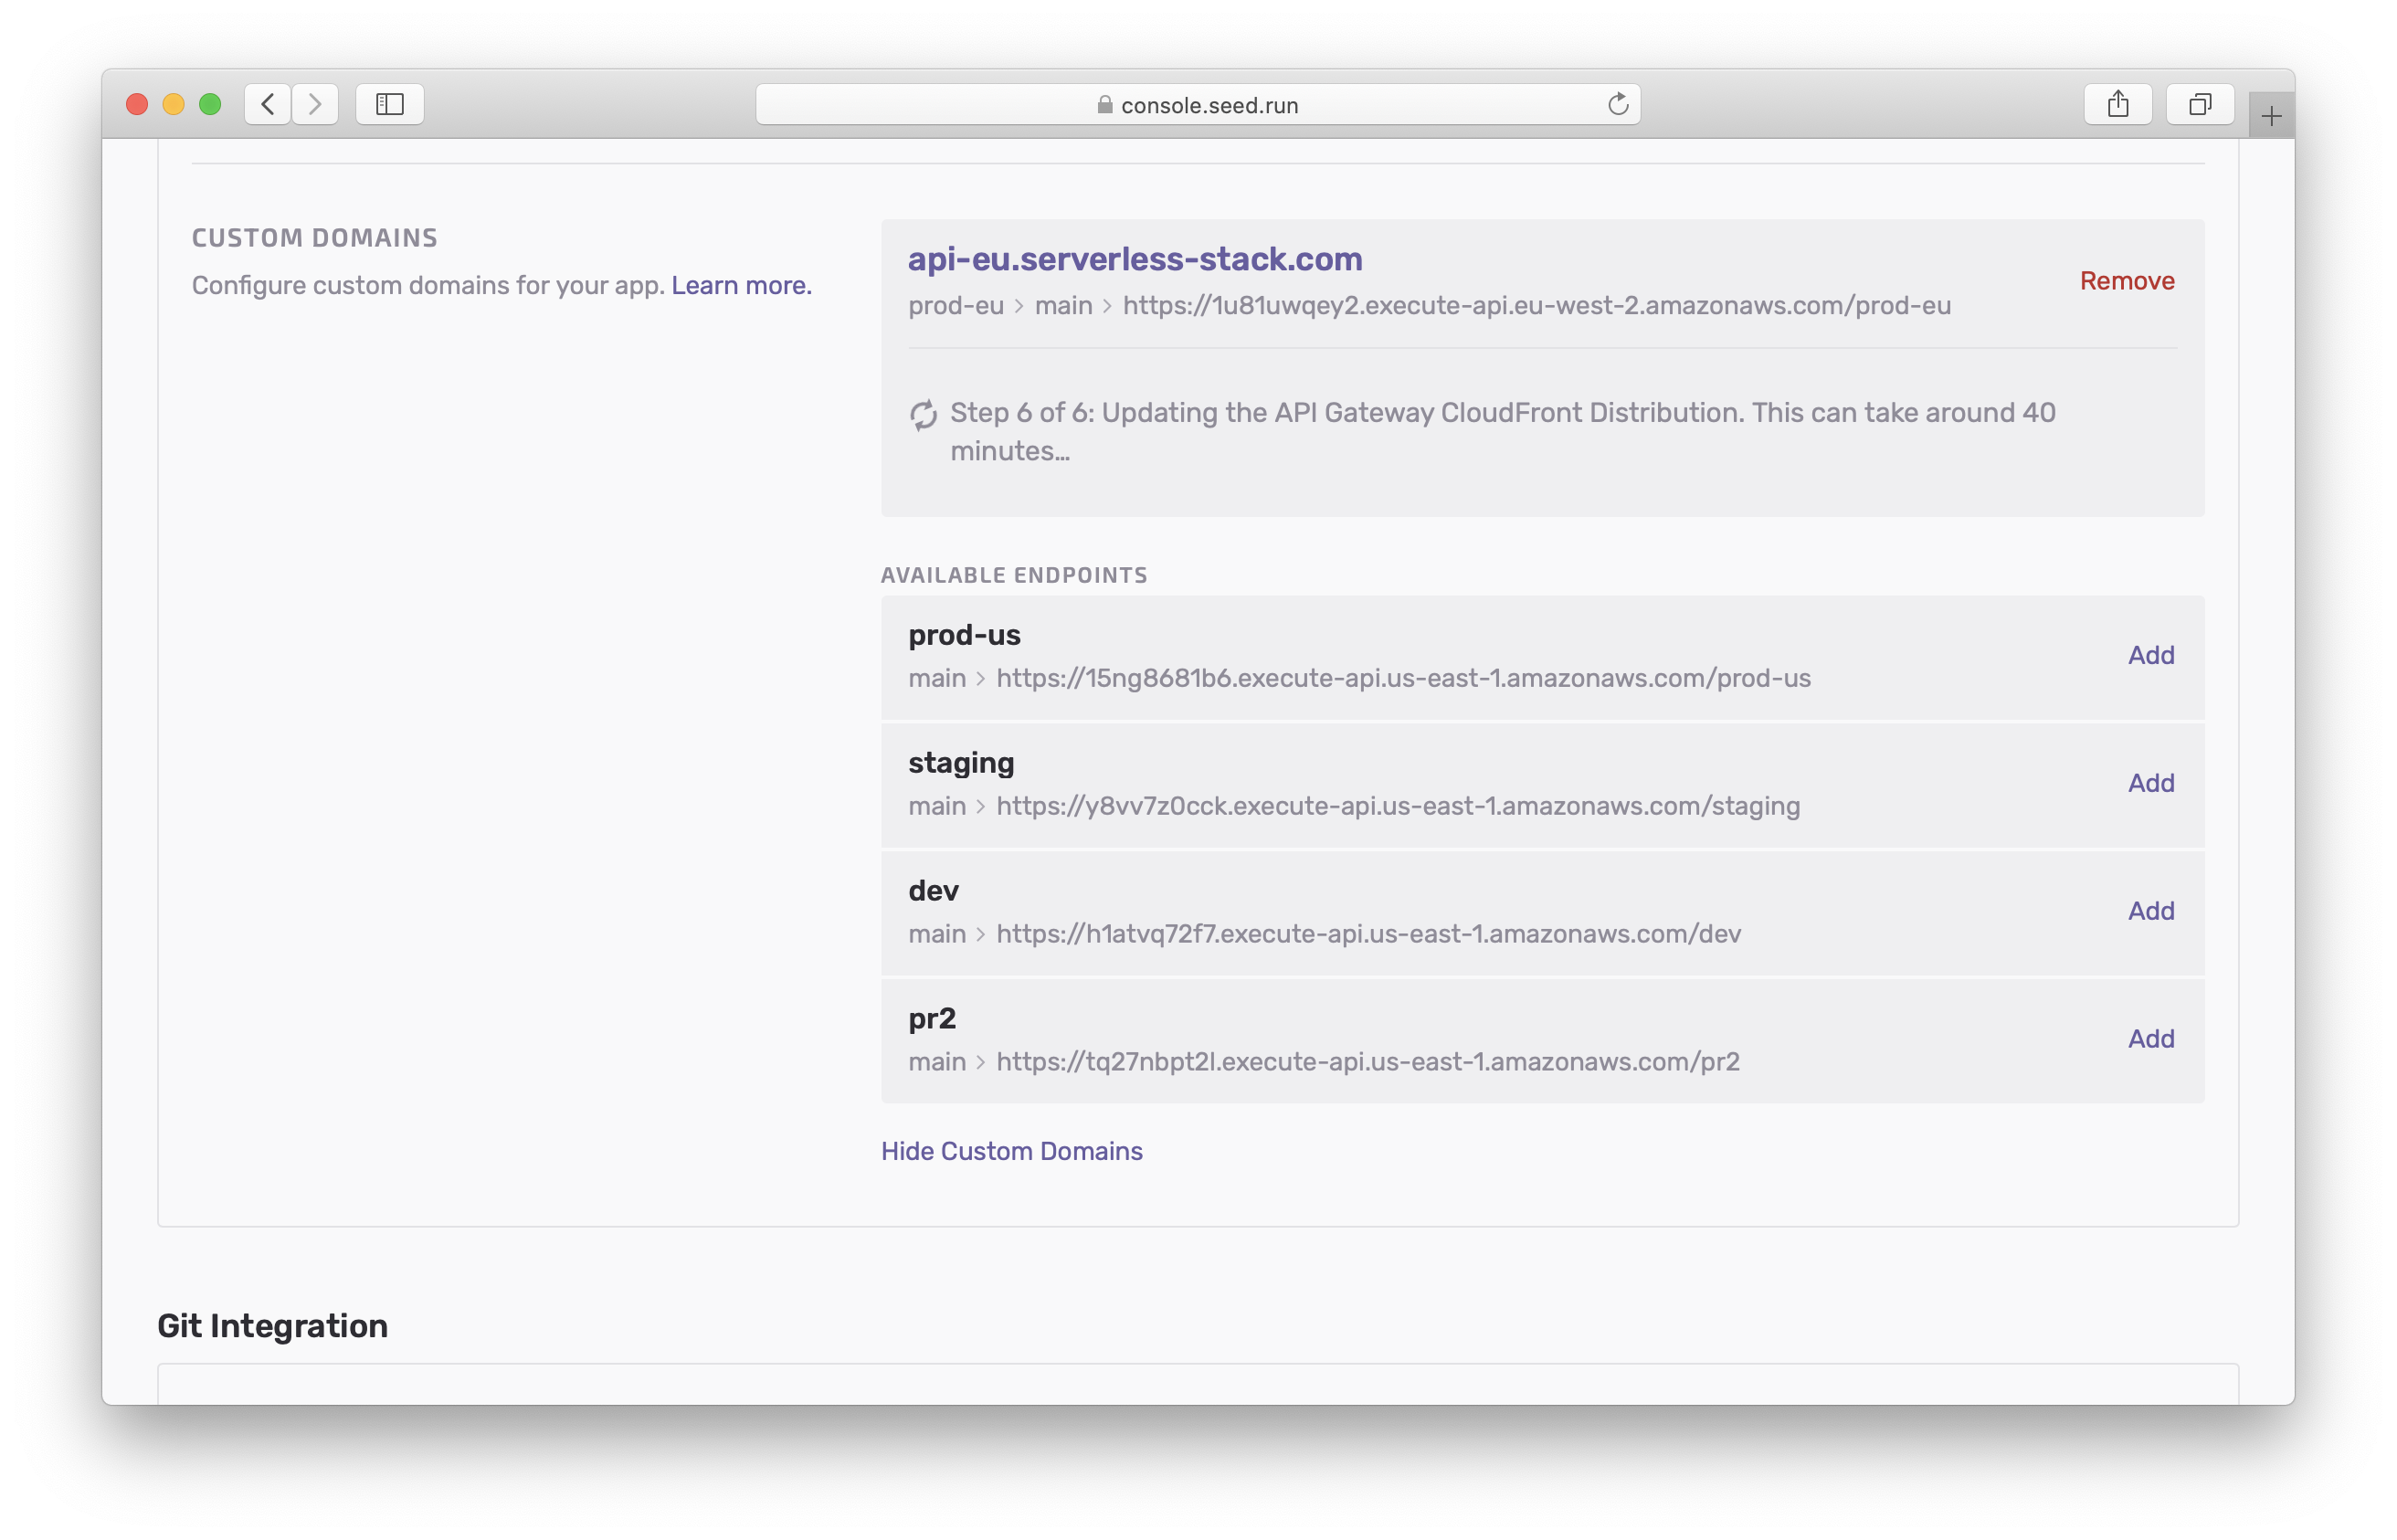
Seed will send you an email letting you know once the process is complete.
Seed automatically configures the SSL Certificate and the API Gateway project
If you have any questions or are running into some issues configuring your custom domain; feel free to contact us.
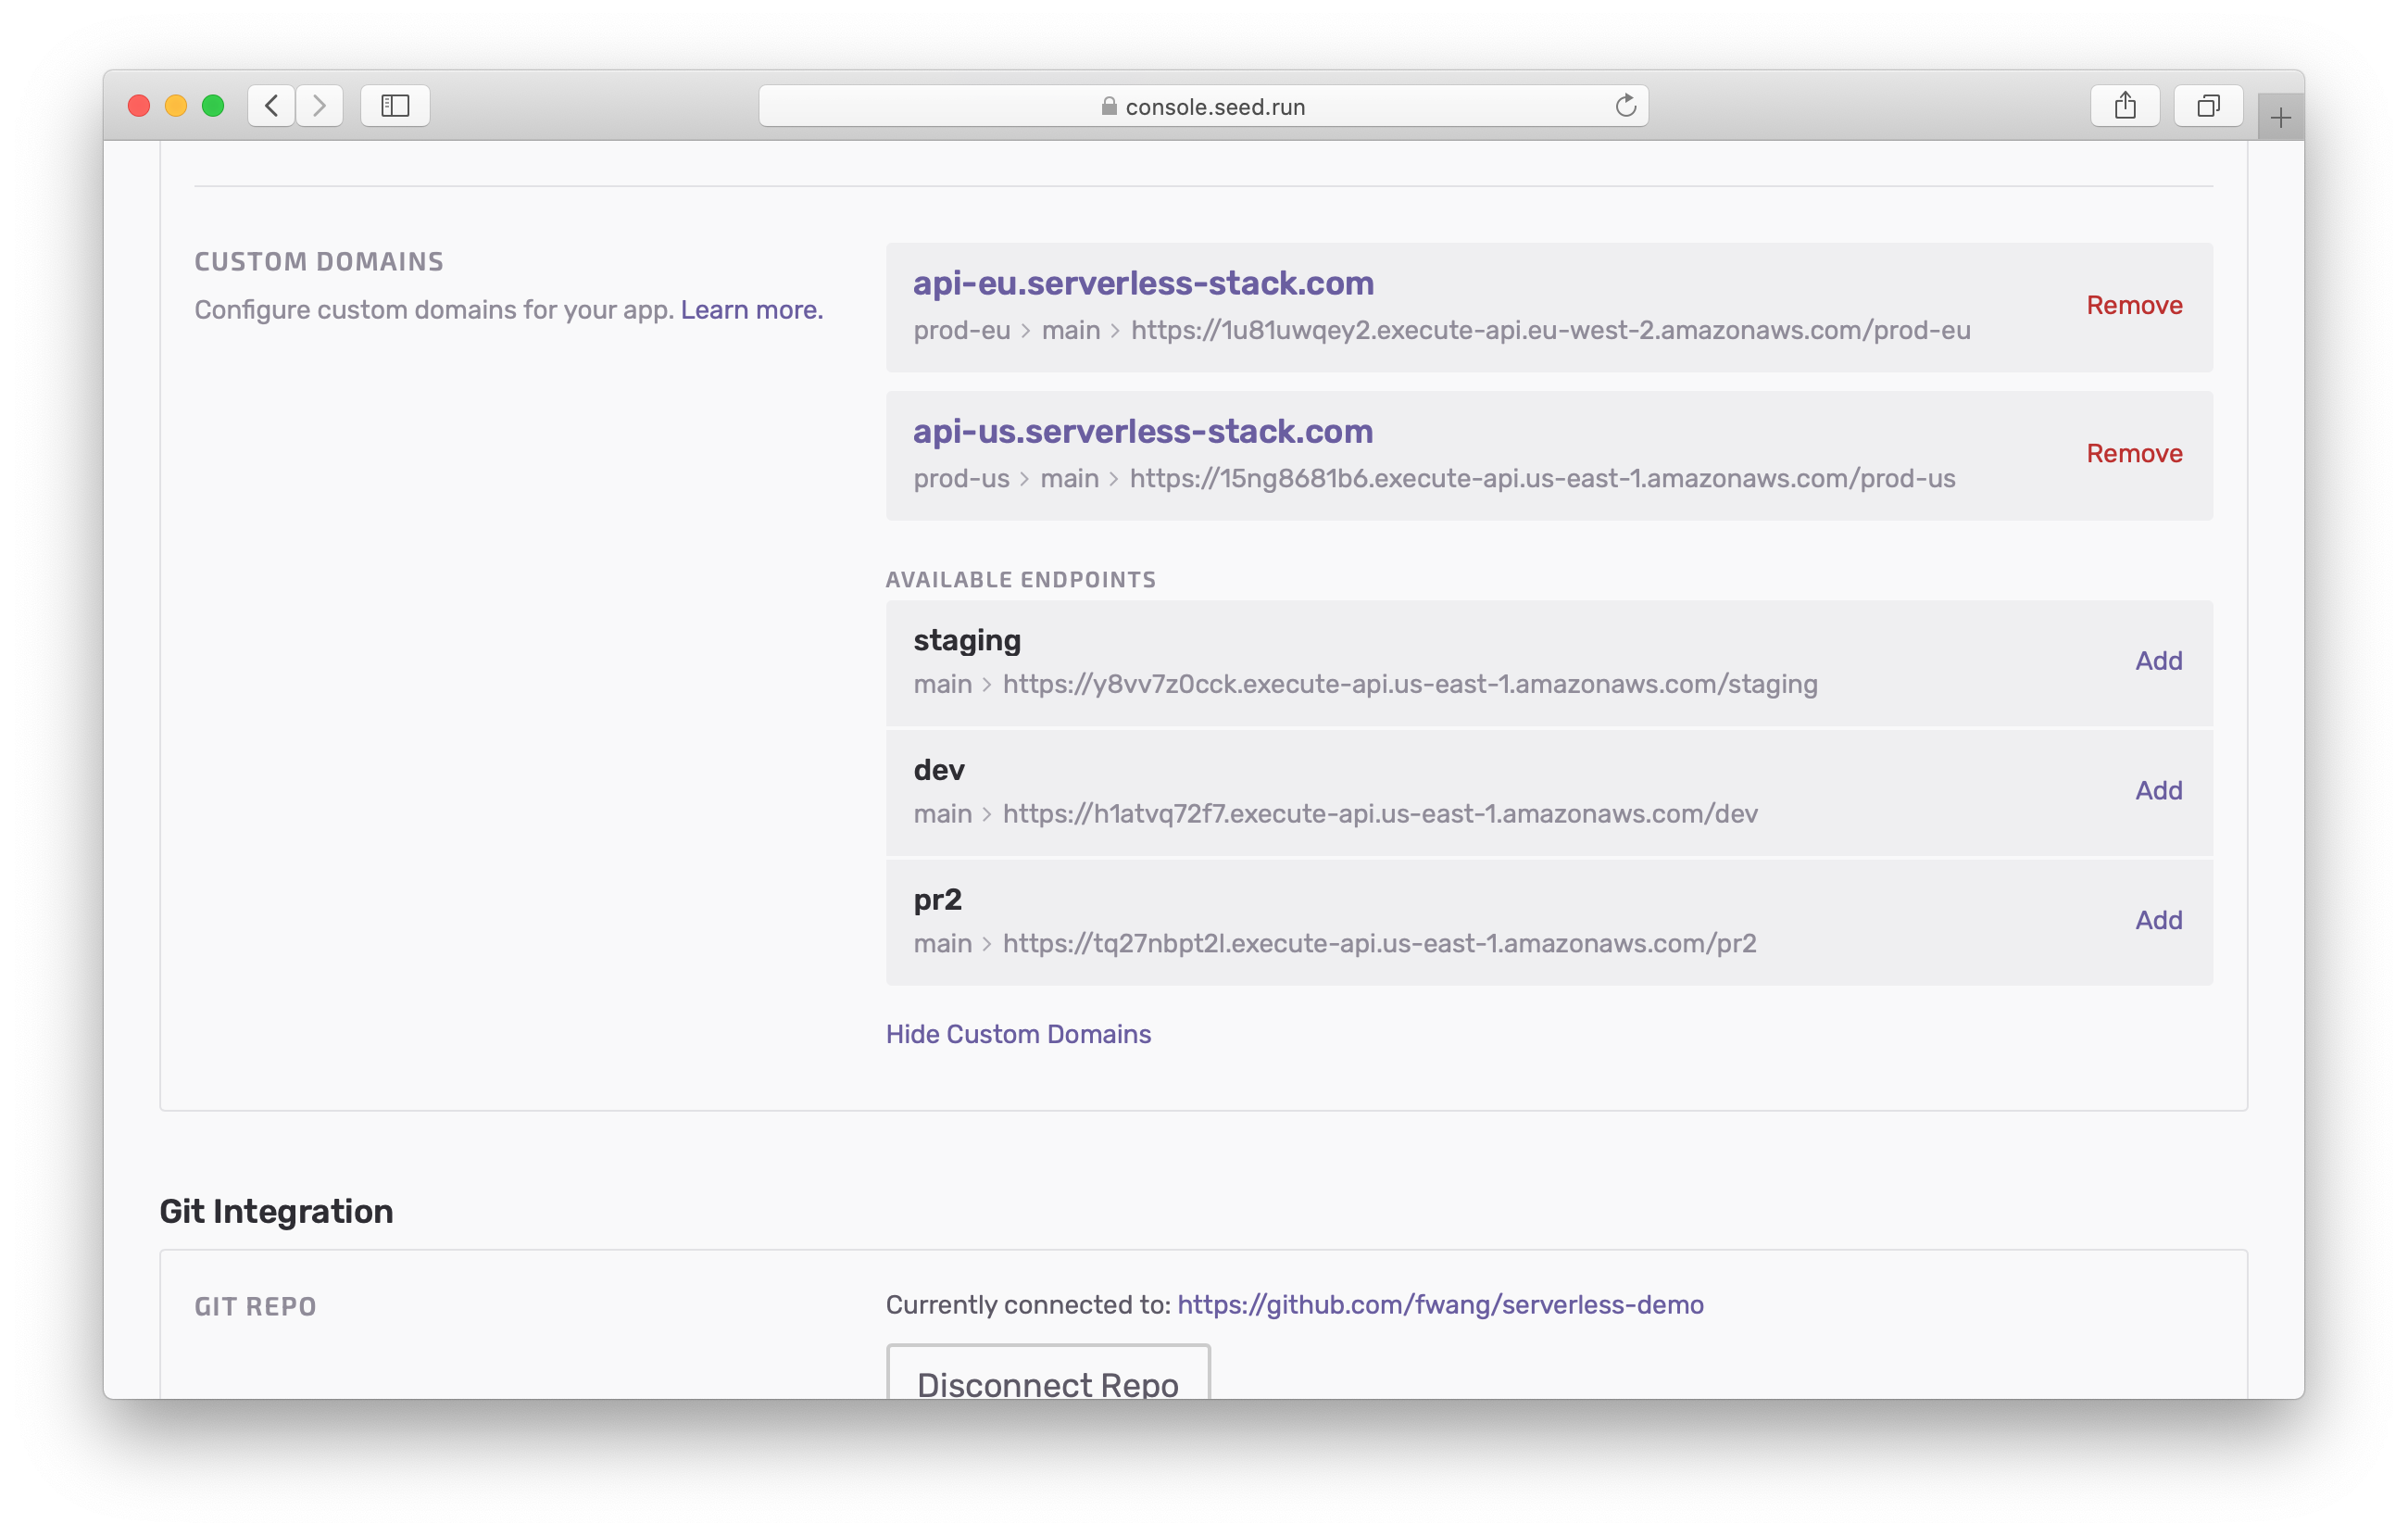
Removing a Custom Domain
Finally, you can remove the custom domain for an endpoint. Hit the Remove button for the custom domain you want to remove.
Configuring Base Paths
A couple of quick notes on selecting a base path for a custom domain:
-
You cannot use a base path if it’s already in use. Seed will throw an error to let you know.
-
If an endpoint is configured to the root base path (
/); you will not be able to configure one with any other base path for that domain (or subdomain). For example, if you haveapi.example.com/configured to an endpoint (where/is the base path). Then you will not be able to configureapi.example.com/prodfor any other endpoint. To fix this you’ll either need to remove the custom domain with the root base path or pick an entirely different domain. -
Similarly, if you are setting a root base path (say
/inapi.example.com/) but a custom domain is already configured with a base path (so/prodinapi.example.com/prod); you’ll get an error. Just as above you’ll need to either remove the existing custom domain or pick an entirely different domain.
Custom Domain Best Practices
Here’s a tip while working with custom domains.
If you are planning to create multiple custom domains for your services, namespace them under a stage. For example, if you have three services, users, posts, and groups. And you want to set their custom domains in your prod stage. It’s better to choose the following scheme:
users.prod.example.com/posts.prod.example.com/groups.prod.example.com/
As opposed to one where the stage is specified first:
prod.users.example.com/prod.posts.example.com/prod.groups.example.com/
One of the reasons for this is that for scenario 1, the same SSL certificate (*.prod.example.com) can be used for all the domains. This makes it faster to configure. Whereas, for the scenario 2, Seed will need to create a separate SSL certificate for each domain.
Seed vs the Domain Manager Plugin
The serverless-domain-manager plugin is a great way to configure custom domains for your Serverless apps. Here are the advantages of configuring your domains with Seed:
- Seed will automatically configure the SSL certificates for you.
- And you don’t need to add the domain configuration to your build scripts.
On the other hand, serverless-domain-manager allows you to make the domain configuration a part of the build process. You also get to specify the config in your serverless.yml, so all your configs are stored in your project.
Help improve this page. Edit it with GitHub
Was this page helpful? Let us know via Twitter
Do your Serverless deployments take too long? Incremental deploys in Seed can speed it up 100x!
Learn More