Getting Started with Seed
Seed is a fully managed CI/CD pipeline for Serverless apps on AWS. Simply add your Git repository and IAM credentials and your entire team can git push to deploy updates to your Serverless app.
Seed currently supports the following:
- SST v2 AWS CDK apps.
- Serverless Framework projects deployed to AWS
- Built with Node.js, Python, .NET Core, Go, Ruby, and Java.
- Hosted on GitHub, GitHub Enterprise, Bitbucket, GitLab, and GitLab Self-Managed.
SST v3 apps are not supported in Seed. You’ll need to use the SST Console instead.
Prerequisites
Seed needs very little configuration on your part and there is no CLI to install. But to add your project you need to:
- Add your project repository with your Git provider
- Create an IAM Role for your AWS account
To start with, Seed will ask you to create a new app by adding your project from your repository.
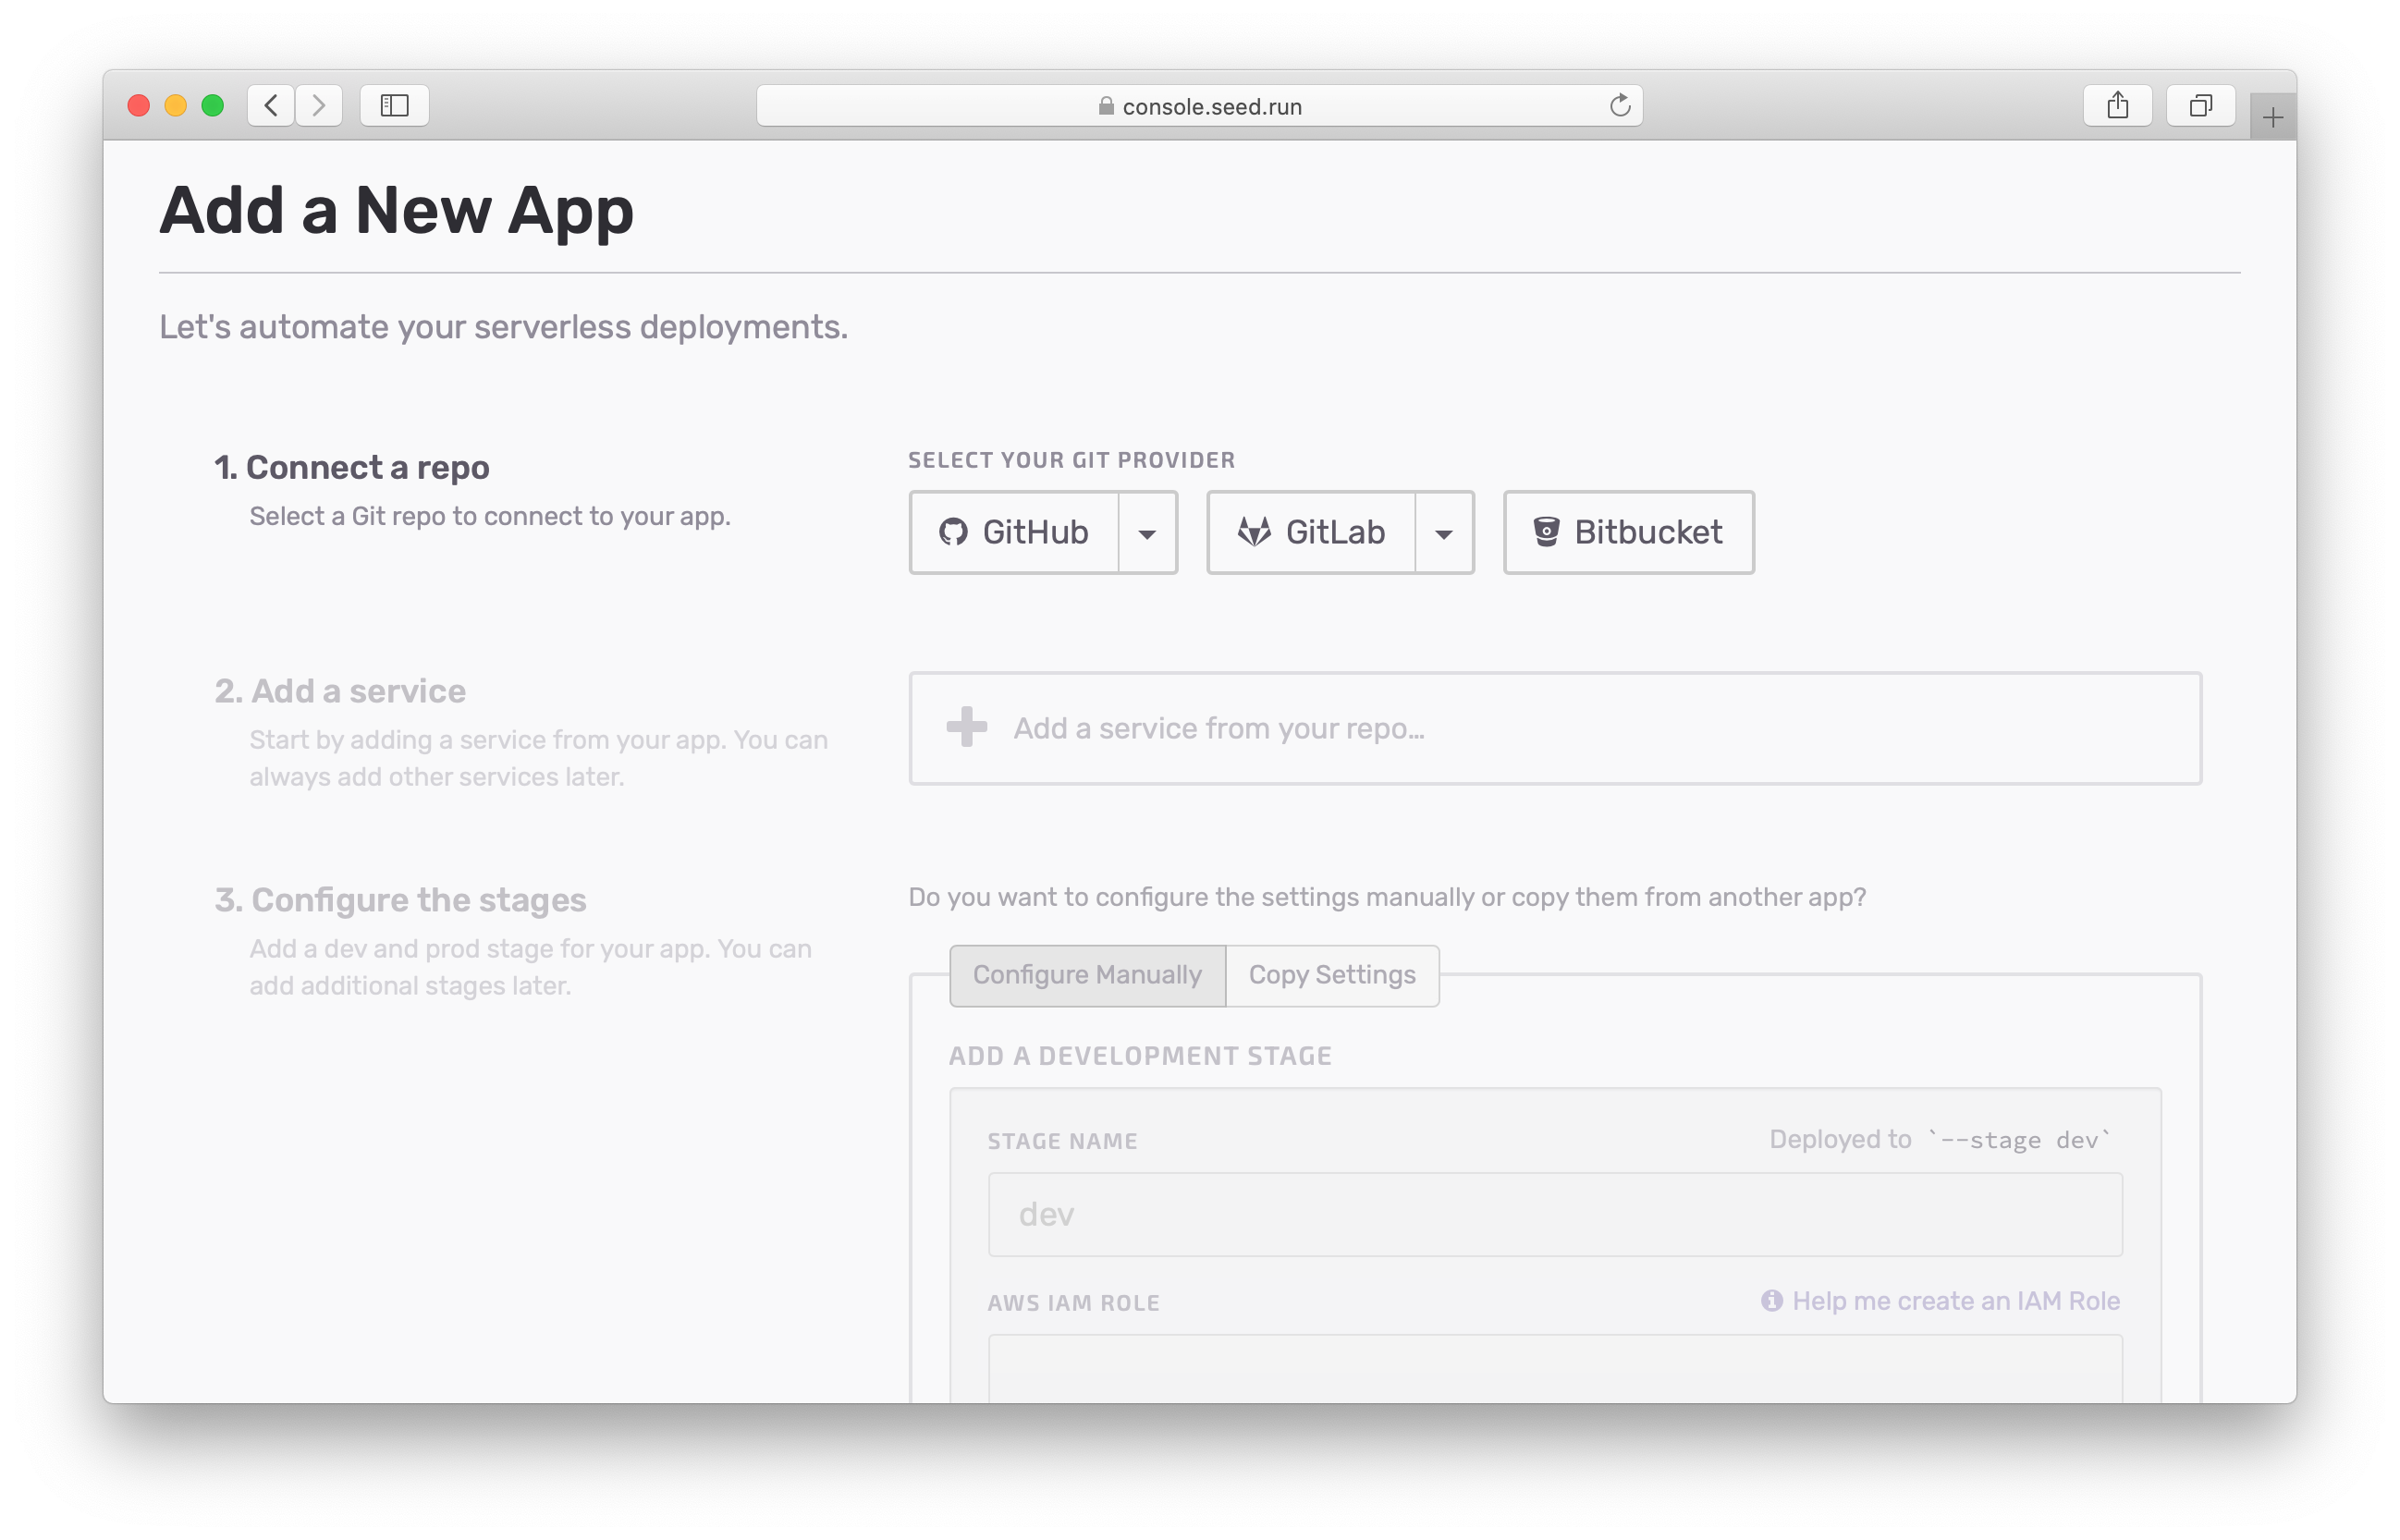
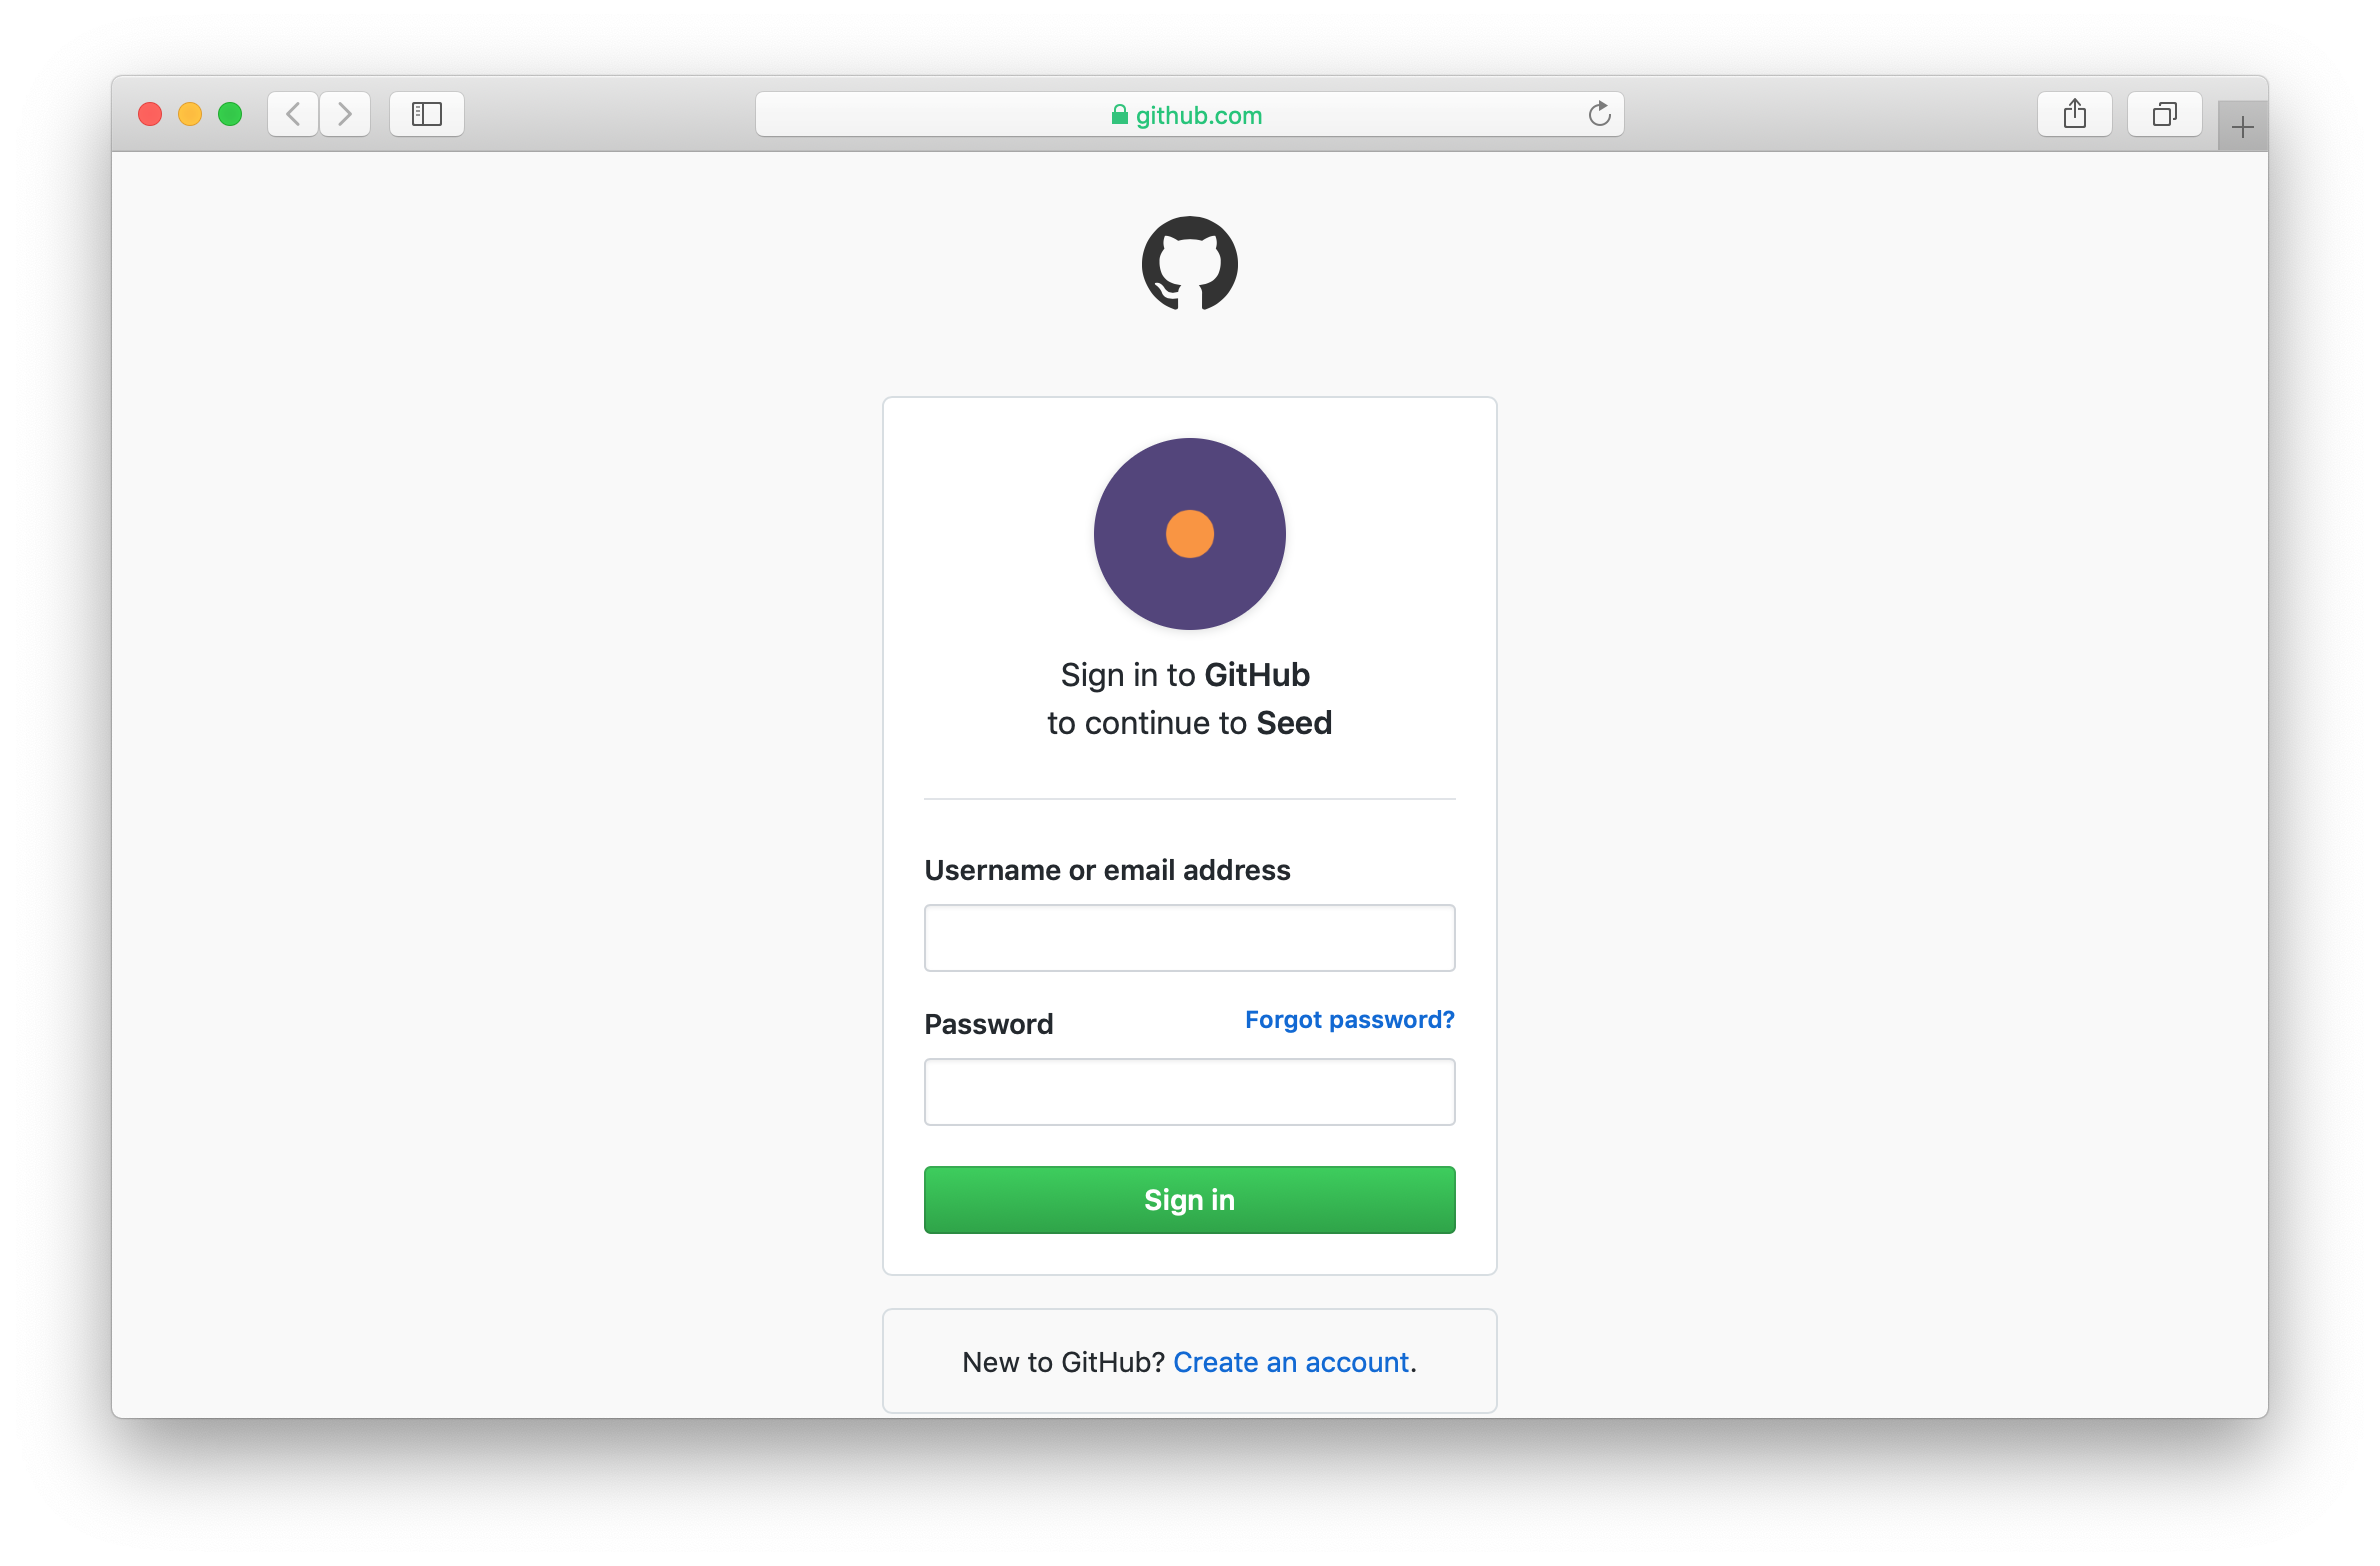
Once you select your Git provider (GitHub for example), you’ll be asked to login to your Github.
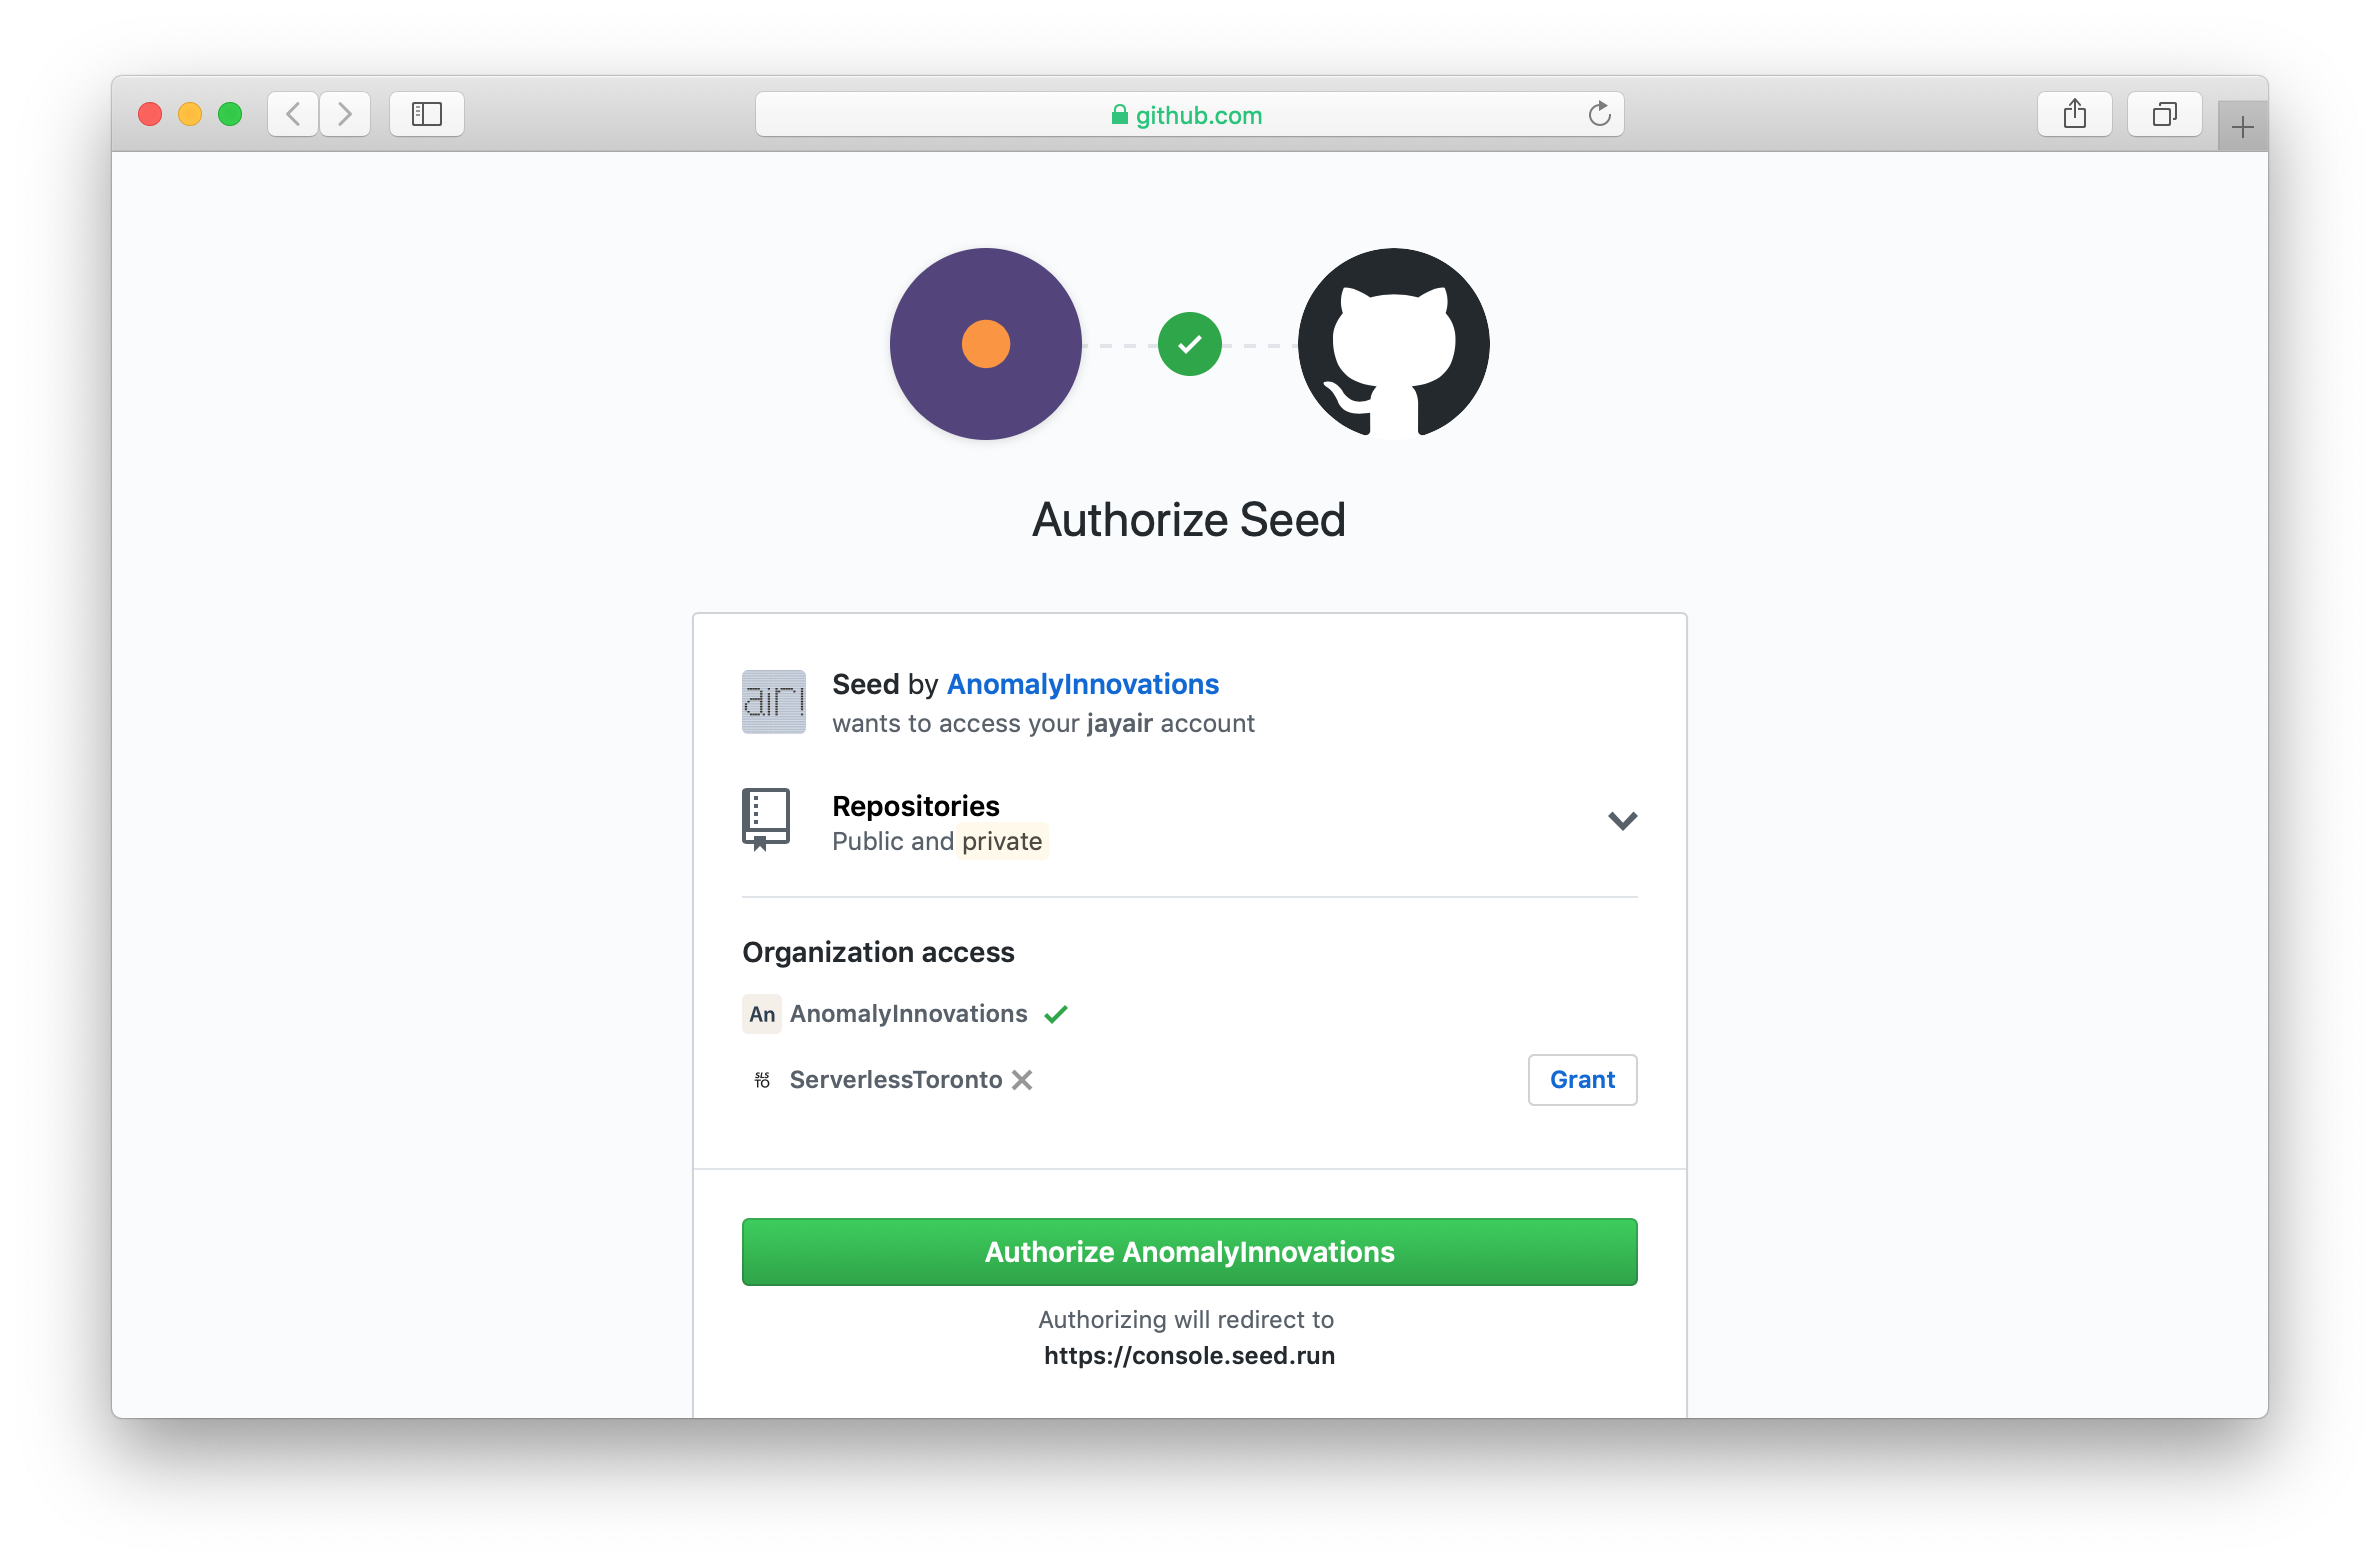
Here you’ll be asked to authorize Seed. Make sure to select the Repositories and Organization access you need.
Once authorized, you can select your repo. Seed will look for all the serverless.yml files in your repo.
If you are unable to find your repo, it might be because Seed doesn’t have the permissions to access your repo. You can read about how to fix this here.
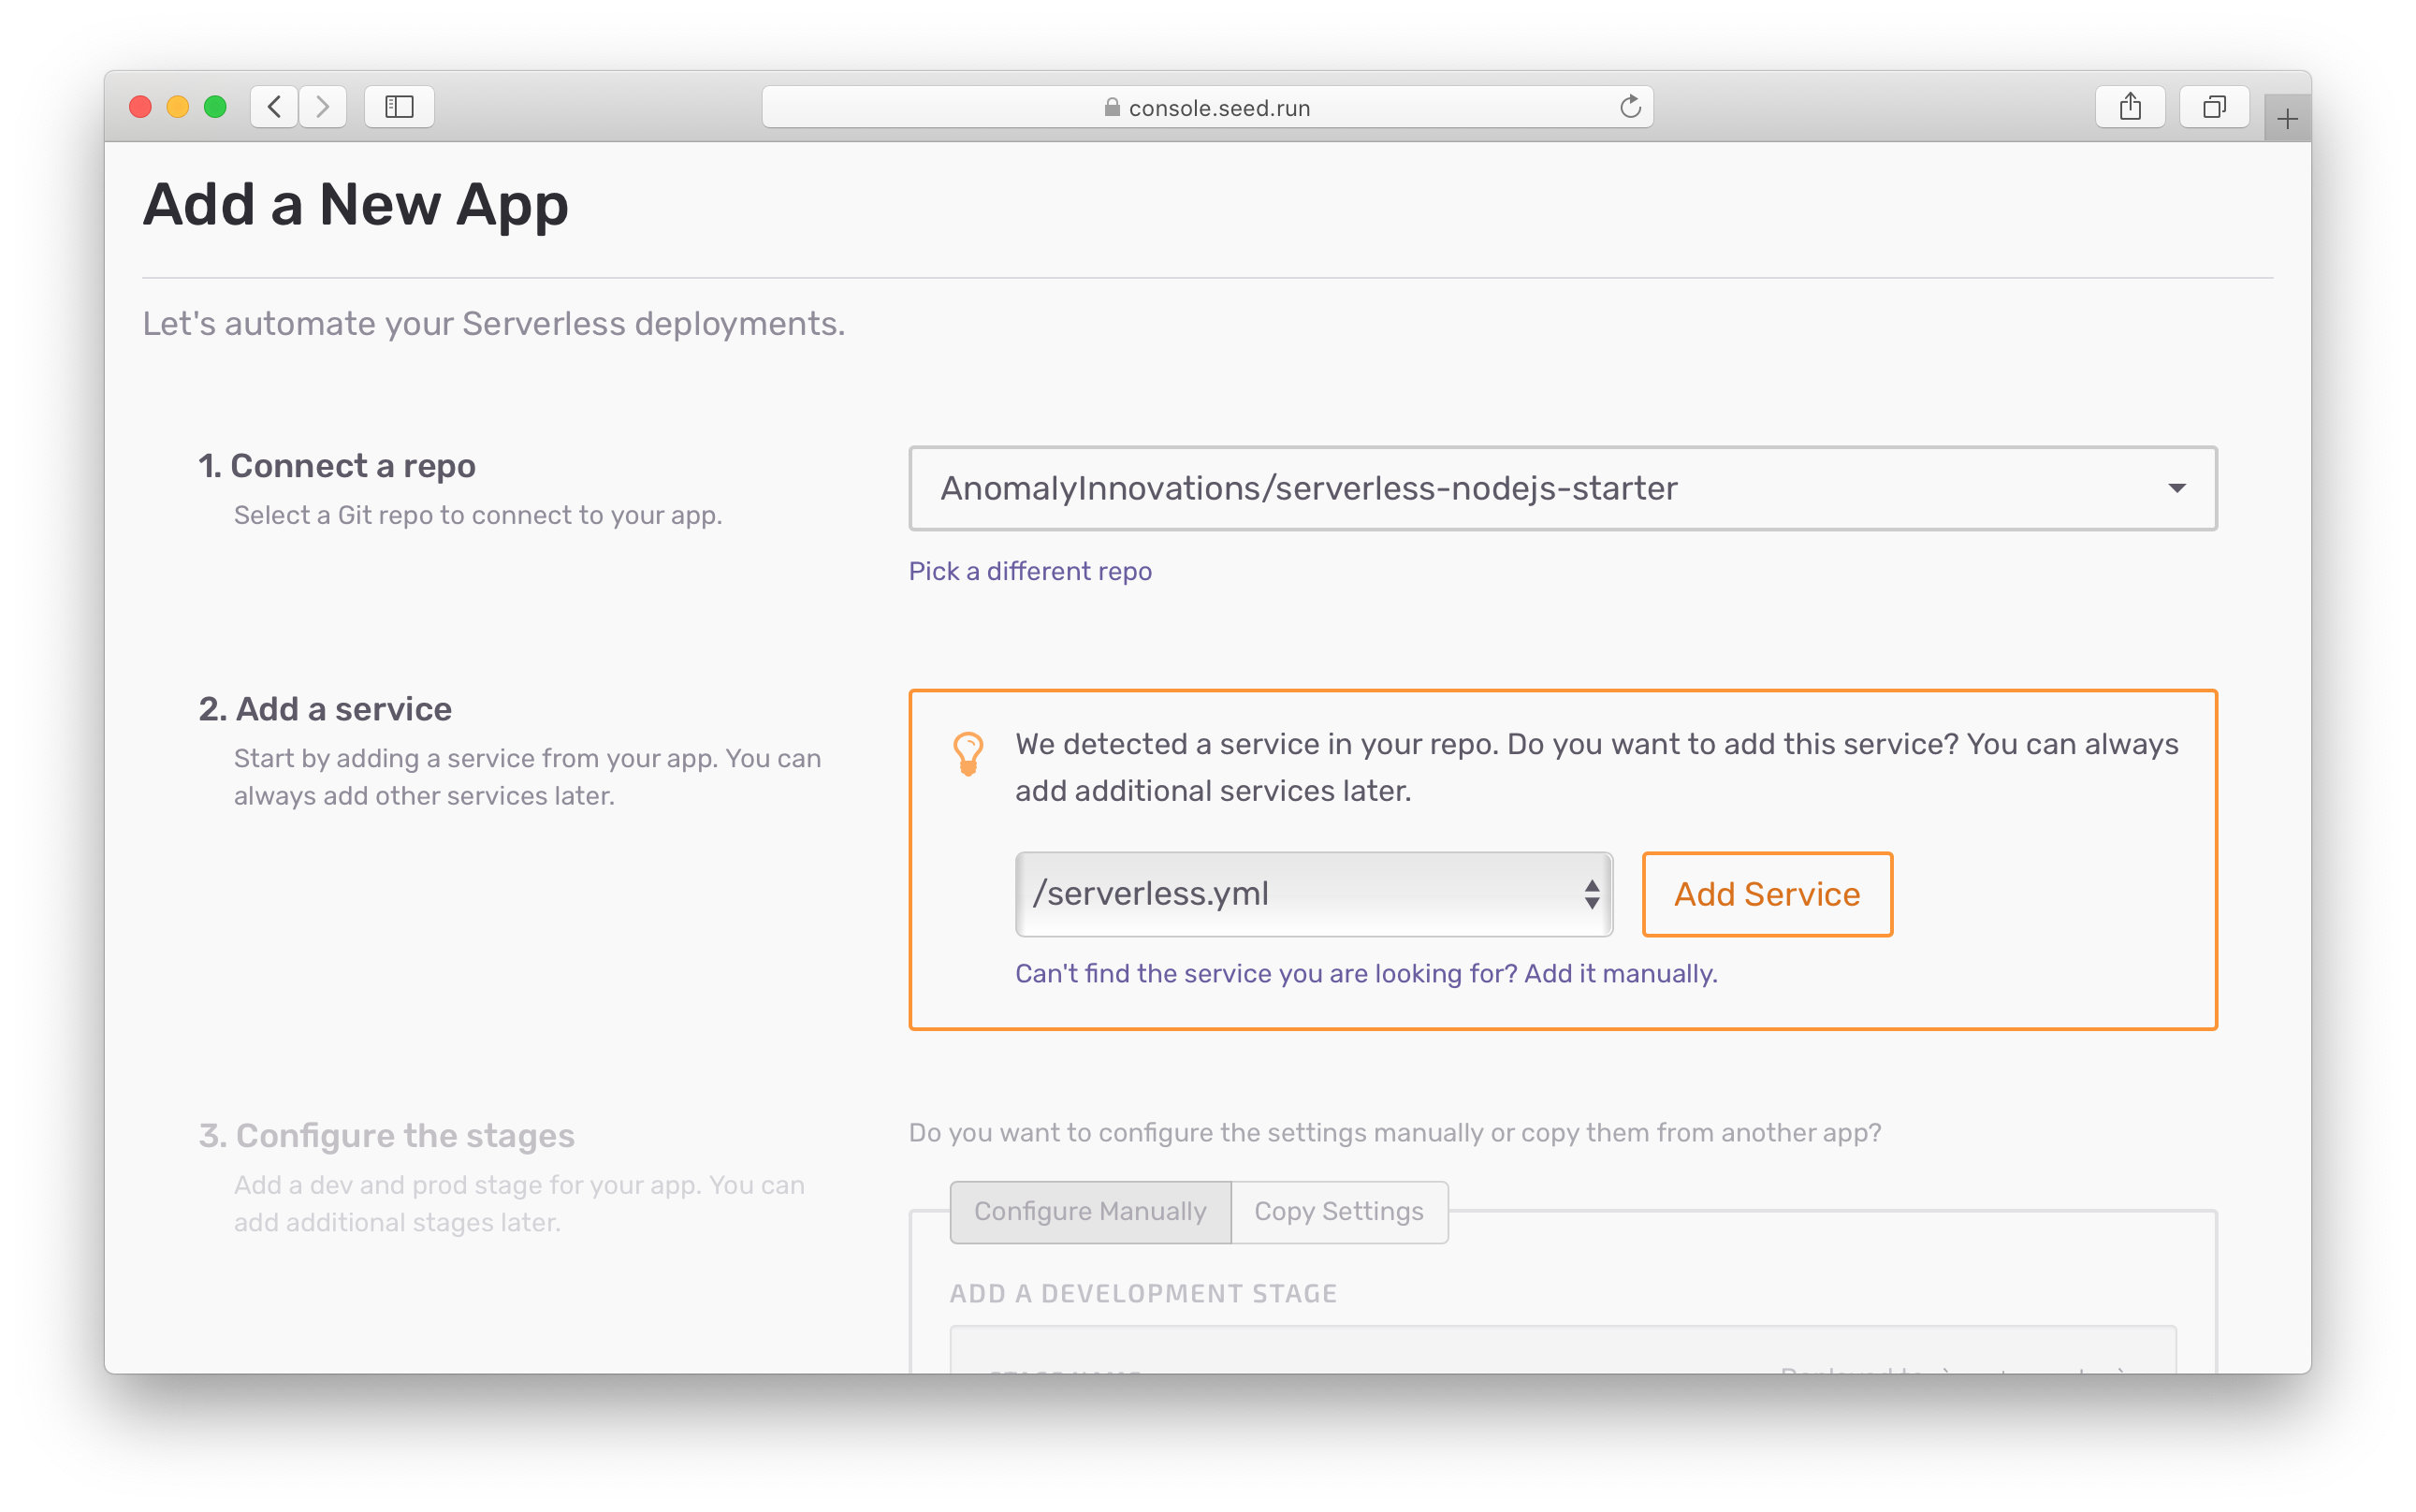
If detected, you can select to add a service. You can always add other services later.
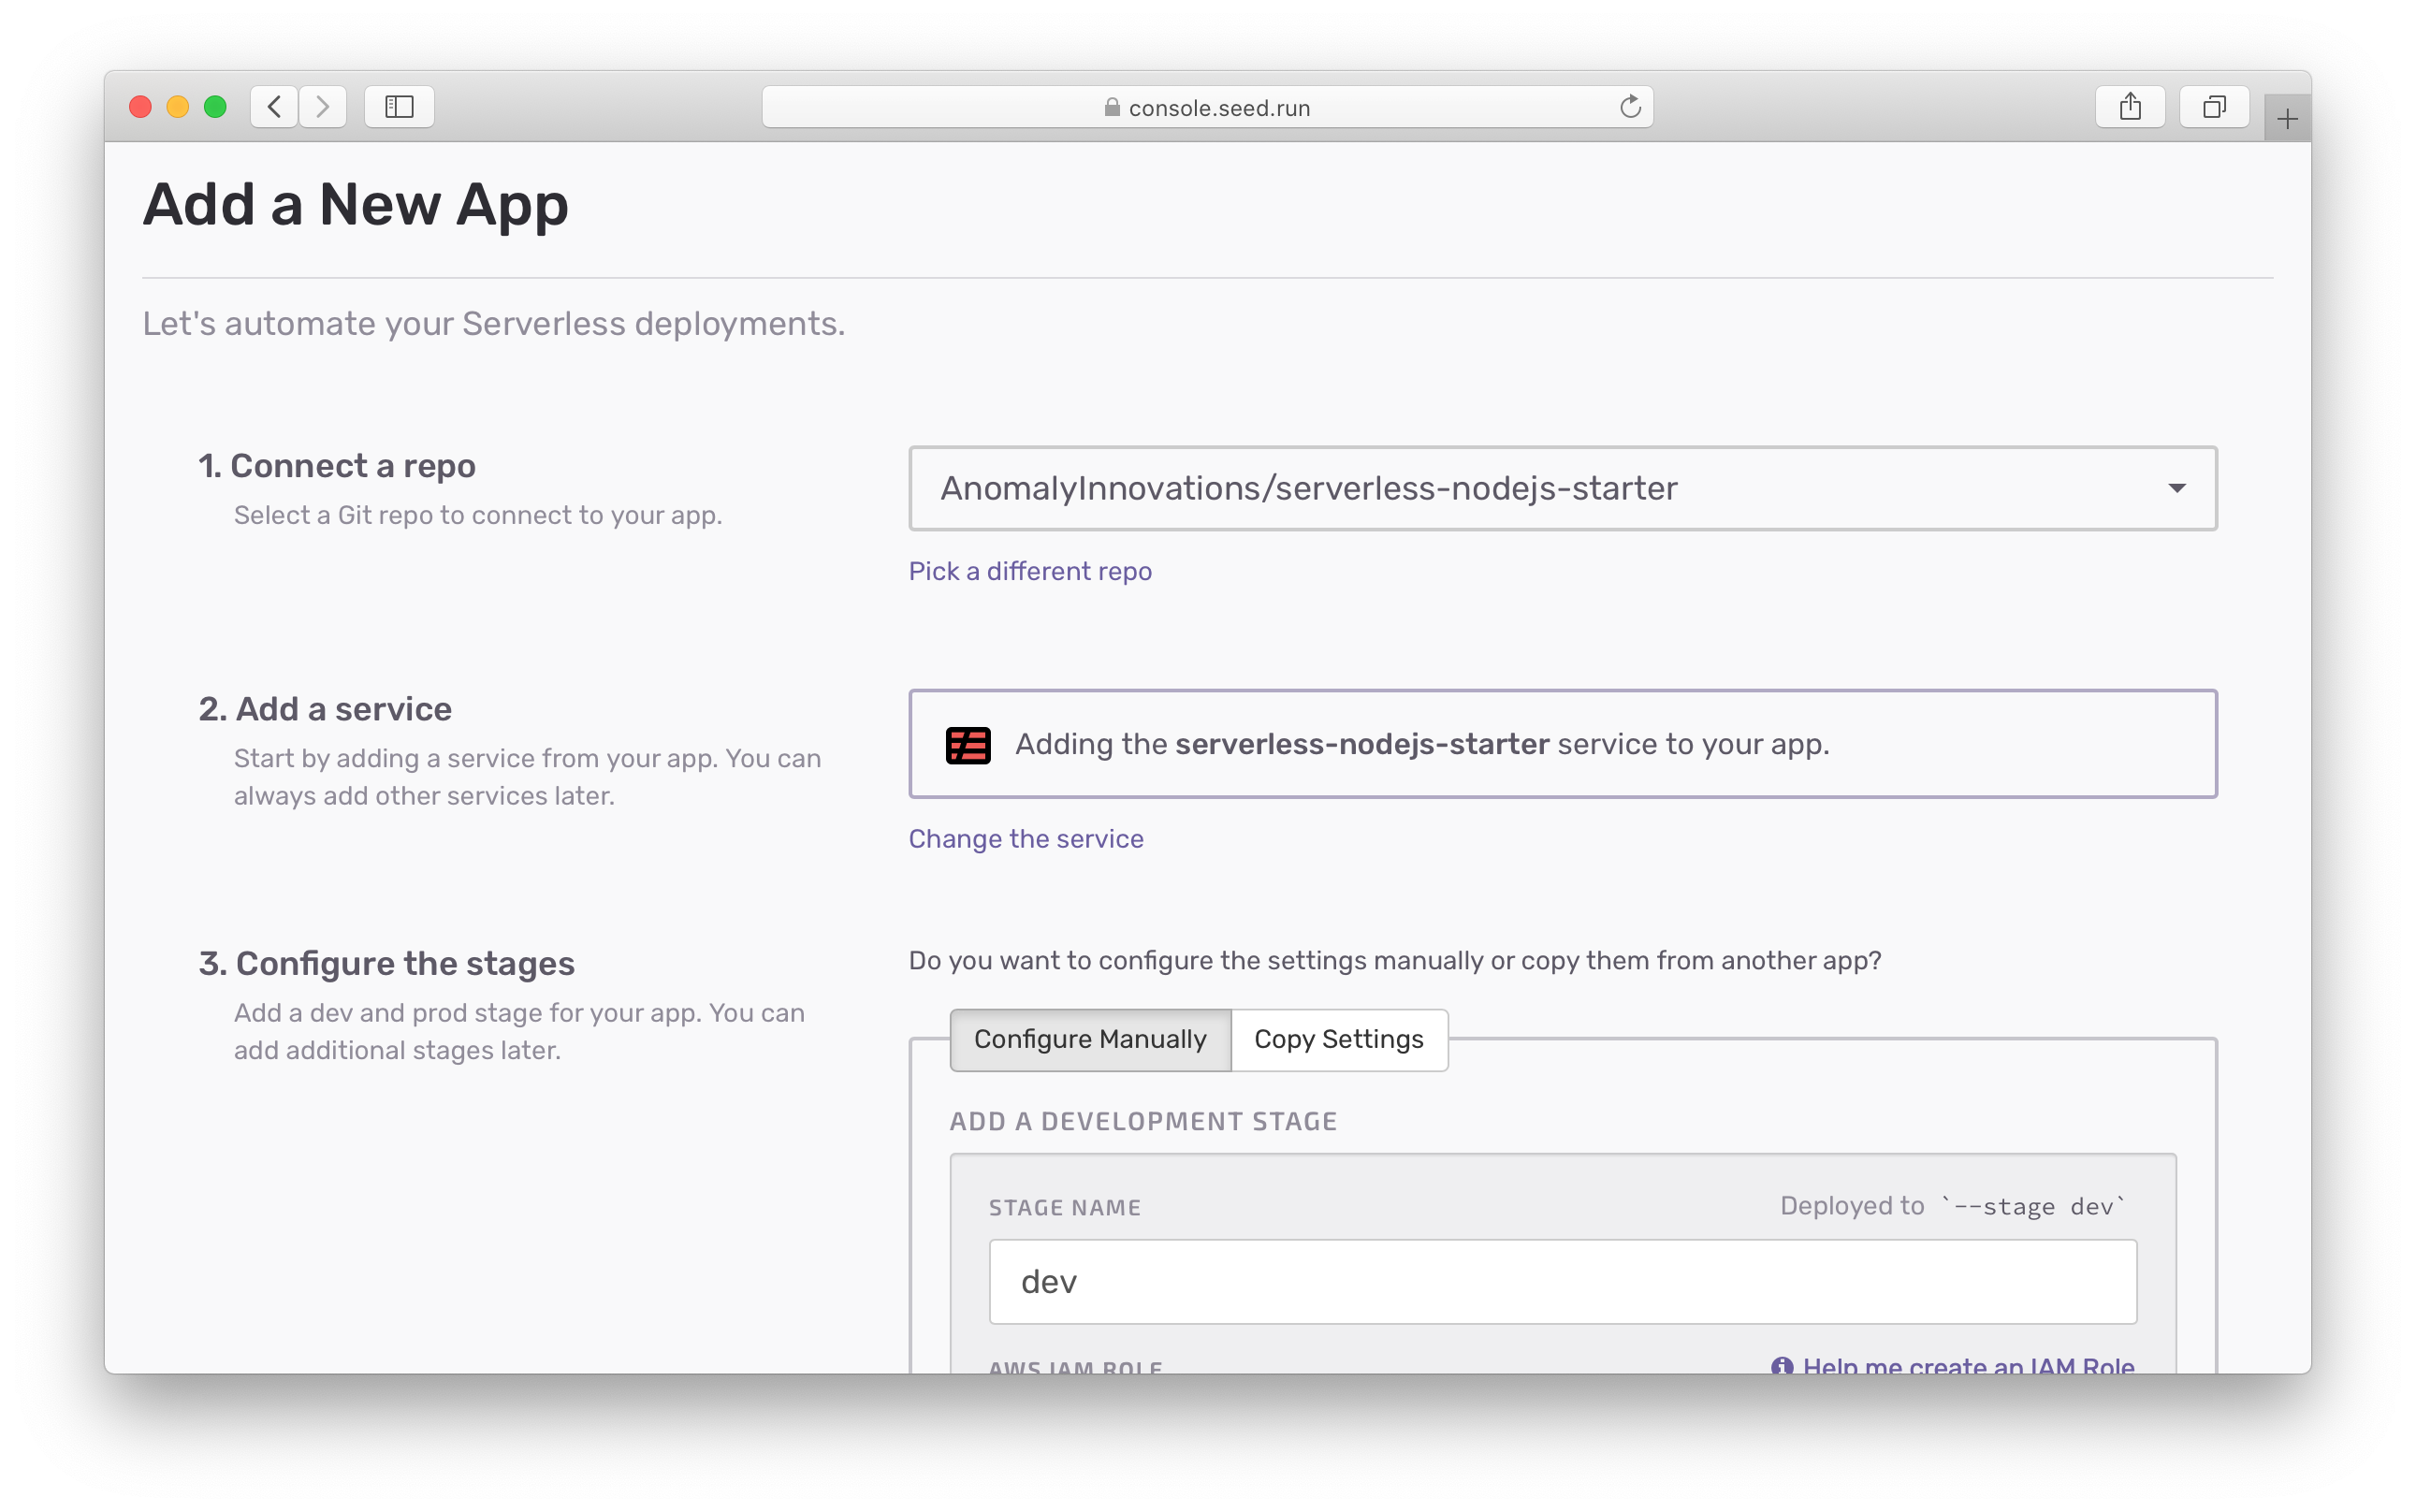
If the services could not be detected, you can add it manually.
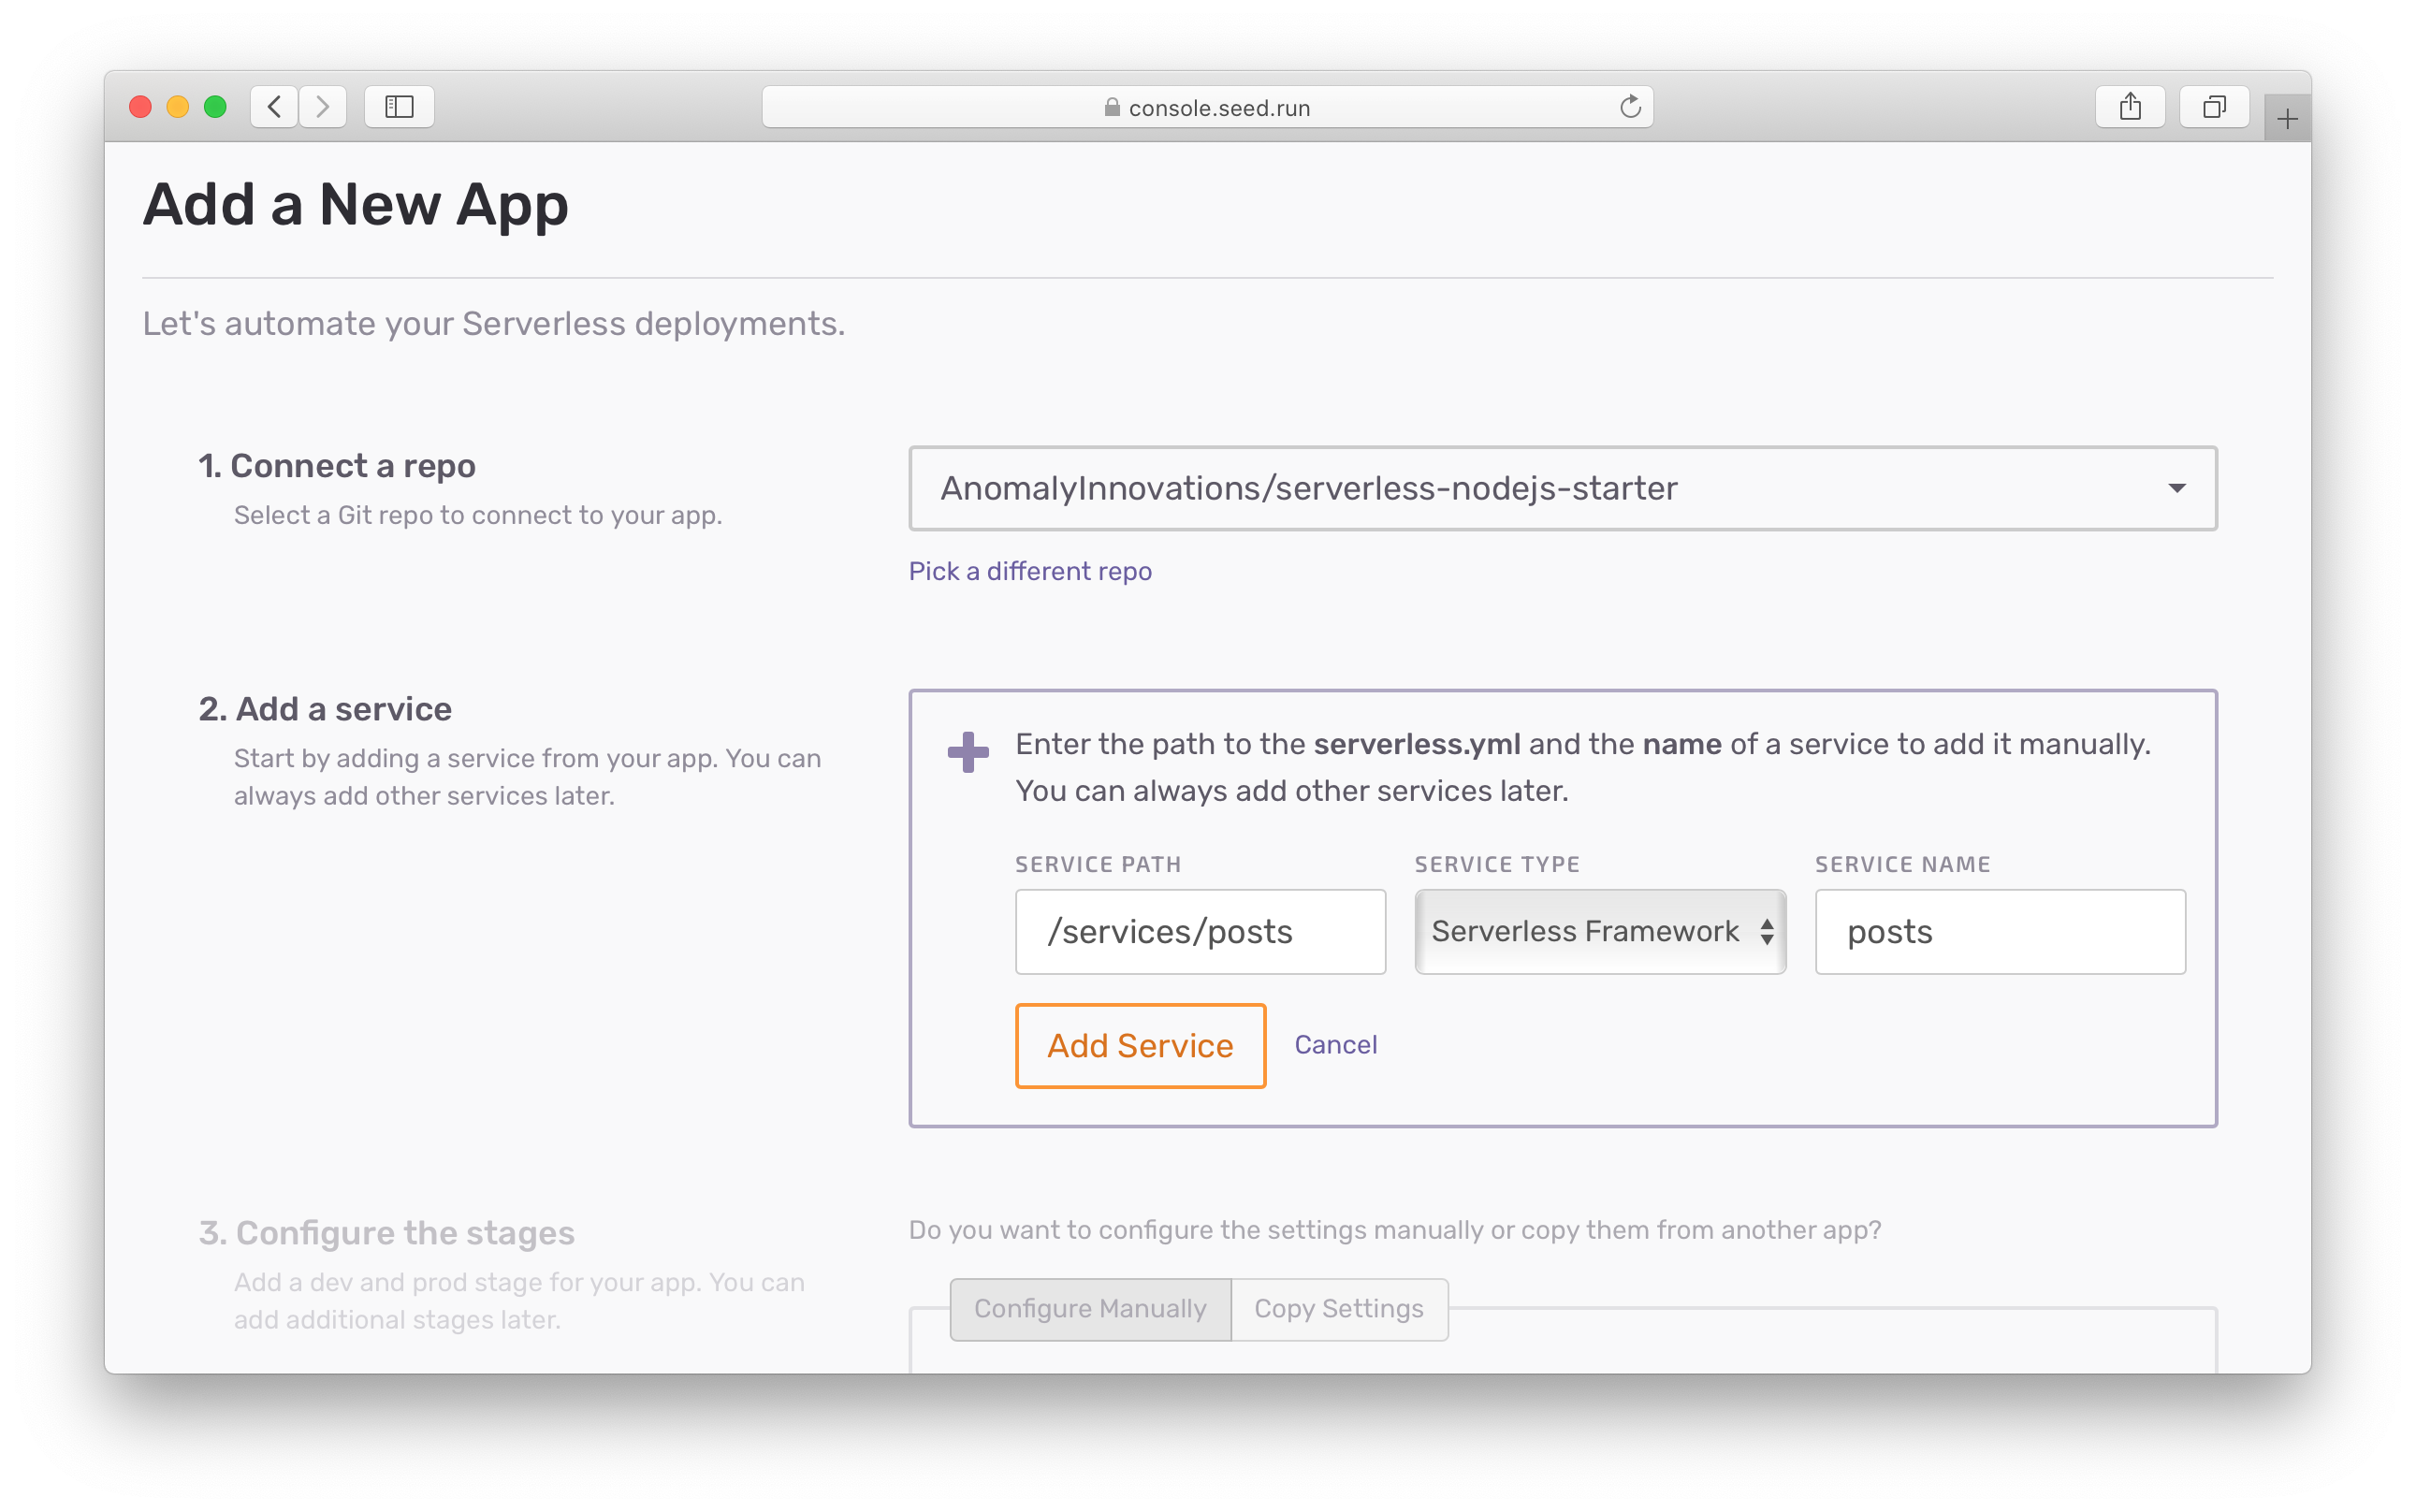
Here we are assuming that you are trying to add a Serverless Framework service. If instead you want to add an SST service, make sure to set it in the Service Type dropdown.
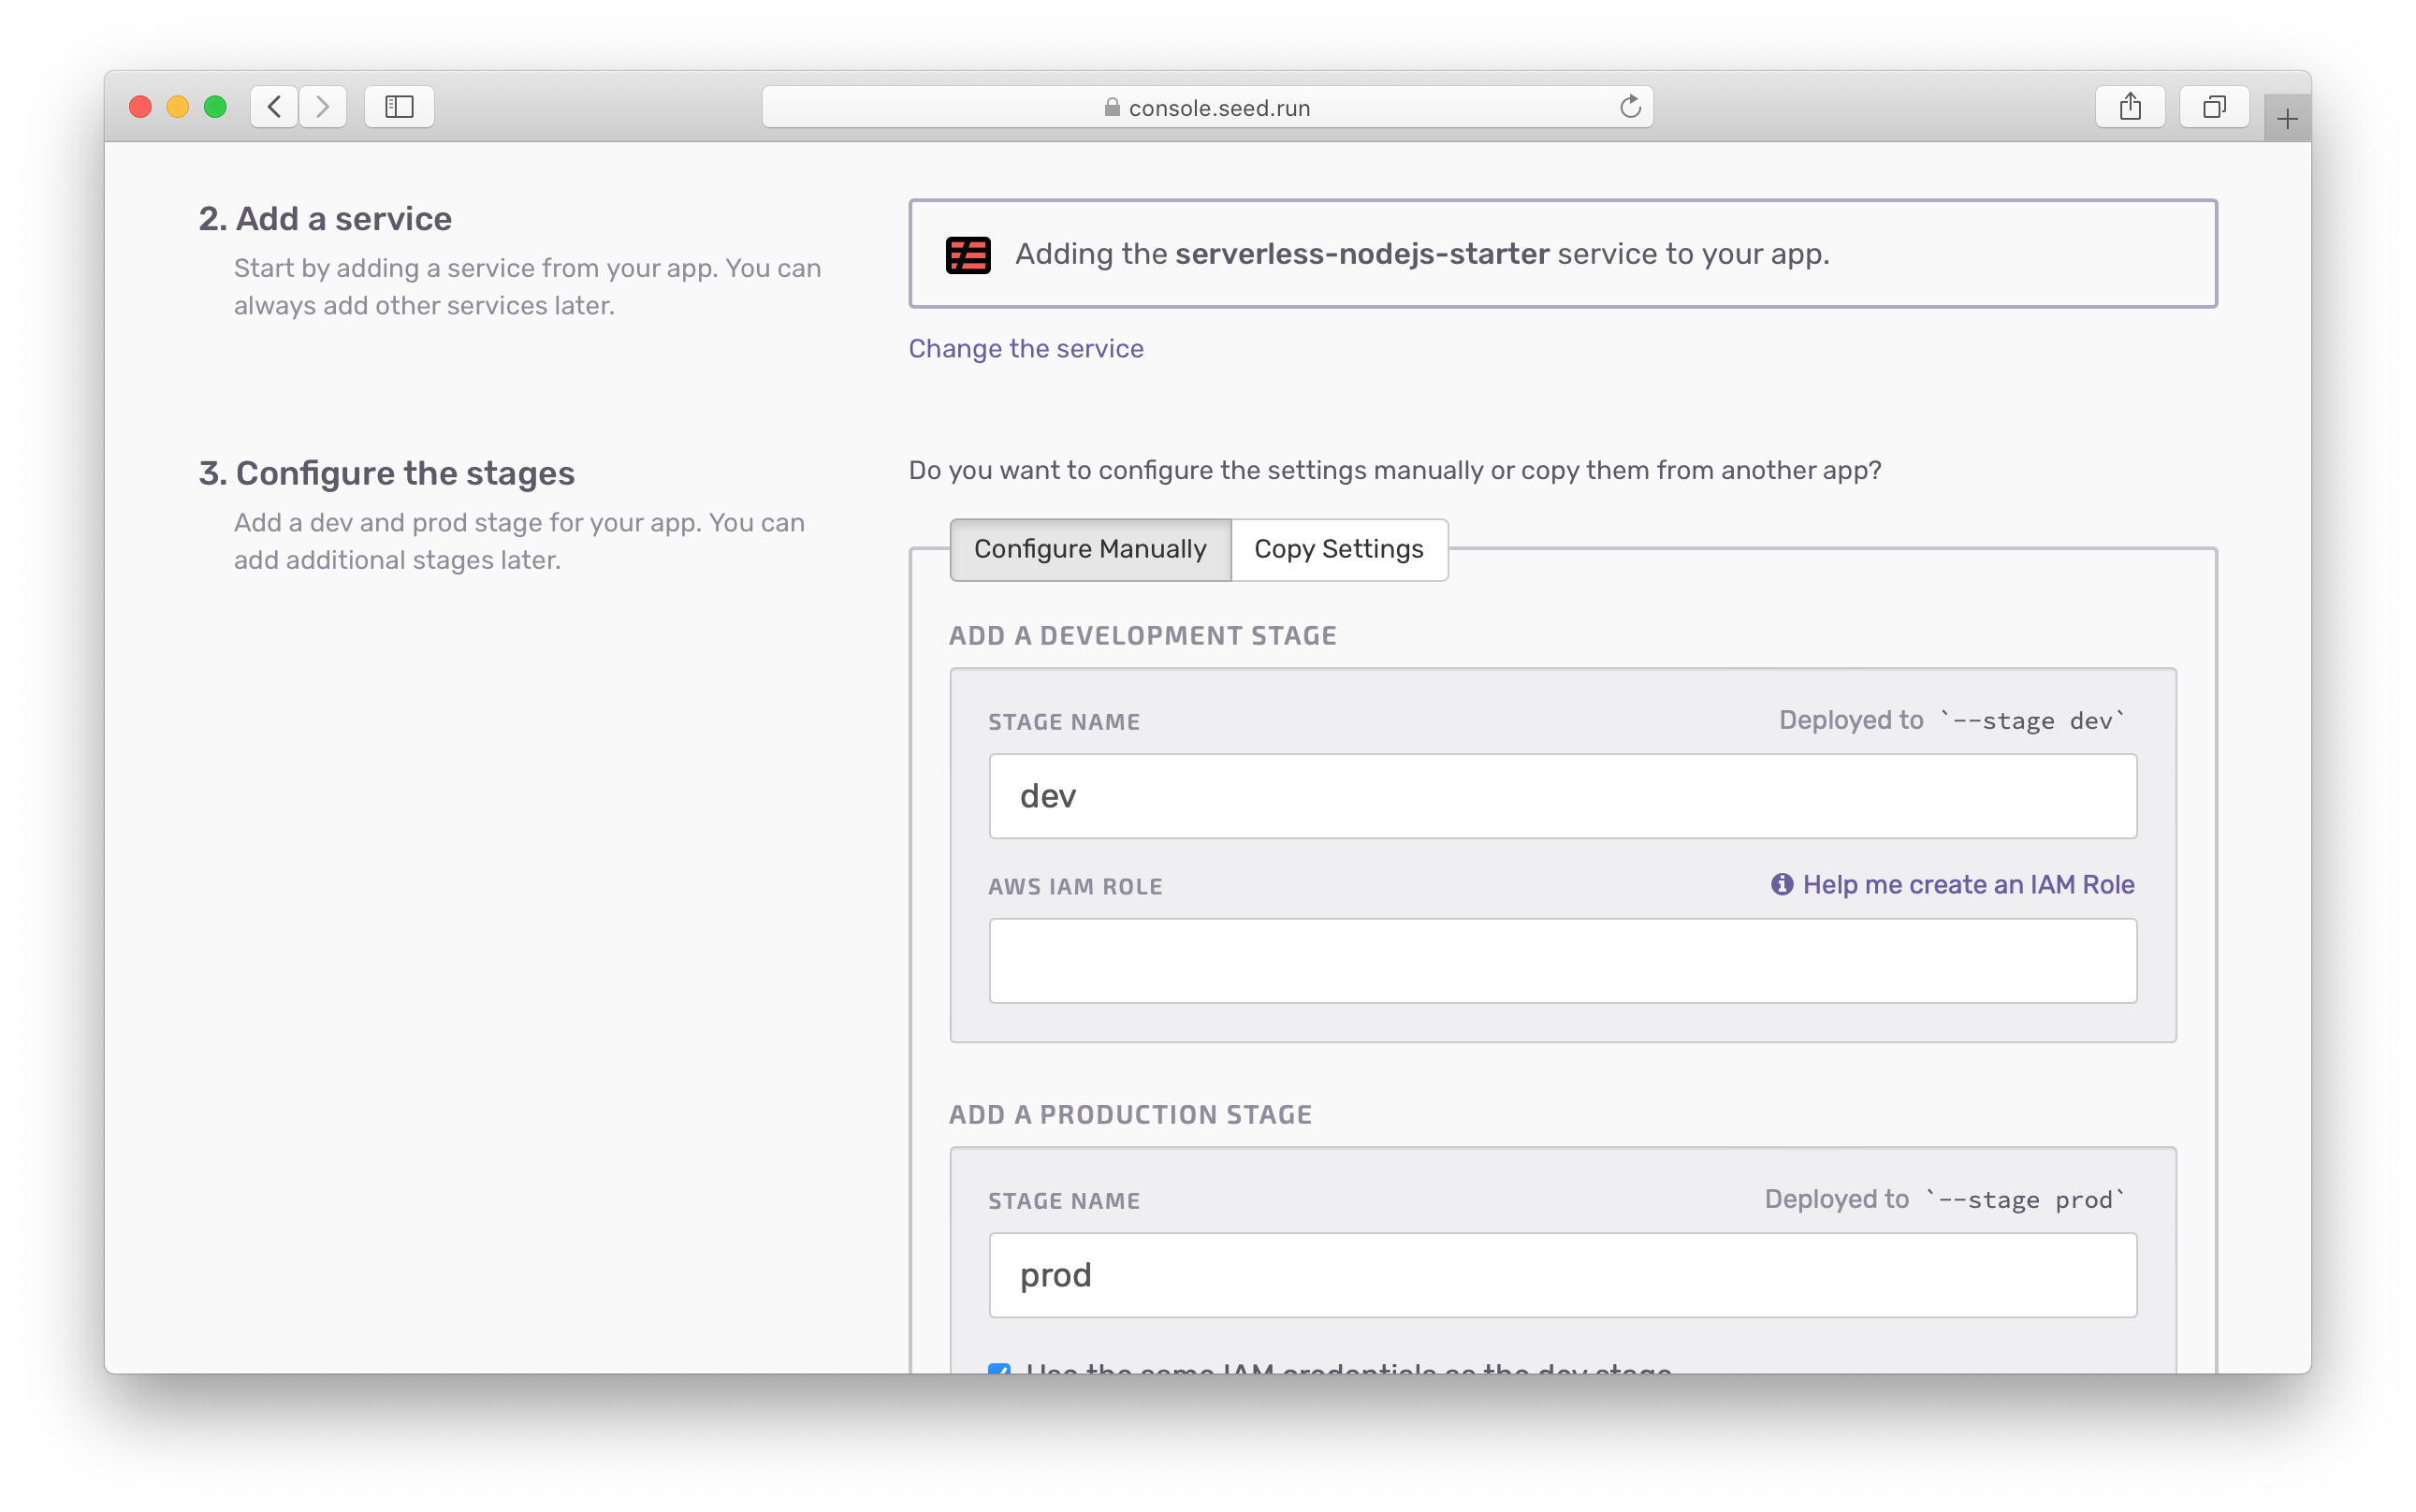
Next, Seed will create a dev and prod stage (or environment) for your app. Note that, you’ll need to change the names to match the stage names you are using to deploy your app. This is important because Seed will deploy your app using the serverless deploy --stage $STAGE_NAME command. Here $STAGE_NAME is the name.
Seed deploys to your environments using the stage name.
You also need to configure the stage with the AWS IAM credentials needed to deploy to it. By default, Seed will use the same credentials to deploy to production. You can change this if your production environment is in a different AWS account.
If you’ve added an app before, you have the option of configuring your new app with the settings of an existing app. Hit the Copy Settings tab.
Here you can select one of your existing apps.
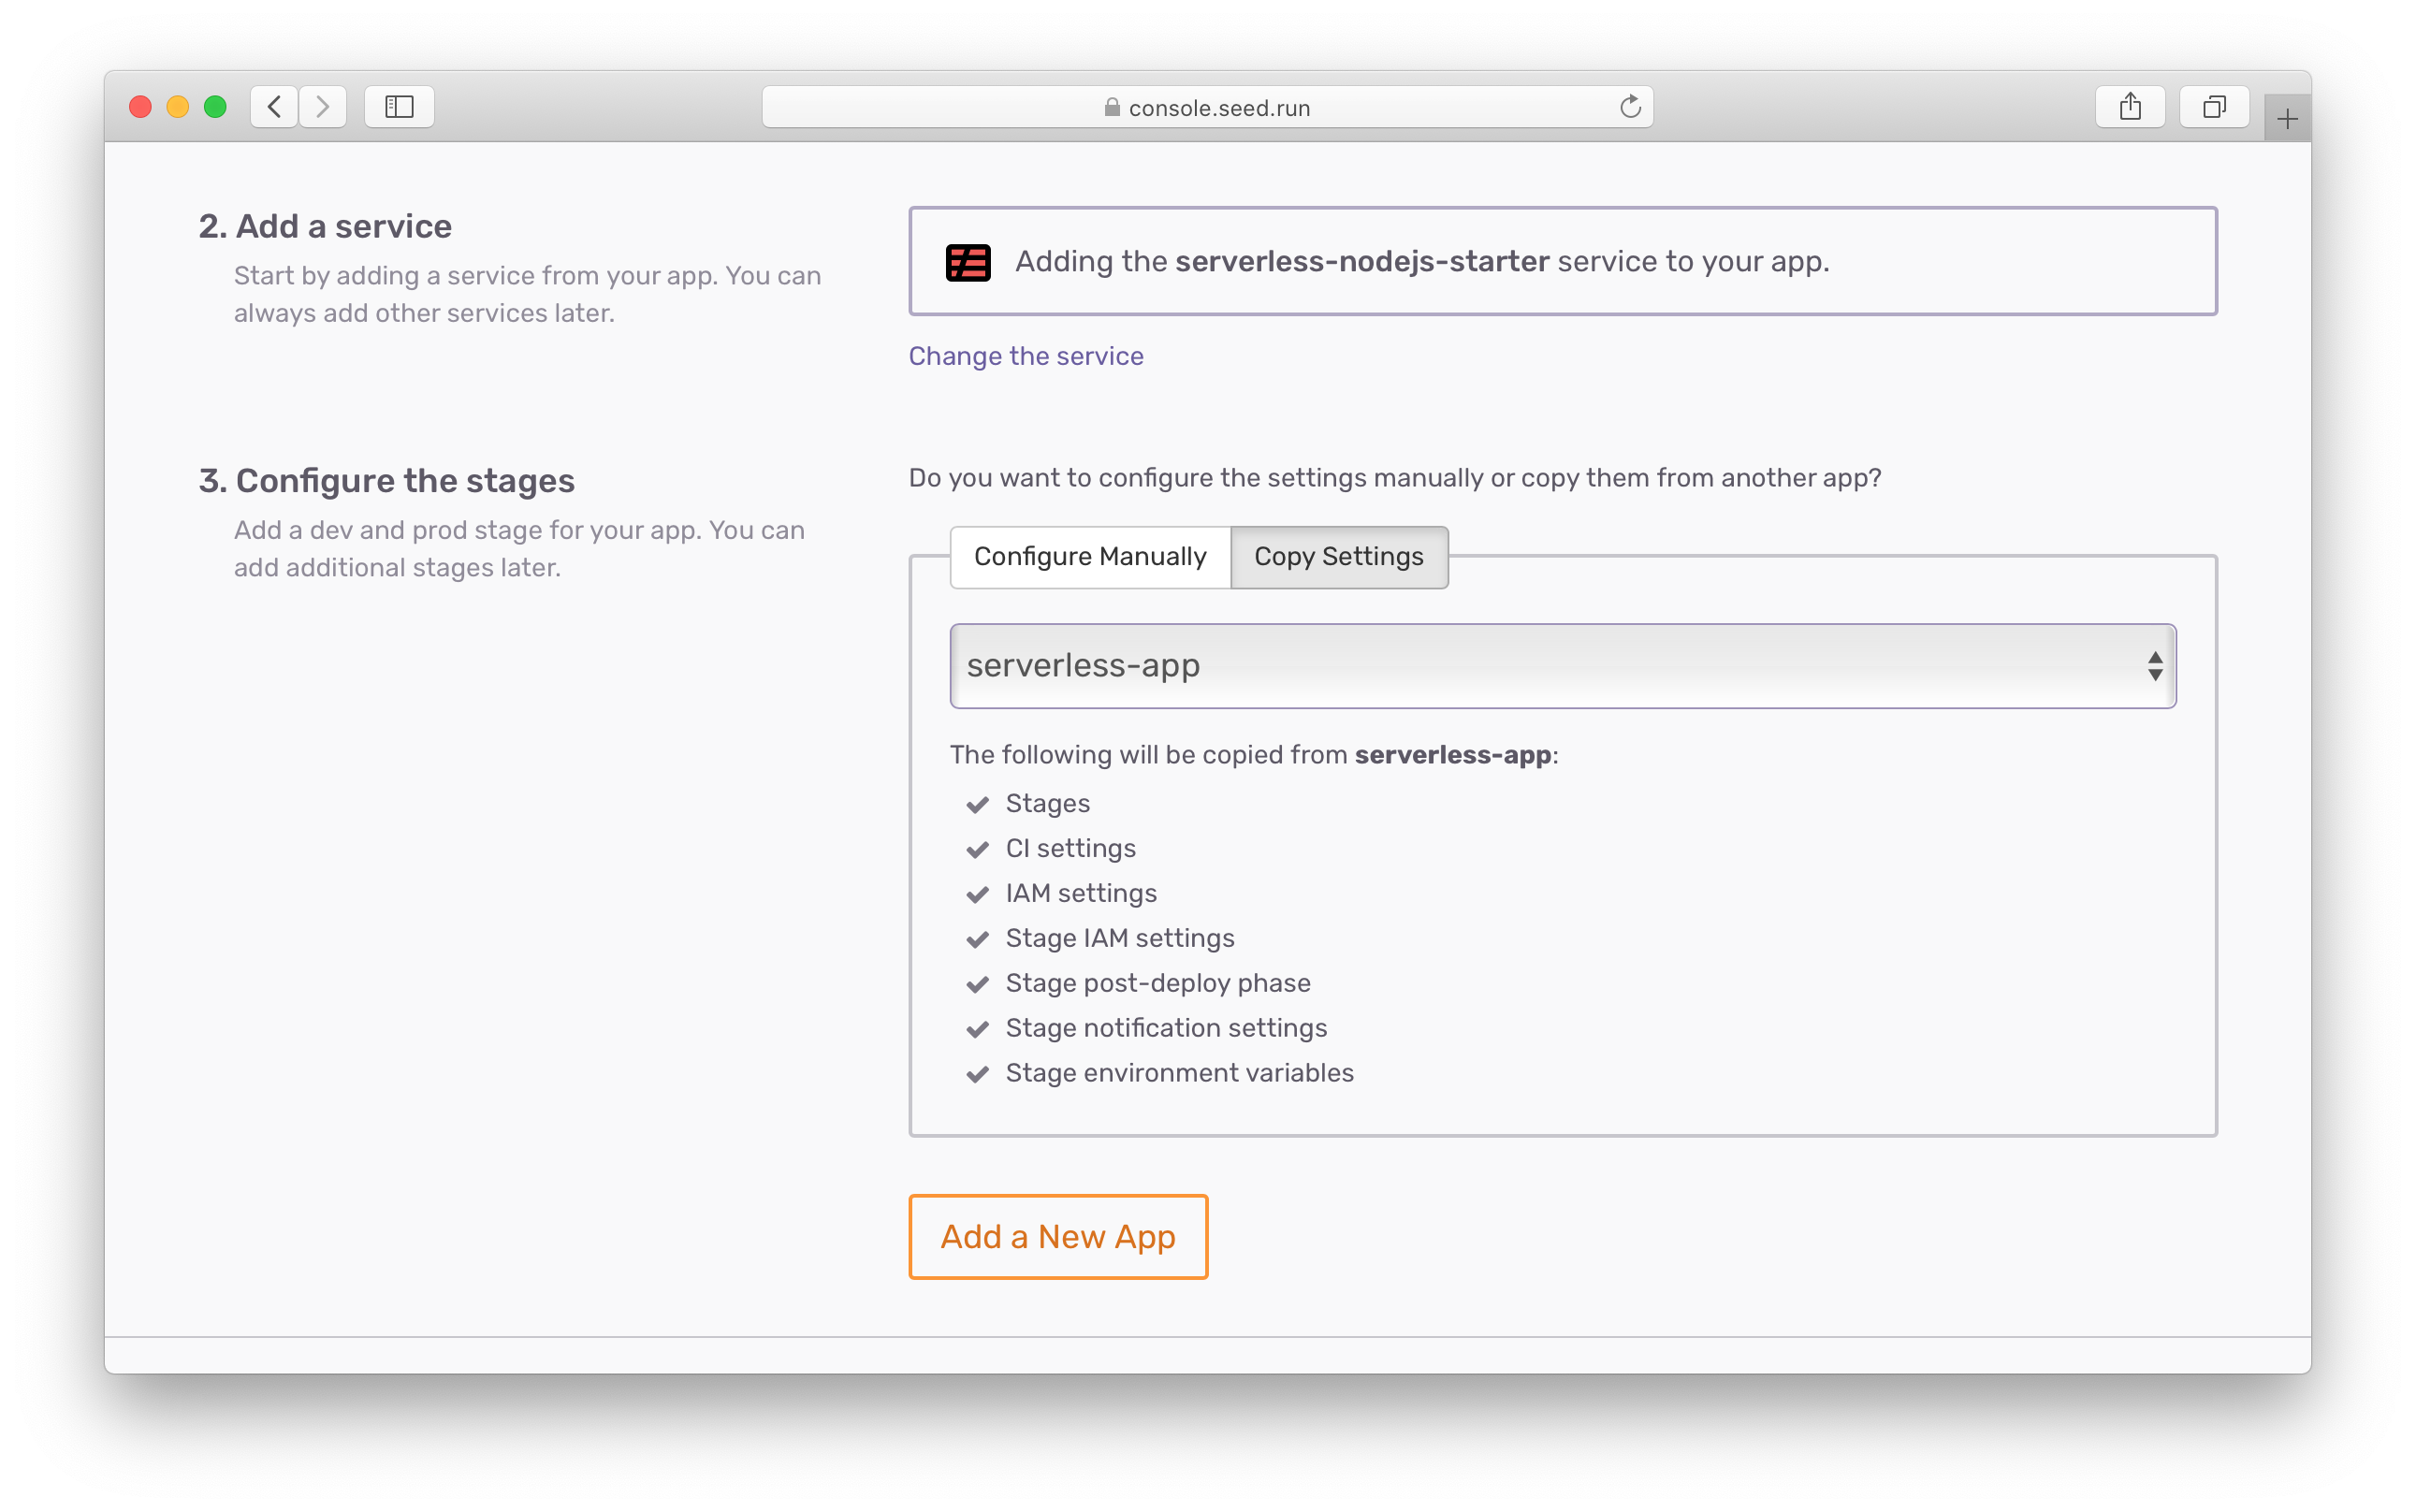
A personal app can only inherit the settings from another personal app. And the same applies to organization apps.
Next, let’s look at how to create an AWS IAM Role.
Help improve this page. Edit it with GitHub
Was this page helpful? Let us know via Twitter
Do your Serverless deployments take too long? Incremental deploys in Seed can speed it up 100x!
Learn More