Editing the Pipeline
By default, apps in Seed are configured with a development and production stage. In the Adding a Stage chapter we covered how to add other development stages. However, you might want to add another downstream stage. Or you might want to replace the production stage. Seed allows you to do this through the pipeline editor. In this chapter we’ll look at how to edit your pipeline on Seed.
Edit your Seed pipeline to add a downstream stage
Go to the Seed console, select the Pipeline tab, and click the Edit Pipeline link.

The pipeline editor gives you the ability to move stages around and add new stages.
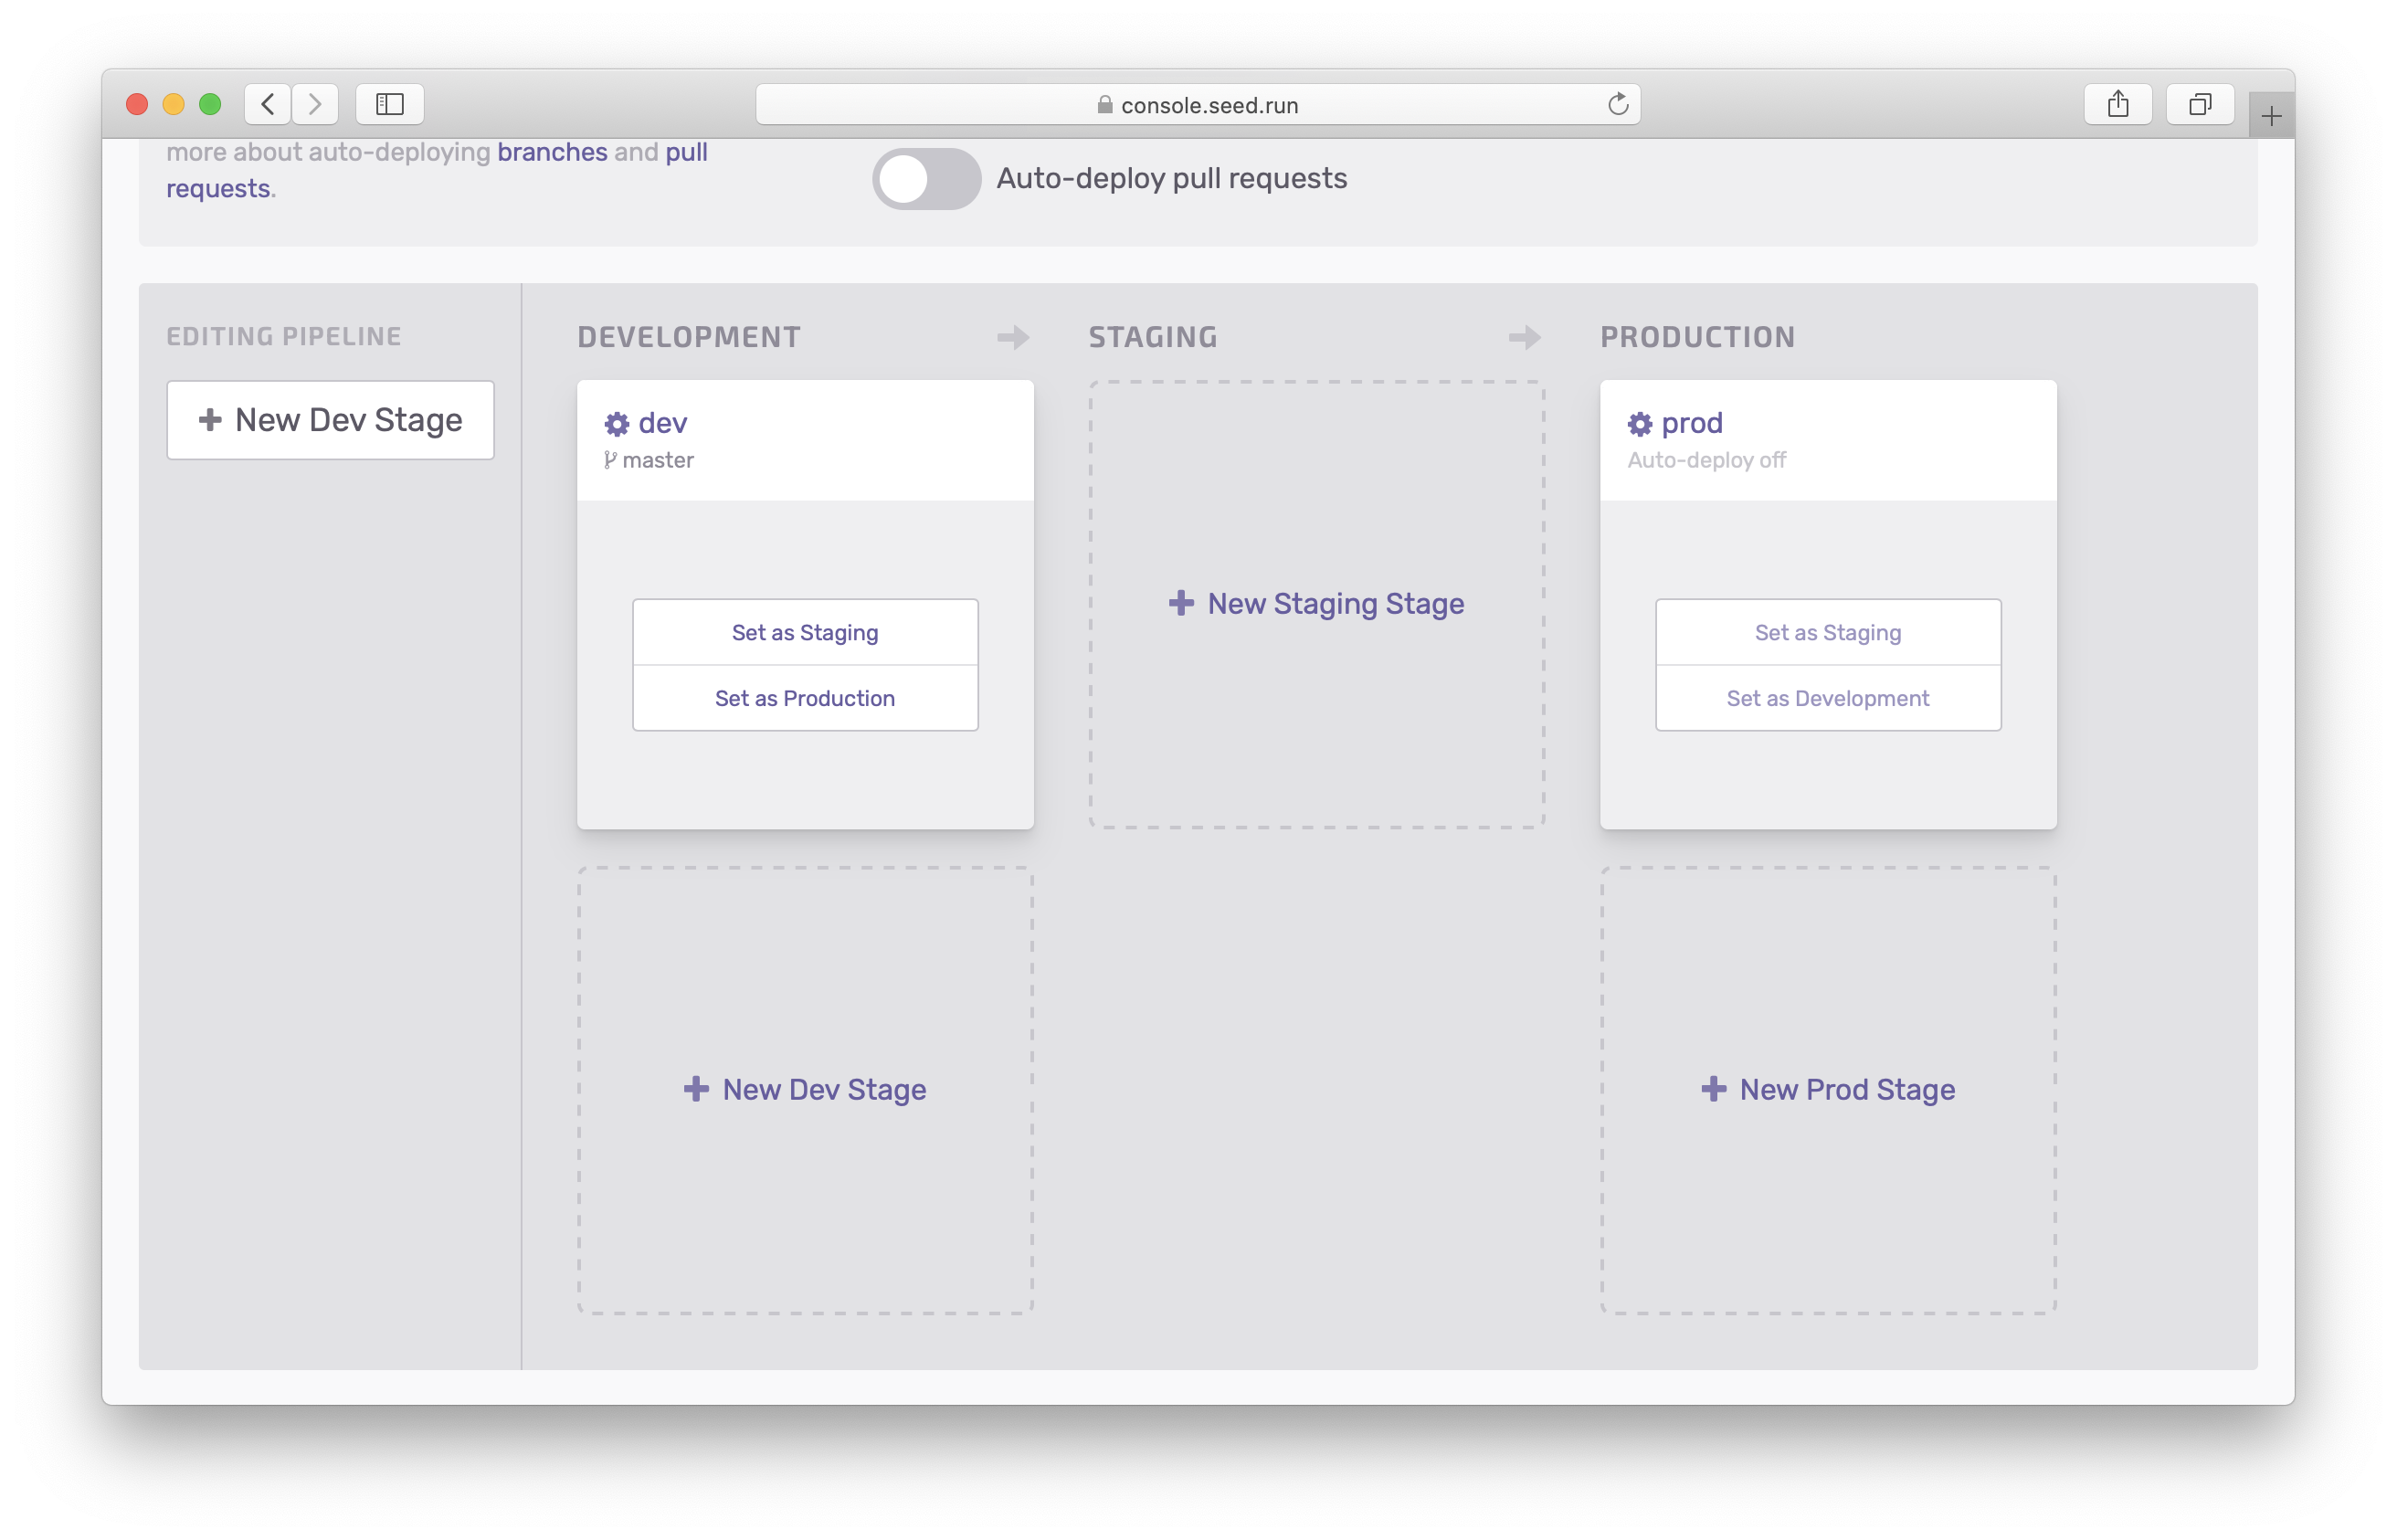
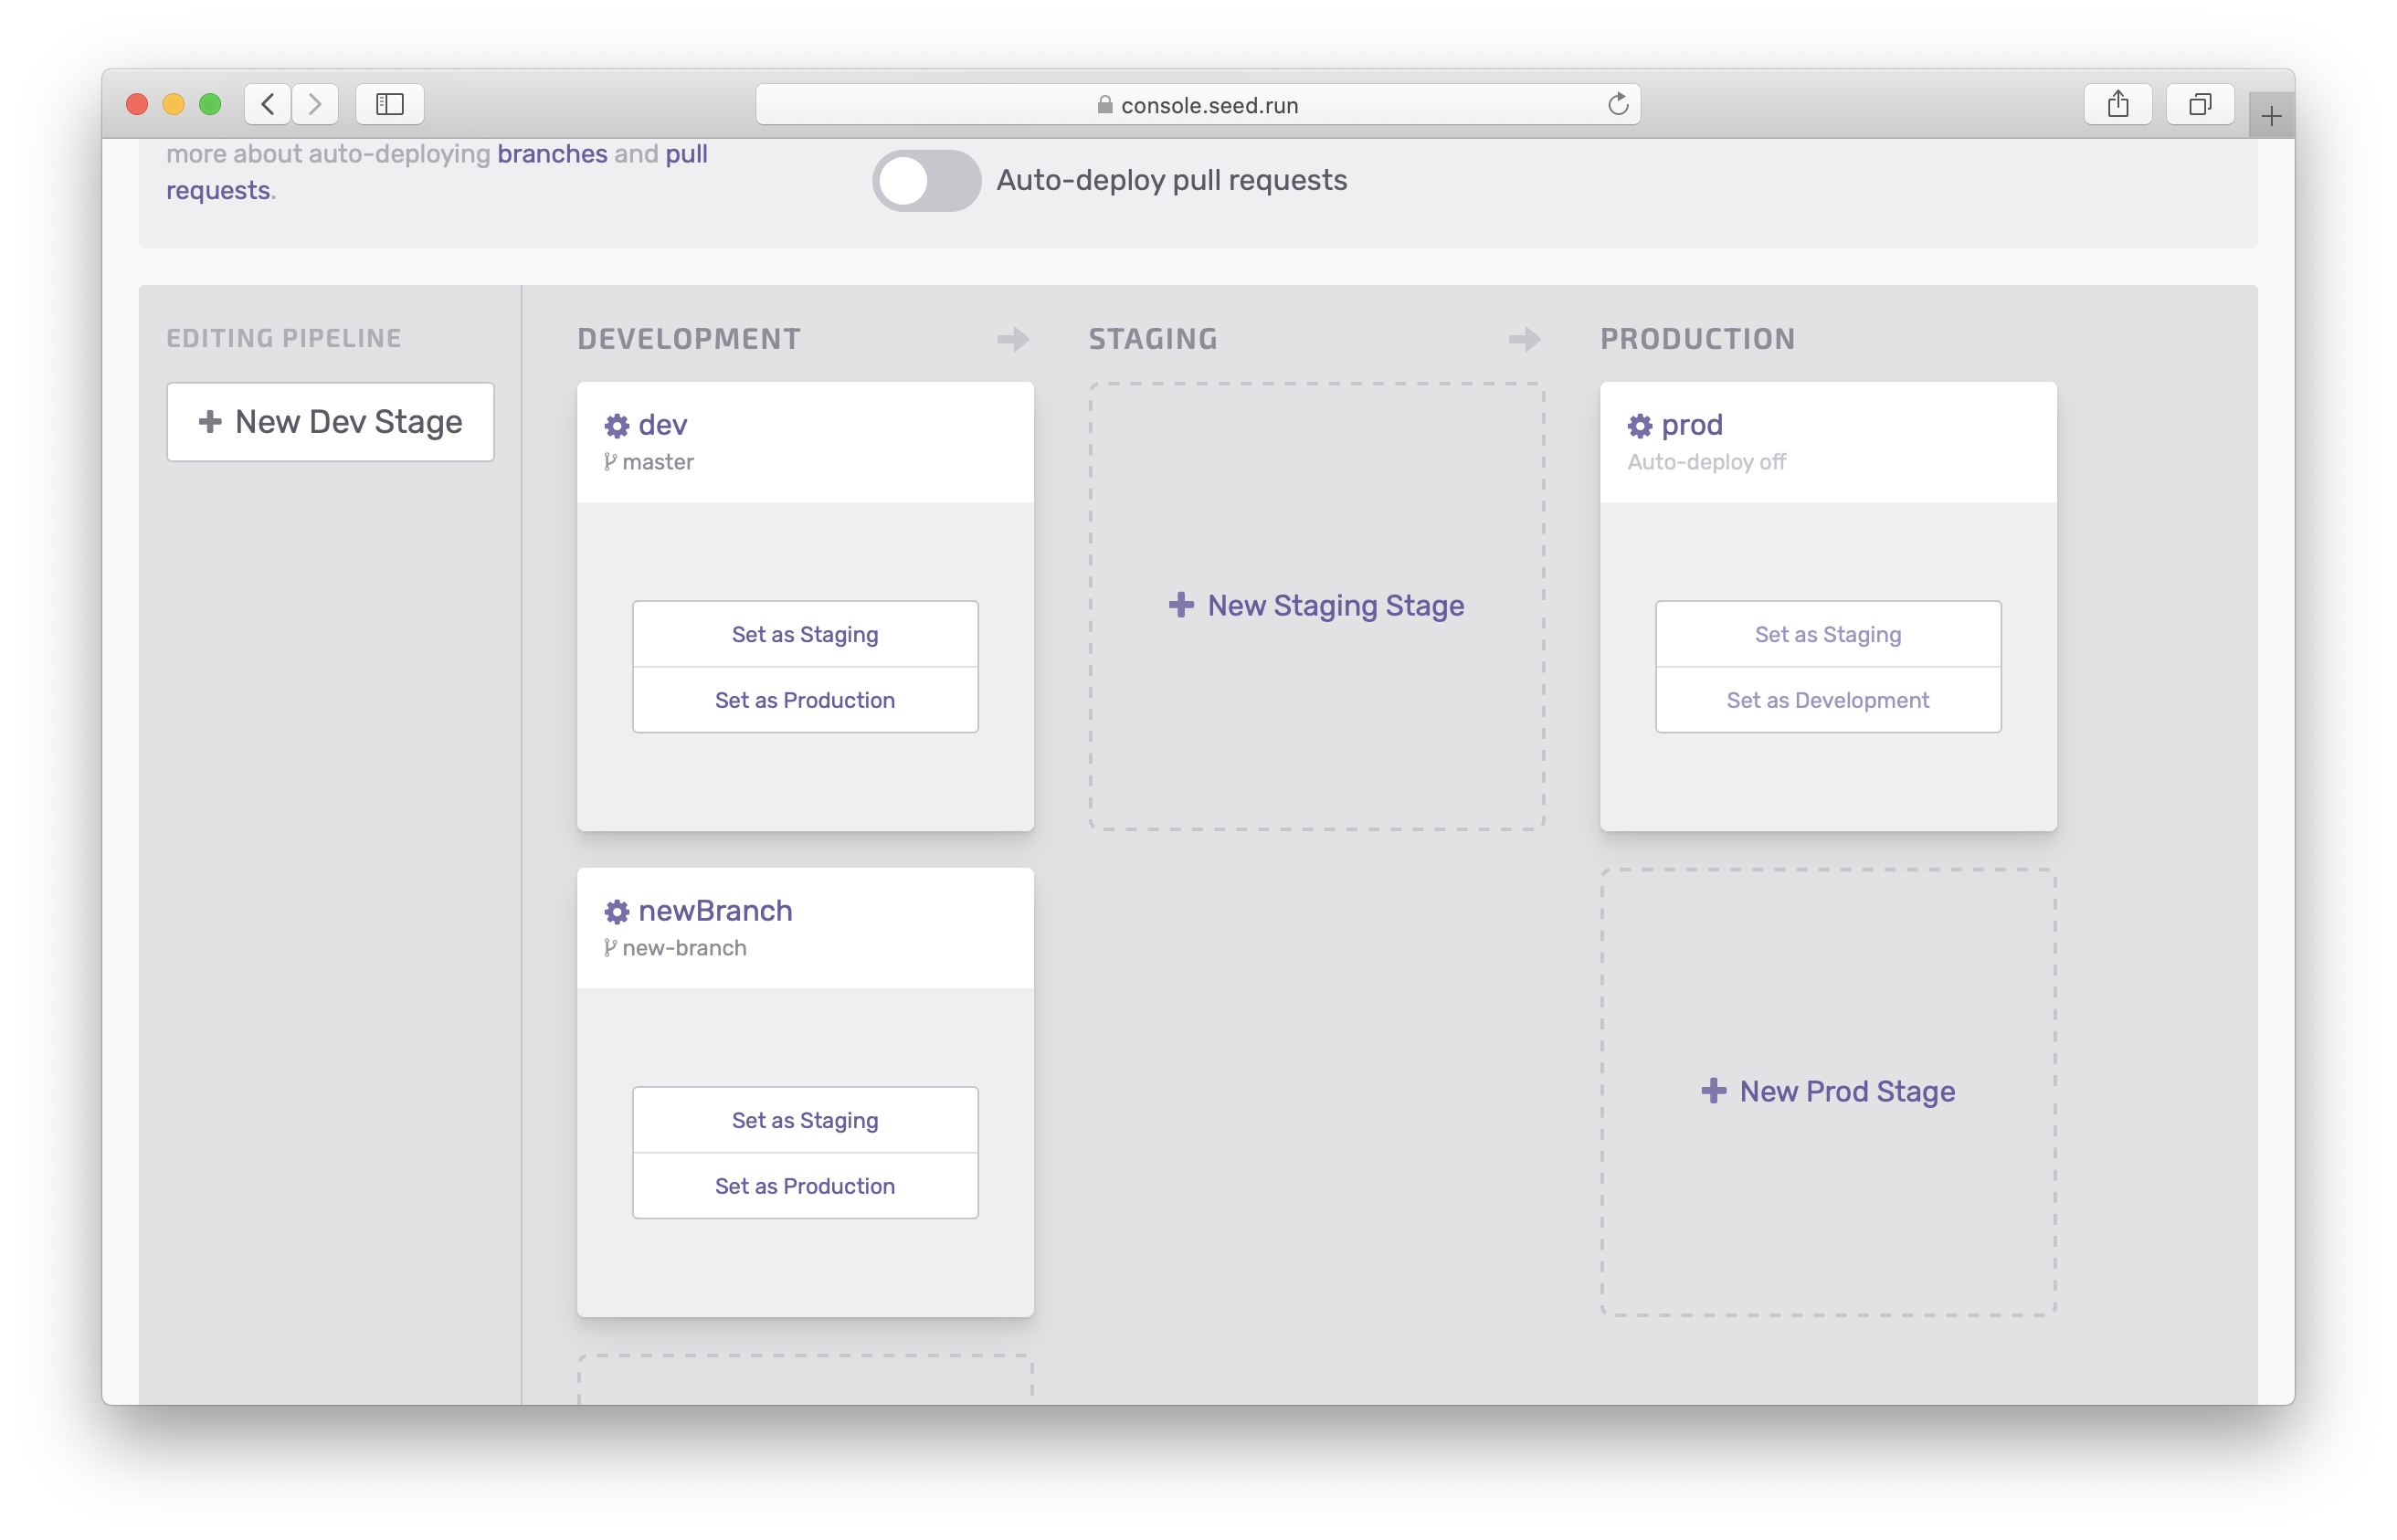
Here you can add a new stage by hitting the Add a Stage button. We talk about this in detail in the Adding a Stage chapter.
Add a Staging (or Pre-Production) Stage
Supposed you want a staging stage that closely mirrors your production environment. You can set a stage as staging by hitting the Set as Staging button. Note that PR stages cannot be set as staging or production.
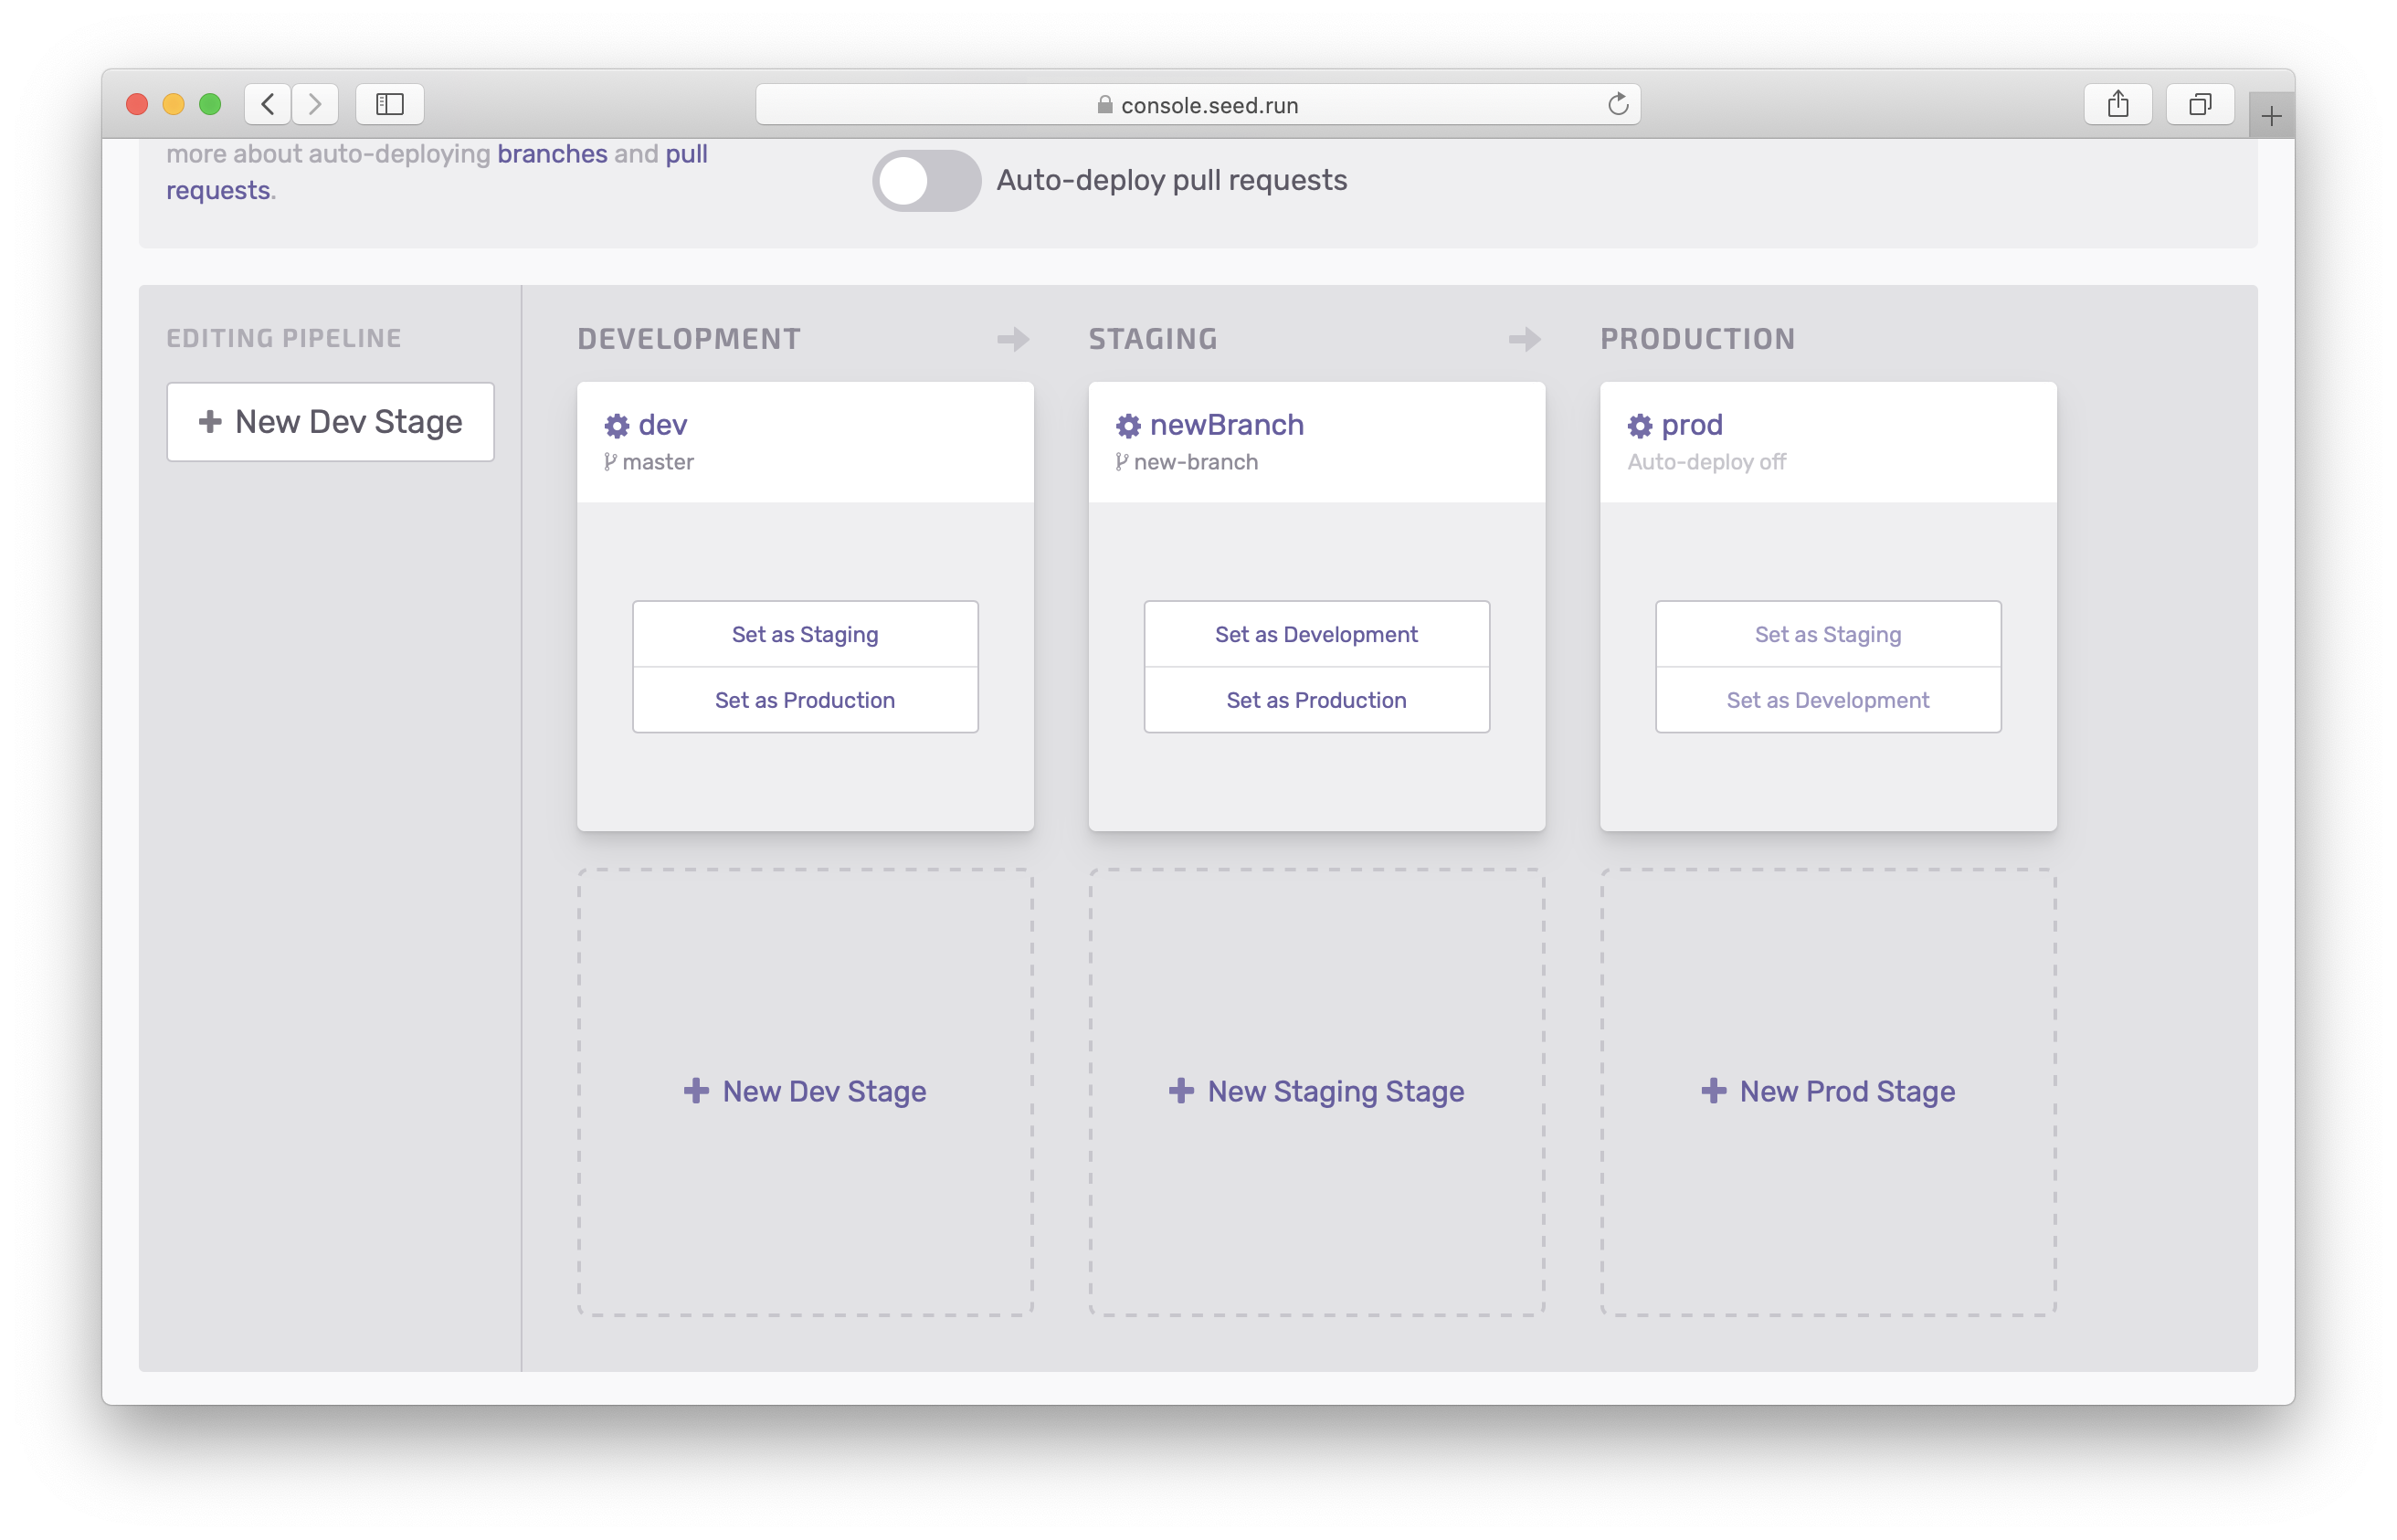
The newly set staging stage is another downstream stage (in addition to your existing production stage). This means that when you promote a build from a development stage, it will first be promoted to your new staging stage. Here you’ll get a chance to test the changes before promoting once again to your production stage.
This flow is visualized in the pipeline in your app’s homepage.

Finally, you can revert this change by hitting the Set as Development button. You can also set it as a production stage by hitting the Set as Production button. This will allow you to configure multi-region deployments. Read about this in detail here.
Help improve this page. Edit it with GitHub
Was this page helpful? Let us know via Twitter
Do your Serverless deployments take too long? Incremental deploys in Seed can speed it up 100x!
Learn More